Computer Screen Zoomed in How to Fix: A Quick Guide
You're in the middle of work, something brushes the keyboard, and suddenly everything on the display looks huge. Icons are oversized, text feels cropped, and even moving the mouse feels wrong. It's annoying, but in most cases it's not a dying monitor or a broken laptop.
The fastest way to solve a zoomed-in screen is to treat it like a funnel. Start with the shortcuts that fix accidental zoom right away. If that doesn't work, check system display settings. If the problem only shows up in one browser or app, keep your hands out of operating system settings and fix the app instead. That order saves time and avoids changing things that were never broken.
Table of Contents
- Why Is My Screen Suddenly Zoomed In
- Instant Fixes The Fastest Keyboard Shortcuts
- Adjusting Operating System Display Settings
- Solving Browser and Specific App Zoom
- Troubleshooting Deeper Causes Like Magnifier and Drivers
- How to Prevent It and When to Get Help
Why Is My Screen Suddenly Zoomed In
A screen usually looks zoomed in for one of a few reasons. Either the whole system display changed, a built-in accessibility feature got turned on, or a single app is using its own zoom level. Those problems feel the same at first glance, but they don't behave the same way.
The quickest clue is scope. If your desktop icons, taskbar, and every window look enlarged, think system-wide settings or an accessibility tool. If only Chrome, Edge, Firefox, Word, or another single app looks wrong, it's usually app-level zoom.
Practical rule: Check whether the problem affects the login screen, the whole desktop, or just one app before you change anything.
That one check narrows the field fast:
- Whole desktop looks enlarged: Start with keyboard shortcuts, then inspect display settings.
- Only one program looks enlarged: Reset zoom inside that app first.
- Problem appears before you sign in: Look beyond Windows or macOS and inspect the monitor itself.
What usually doesn't help is random clicking through every settings menu you can find. That creates new variables. A better approach is simple: use the instant shortcuts first, then move one layer deeper only if the screen still looks wrong. If you searched for computer screen zoomed in how to fix, that's the path that gets you back to normal fastest.
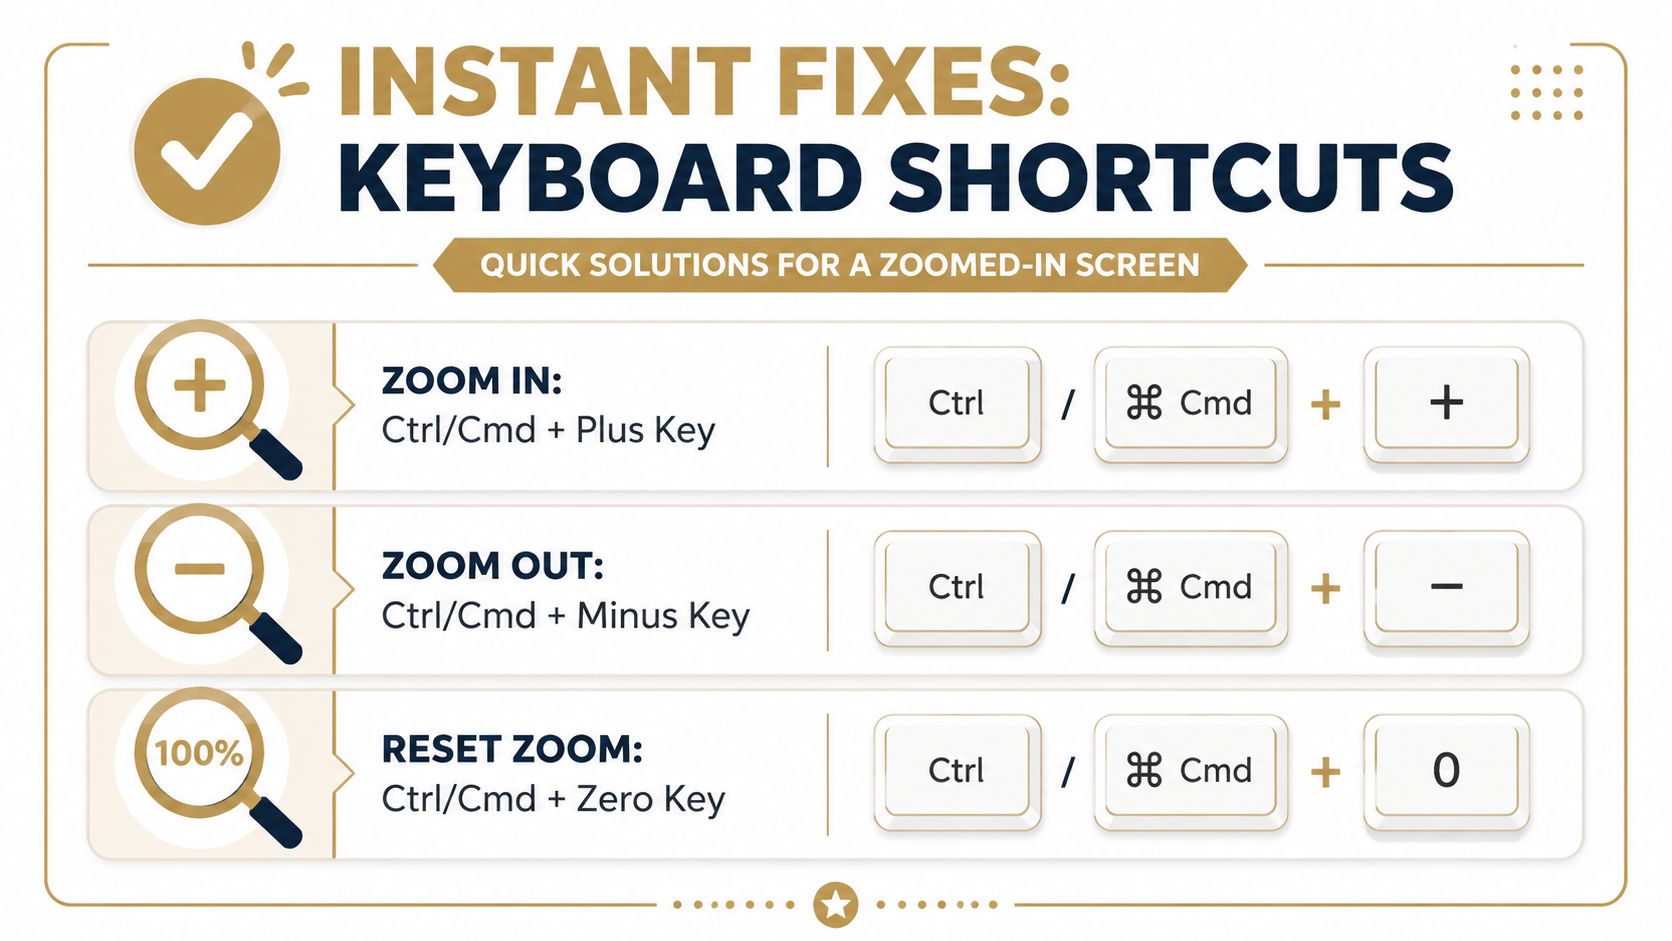
Instant Fixes The Fastest Keyboard Shortcuts
Before you open Settings, test the shortcuts that solve the most common zoom mistakes. A lot of zoomed-in screens come from an accidental key combo, especially if someone brushed the Ctrl key while scrolling.
Here's the fast-reference version:
| Situation | Windows | Mac | What it does |
|---|---|---|---|
| Zoom out in many apps | Ctrl + Minus | Cmd + Minus | Reduces zoom gradually |
| Reset zoom in browsers and many apps | Ctrl + 0 | Cmd + 0 | Returns zoom to normal |
| Exit Windows Magnifier | Windows + Esc | Not applicable | Closes full-screen magnification |
What to press first
If the entire Windows desktop looks magnified, press Windows + Esc first. That's the fastest way to close Windows Magnifier, which is a frequent cause of a suddenly enlarged screen according to a PALCS helpdesk guide on why a screen is zoomed in.
If only a webpage or a document looks too large, press Ctrl + 0 on Windows or Cmd + 0 on Mac. That resets zoom in most browsers and many desktop apps without touching your operating system.
If one shortcut fixes it instantly, stop there. Don't keep changing display settings after the problem is already gone.
A few common shortcut traps
Some issues look dramatic but come from tiny input mistakes:
- Mouse wheel zoom: In some apps, holding Ctrl and using the mouse scroll wheel changes zoom. Microsoft notes this can adjust app zoom in some applications, which is why people often trigger it without realizing it.
- Browser-only confusion: You open one oversized tab and assume the monitor is the problem. Then you waste time in display menus when the fix was one reset shortcut.
- Partial fixes: If Ctrl + Minus helps but doesn't fully restore the view, use Ctrl + 0 instead of tapping minus repeatedly.
For most users, this is the highest-value first pass. It takes seconds, and when it works, it saves you from digging through menus you never needed to open.
Adjusting Operating System Display Settings
If shortcuts didn't fix it, check the operating system settings that control how large everything appears on screen. True system-wide zoom problems commonly reside in these settings.
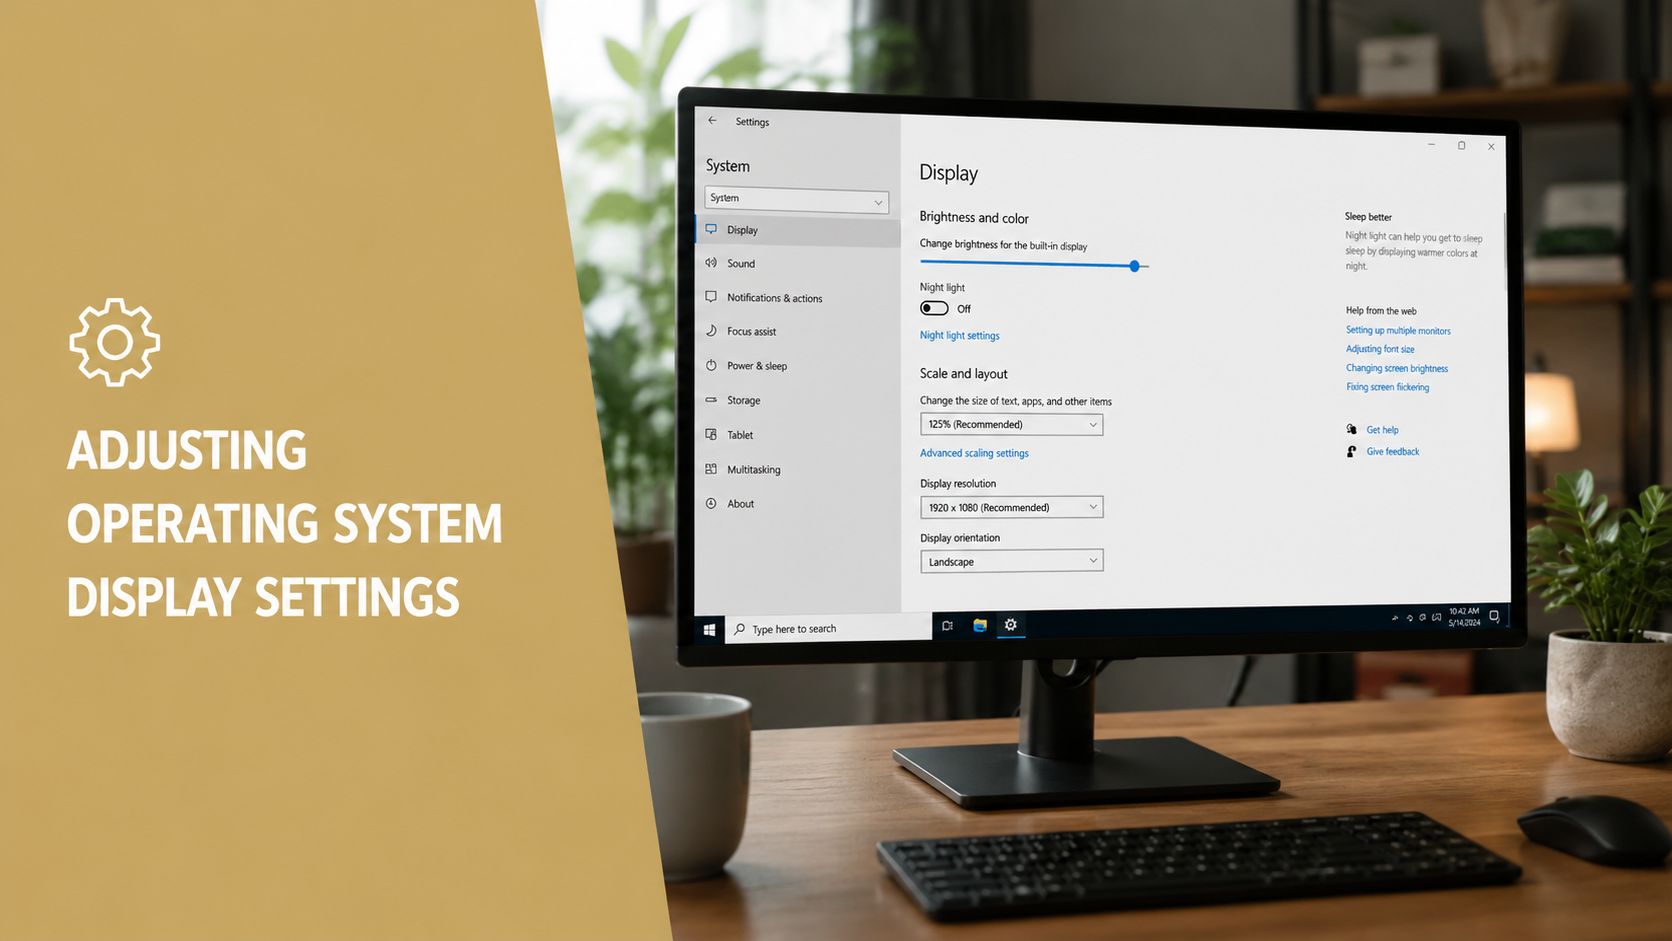
Windows display scale and resolution
On Windows, go to Settings > System > Display. This is the main control panel for screen size, scaling, and resolution.
Microsoft Q&A recommends checking Scale and layout and confirming the scale value is 100% in cases where the display appears stuck zoomed in. That same guidance also points users to the display settings panel itself, and common Windows 11 scale options include 100%, 125%, and 150%, with the recommendation to use the display's recommended resolution, as noted in Microsoft's discussion of a PC display stuck zoomed in.
What these settings do:
- Scale: Changes the size of text, apps, and interface elements.
- Resolution: Changes how many pixels Windows uses. If it's set too low, everything looks oversized and less sharp.
- Recommended value: Usually the safest choice unless you have a specific accessibility need.
A practical way to test Windows settings is to change one thing at a time:
- Check Scale first. If it's larger than expected, set it back to 100% if that works for your screen and comfort.
- Check Display resolution next. Pick the one marked recommended.
- Apply and observe. If the desktop immediately looks right, you found the cause.
A lot of people change resolution when they mean to change text size. That usually makes the screen look bigger and blurrier at the same time. If the display is both oversized and fuzzy, resolution is often the better place to look.
macOS display and accessibility zoom
On a Mac, open System Settings > Displays. Look for the resolution or scaled display options and return the screen to the default or recommended appearance if things look unusually large.
Mac users also need to check accessibility zoom settings, because a Mac can look zoomed in even when display resolution is fine. In System Settings > Accessibility > Zoom, make sure screen zoom features aren't enabled by mistake. If you're dealing with that specifically, this guide on a Mac screen zoomed issue is a useful companion.
One thing I've seen trip people up on macOS is confusing a larger display preset with accidental zoom. A larger preset is a display choice. Accessibility zoom behaves more like magnification and often feels more abrupt or harder to control.
For a visual walkthrough, this short video helps if you prefer to compare what you see on your screen with the actual settings panel:
Field note: If the whole interface is larger but still sharp, think scaling. If it is larger and soft, stretched, or oddly proportioned, think resolution.
Solving Browser and Specific App Zoom
Sometimes the system is fine and only one app is enlarged. That changes the job completely. You don't want to tweak Windows or macOS if the problem lives in a single browser tab or document window.
How to tell if it is app-only
A quick test works well. Minimize the problem app and look at the desktop, taskbar or menu bar, and another app beside it. If everything else looks normal, you're almost certainly dealing with app-level zoom.
That's common in browsers because zoom is easy to trigger and easy to forget. A stray Ctrl + mouse scroll wheel can enlarge a page without any obvious warning, and Microsoft notes that this input changes zoom in some applications.
Use this decision shortcut:
- Only one site or app looks large: Reset that app first.
- Every window looks large: Go back to display settings or accessibility tools.
- One browser is wrong but another looks normal: It's almost always browser zoom.
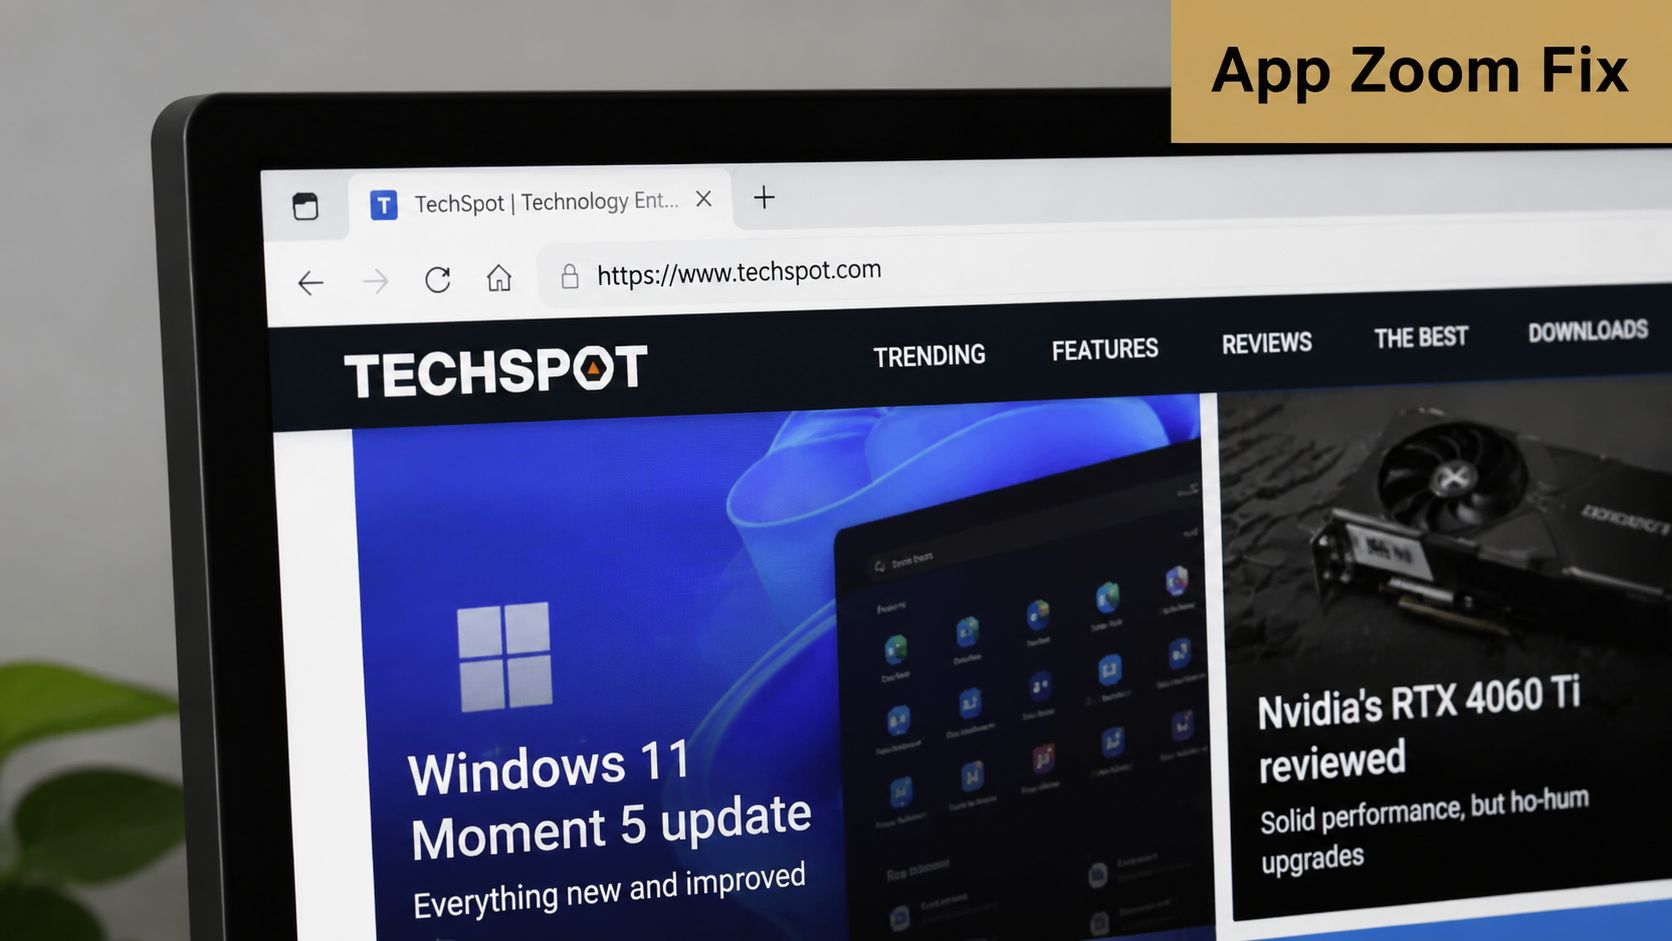
Browser zoom controls that actually matter
The most reliable reset is still the keyboard shortcut. Press Ctrl + 0 on Windows or Cmd + 0 on Mac. That returns most browsers to their default zoom level.
If you want to verify it manually, check the browser menu:
- Chrome: Open the menu and find the Zoom control.
- Edge: Open the menu and look for the zoom percentage.
- Firefox: Open the menu and adjust Zoom back to normal.
What works well is using the shortcut first and the menu second. What doesn't work well is reinstalling the browser, resetting all browser settings, or assuming a webpage is “broken” before checking zoom.
When a page is zoomed but the browser frame looks normal, don't overthink it. Reset the page zoom and move on.
This same logic applies to other apps too. PDF viewers, office apps, image editors, and chat tools often have their own zoom level. If your desktop is fine but the content area in one app is oversized, stay inside that app until proven otherwise.
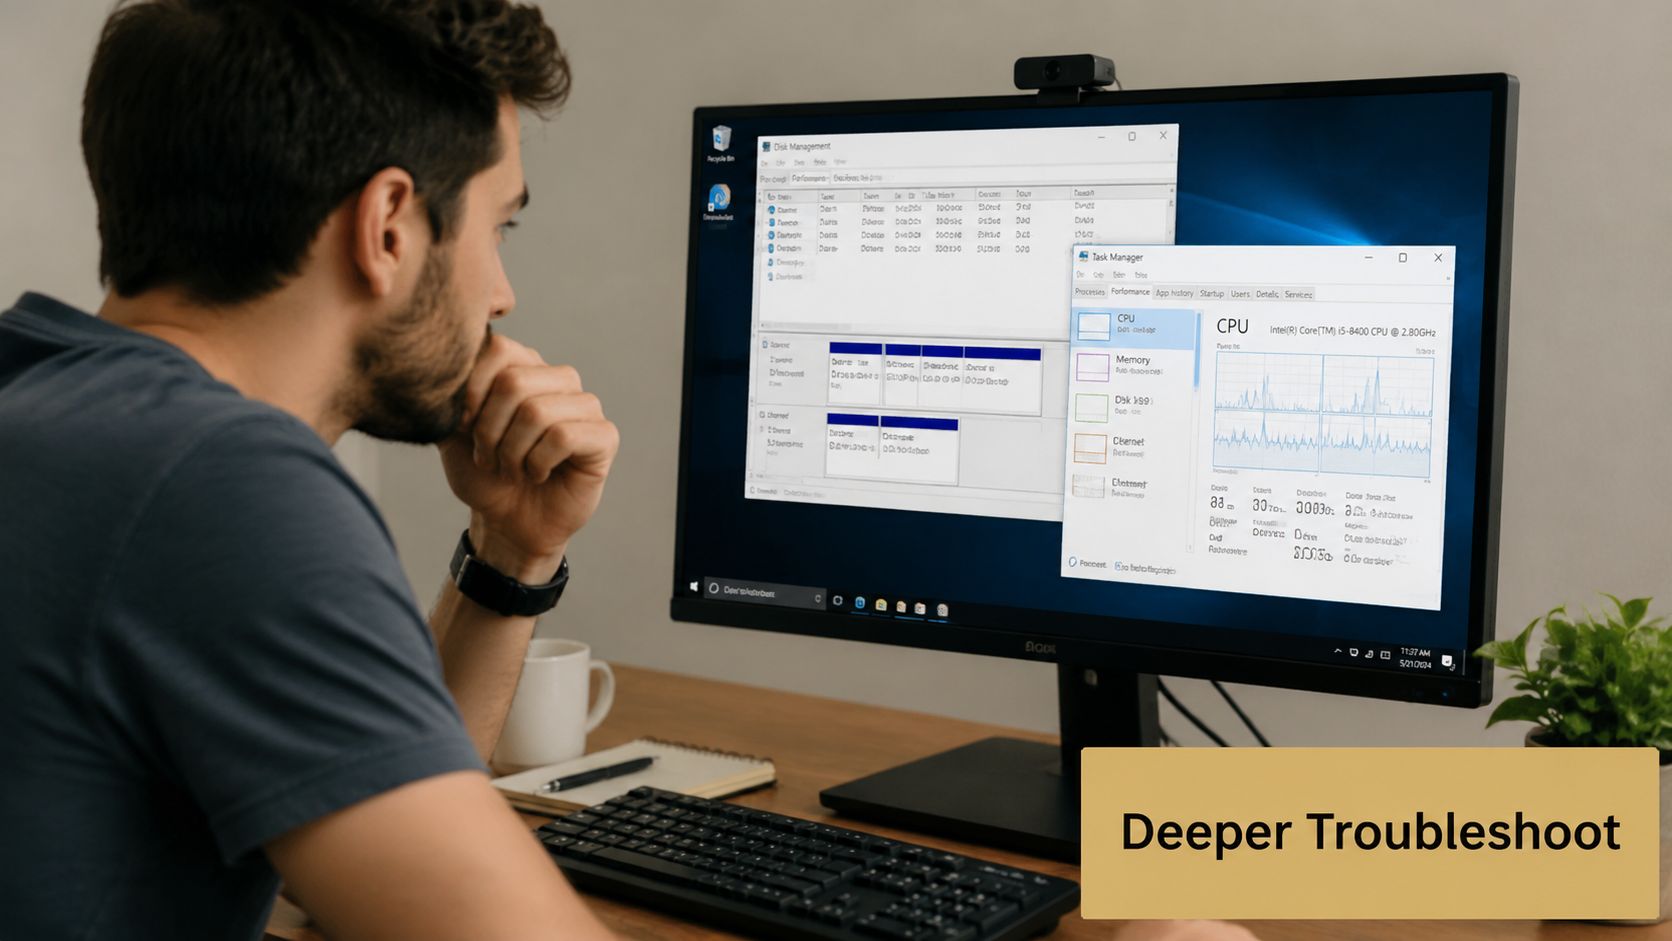
Troubleshooting Deeper Causes Like Magnifier and Drivers
If the fast fixes didn't work, go a level deeper and look for causes that are easy to miss. Usually, persistent zoom issues fall into two buckets: accessibility tools that keep turning on, or display problems that aren't coming from the operating system at all.
When Magnifier keeps coming back
Windows Magnifier is one of the biggest repeat offenders because it can launch accidentally and feel like the entire machine is broken. It can be exited instantly with Windows + Esc, and if it keeps starting automatically, turn off Start Magnifier after sign in in Windows Accessibility settings, as noted in the earlier PALCS guidance.
If you use a Mac, check Accessibility Zoom there too. A misconfigured accessibility feature can look like a display failure when it's really just a startup setting or shortcut conflict.
For Mac users already cleaning up accessibility behavior, this walkthrough on how to change cursor settings on Mac is also useful because cursor visibility and zoom settings often get adjusted in the same accessibility pass.
When it might be the monitor or graphics stack
If the problem appears before the Windows sign-in screen, that points away from Windows settings. In that case, Microsoft Q&A notes the issue may involve the monitor's physical controls, cable type, or EDID and display identification behavior rather than Windows itself, as covered in the earlier cited Microsoft discussion.
That's the moment to inspect the external display, not just the computer:
- Check the monitor menu: Some monitors have their own scaling or aspect controls.
- Reconnect the cable: A bad handshake can produce odd display behavior.
- Test another screen if available: This helps separate computer problems from monitor problems.
- Update graphics drivers carefully: It's a reasonable troubleshooting step when display behavior is inconsistent, but don't expect it to fix plain browser zoom or Magnifier.
What doesn't help here is endlessly toggling Windows scale up and down when the distortion is already visible before login. Once the symptom exists outside the operating system, the monitor path becomes much more important.
How to Prevent It and When to Get Help
The easiest prevention is awareness. Most repeat cases come from the same small set of triggers: accidental shortcuts, app zoom changed by mouse scroll, or accessibility settings that stayed enabled after testing.
A simple prevention checklist works:
- Watch modifier keys: If you rest your hand near Ctrl or Command, accidental zoom is easy.
- Keep accessibility settings intentional: If you don't use Magnifier or Zoom, make sure they aren't set to launch automatically.
- Check scope before changing settings: Whole system and one-app problems need different fixes.
- Restart once after major changes: A clean restart helps confirm whether the fix held.
Get outside help if the screen is still enlarged after a full restart, if the issue shows up before the operating system loads, or if the display also has odd colors, flicker, or other graphics problems. At that point, you may need actual repair work, not more menu hunting. If you're supporting a team or office and need a practical next step, these business computer repair solutions give a good overview of when professional service makes more sense than more DIY troubleshooting.
If you're repurposing hardware during troubleshooting, this guide on how to use a tablet as a display can help as a temporary workaround while the main screen issue gets sorted out.
If you create training clips, bug repro videos, or internal how-to recordings while solving issues like this, Smooth Capture is worth a look. It's a native macOS screen recorder and editor built for polished walkthroughs, with tools for cursor effects, smooth zoom, device frames, subtitles, and quick edits without a heavy post-production workflow.
Ready to create stunning app demos?
SmoothCapture makes it easy to record your screen with 3D device frames, cinematic cursor effects, and professional editing tools.