How to Convert to WebM on macOS: A Complete Guide
You’ve probably hit this exact moment on a Mac. The landing page video looks great in your editor, but the exported MP4 is heavier than you want, autoplay feels less snappy than it should, or your transparent UI animation lost its background removal on export. Then you search how to convert to WebM and find a pile of basic tutorials that stop right before the settings that matter.
For product marketing, onboarding, and support teams, WebM is usually a delivery decision, not a creative one. You’re trying to ship a browser-friendly file that loads fast, looks clean, and in some cases keeps alpha transparency intact for layered motion graphics. That last part is where most guides fall apart.
Table of Contents
- Why Convert to WebM for Modern Web Video
- Choosing Your WebM Conversion Method on macOS
- The Power User Path Command-Line Conversion with FFmpeg
- User-Friendly Conversion with GUI Tools
- Advanced WebM Settings for Quality and Transparency
- The Smoothest Workflow Exporting WebM from Smooth Capture
Why Convert to WebM for Modern Web Video
A lot of teams don’t convert to WebM because they love formats. They convert because a homepage hero clip, product walkthrough, or support animation needs to stay light enough for fast delivery and still look sharp in the browser. This is the core requirement.
WebM has a clear place in web video history. Google introduced it as an open, royalty-free media format in May 2010 alongside the WebM Project, originally pairing VP8 video with Vorbis audio and announcing browser support from vendors including Mozilla and Opera at launch, as described in FreeConvert’s overview of WebM’s origin. That matters because WebM wasn’t built as a generic master format. It grew up as a browser-first delivery format.
What WebM is good at
The practical reason for converting to WebM is efficiency. Modern workflows use it for smaller files and fast browser delivery, and some tools now present the process as a simple upload, choose WebM, and download flow, with batch conversion available in some cases, as noted in CapCut’s guide to MP4 to WebM conversion. In day-to-day production, that usually means website demos, feature teasers, onboarding clips, and embedded help content.
That’s also why I don’t treat WebM as the file I keep forever. I treat it as the version I ship.
Practical rule: Keep a higher-flexibility master for editing, then create WebM as a delivery export for the web.
WebM is especially useful when your viewer is already in a browser and your team cares about playback performance. It’s less compelling when the same asset has to move through lots of downstream systems, client handoffs, or older device environments. In those cases, the delivery format question matters more than the conversion step itself.
A good WebM workflow starts with that mindset. You’re not just changing the extension. You’re tuning a file for embedded playback, page performance, and in some workflows, transparent overlays.
Choosing Your WebM Conversion Method on macOS
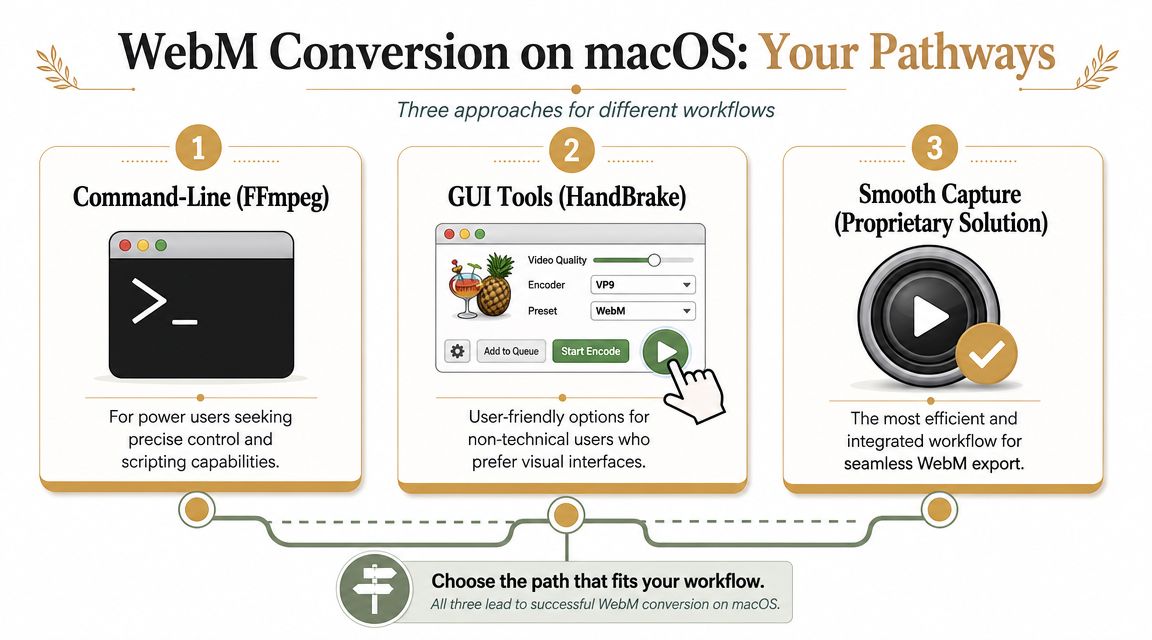
On a Mac, there are three realistic paths: FFmpeg in Terminal, GUI tools like HandBrake or VLC, and online converters. They all work. They don’t all work equally well once you care about repeatability, codec control, or alpha transparency.
What WebM is good at
The decision to use WebM is usually a trade-off. It’s strong for browser-native delivery, but MP4 with H.264 still has broader compatibility across devices and platforms. For teams publishing to websites, knowledge bases, LMS environments, and internal portals, the more useful question is often which delivery format serves the full audience best, not just how to convert, as discussed in Cloudinary’s WebM converter guide.
That trade-off should shape your tool choice:
- If you need precision, use FFmpeg.
- If you need a fast visual workflow, use HandBrake.
- If you need a quick one-off conversion, an online converter can be fine.
- If you need transparent WebM, don’t assume every GUI or browser tool will preserve alpha correctly.
WebM conversion methods on macOS compared
| Method | Best For | Control Level | Ease of Use |
|---|---|---|---|
| FFmpeg | Reproducible production exports, batch jobs, transparent WebM | High | Low |
| HandBrake | Everyday conversions for marketers and content teams | Medium | High |
| VLC | Simple one-off format changes | Low | Medium |
| Online converters | Quick browser-based jobs, no install | Low | High |
Here’s the practical read on each one.
FFmpeg is the best option when your team converts to WebM regularly. You can lock in the exact codec, quality mode, scaling behavior, and output naming. You can also script whole folders of exports, which matters when release week drops ten demo clips on your desk at once.
HandBrake is the best middle ground. It gives you enough control to make solid WebM files without forcing everyone onto the command line. For many product teams, that’s the sweet spot.
VLC is more limited, but it’s already installed on a lot of Macs. If someone just needs a quick conversion and quality tuning isn’t critical, it can get the job done.
Online converters are convenient, especially when the asset is small and non-sensitive. I avoid them for internal product footage, unreleased launches, or anything involving customer data.
Browser delivery and editing flexibility aren’t the same need. Pick the method that matches the final destination of the file.
The Power User Path Command-Line Conversion with FFmpeg
If you want the most reliable way to convert to WebM on macOS, use FFmpeg. It’s the path I trust when the output has to be repeatable across projects, especially for product demos, support libraries, and any workflow that might later need automation.

A solid expert workflow is to use FFmpeg, explicitly select VP9 for broad browser support, and enable alpha-channel support when the source has transparency. That matters because WebM is a container, so playback behavior depends on the codec and settings you choose, not the file extension alone, as explained in Live Streaming Pros’ WebM workflow notes.
Install FFmpeg on macOS
If Homebrew is already part of your setup, installation is simple:
brew install ffmpegThen verify the install:
ffmpeg -versionIf your team manages Macs centrally, it’s worth standardizing the FFmpeg version so everyone exports from the same baseline.
Reliable FFmpeg commands that work
For a straightforward MP4 to WebM conversion:
ffmpeg -i input.mp4 -c:v libvpx-vp9 -b:v 0 -crf 32 -c:a libopus output.webmThat command is a good default for general website delivery. It uses VP9 for video, Opus for audio, and CRF mode for a reasonable quality-to-size balance.
For a cleaner product demo where text and UI edges matter more:
ffmpeg -i input.mp4 -c:v libvpx-vp9 -b:v 0 -crf 24 -row-mt 1 -c:a libopus output.webmLower CRF generally means better visual quality and larger output. For interface-heavy footage, I usually err toward better quality because blurry text destroys trust fast.
For a whole folder of MP4 files on macOS:
for f in *.mp4; do
  ffmpeg -i "$f" -c:v libvpx-vp9 -b:v 0 -crf 30 -c:a libopus "${f%.*}.webm"
done
That one-liner is useful for release asset batches, help-center clips, and language variants.
What the main flags actually do
A few flags do most of the work:
-i input.mp4points FFmpeg to the source file.-c:v libvpx-vp9tells it to encode video with VP9.-b:v 0hands bitrate control to CRF mode instead of forcing a fixed target.-crfcontrols the quality setting. Lower values push quality up.-c:a libopususes Opus audio, which fits well in WebM.
If you’re converting screen recordings, don’t blindly reuse settings from camera footage. UI captures expose encoding mistakes faster. Menus, small type, and cursor motion all make weak settings obvious.
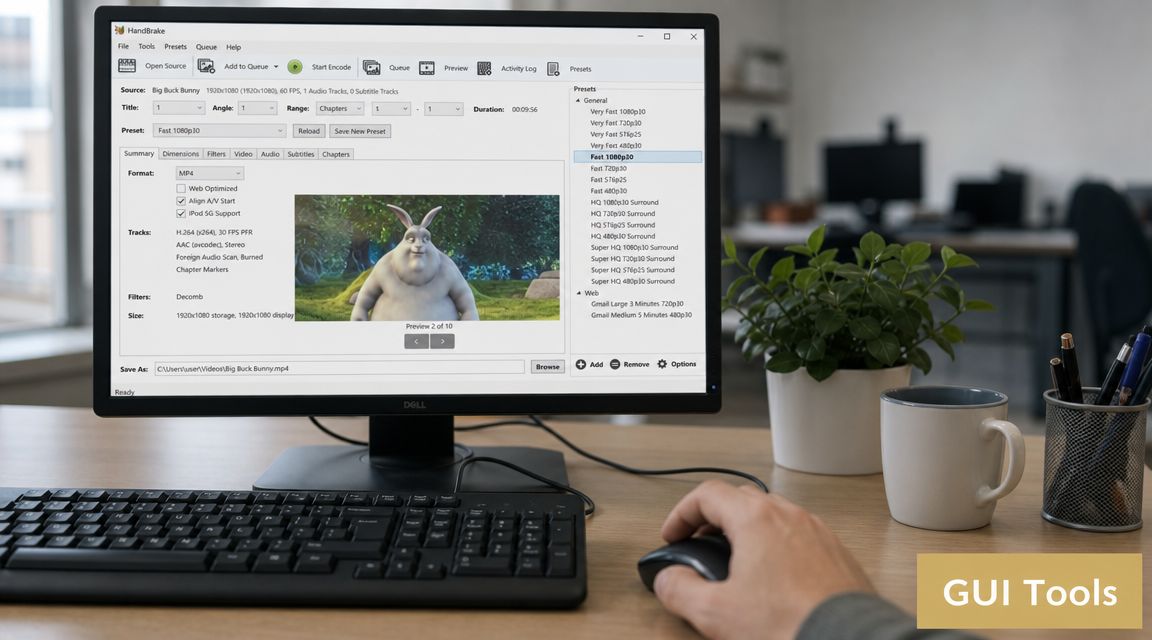
User-Friendly Conversion with GUI Tools
Not everyone wants Terminal open just to export a support clip. For most Mac users, HandBrake is the best GUI option because it’s stable, predictable, and gives you enough control to avoid bad defaults.
If your source footage still needs cleanup before conversion, it helps to handle trims and small fixes first. For teams comparing lightweight editing options before export, this guide on choosing property video editing tools is useful because the decision criteria around speed, polish, and ease of use carry over well to product and walkthrough videos too.
HandBrake settings that save time
Open the file in HandBrake and start with these checkpoints:
- Load the source file and confirm the right destination folder before you touch codec settings.
- Choose a WebM-compatible preset if available in your version, then inspect the video tab instead of trusting the preset blindly.
- Set the video codec to VP9.
- Use constant quality mode rather than chasing fixed bitrate targets unless your publishing system requires strict file behavior.
- Check dimensions and frame rate. Don’t accidentally scale down a UI recording that depends on readable text.
- Review audio only if the clip needs it. A lot of silent product loops don’t.
I also recommend doing your rough edit first. If you need a fast built-in Mac option before export, editing video in QuickTime Player is enough for simple trims and can save you from re-encoding more footage than necessary.
HandBrake works best when you keep the workflow boring. Import. Set codec. Set quality. Confirm dimensions. Export. Test in browser.
The fastest way to lose time with GUI converters is to trust the preset name more than the actual codec tab.
Here’s a walkthrough if you want a visual reference before setting up your own conversion flow:
When VLC is enough
VLC can handle basic conversions, and that’s sometimes all you need. If someone on the team has to turn one internal clip into WebM and doesn’t care about fine control, VLC is acceptable.
I wouldn’t use it for a batch workflow or for transparent overlays. It’s better as a quick utility than as a production export tool.
Advanced WebM Settings for Quality and Transparency
Most WebM guides typically stop being useful at this stage. They show the conversion step, then skip the settings that decide whether the output is production-ready. For product teams, two things matter most: quality tuning and alpha transparency.
A major gap in most tutorials is transparency. WebM can carry an alpha channel through VP8 or VP9 workflows, which makes it useful for overlay animations, UI callouts, and composited screen recordings, but many guides don’t explain which encoders preserve alpha or what trade-offs to expect, as highlighted in this discussion of transparent WebM workflows.
Choose VP9 unless you have a specific reason not to
For current browser-oriented work, VP9 is the default choice I’d make first. It gives broad support in modern browser workflows and is the safer general pick for polished web delivery.
Quality tuning is mostly about restraint:
- For UI and product footage, keep quality high enough that text edges stay clean.
- For motion-heavy clips, expect a bigger trade-off between file size and fidelity.
- For repeated exports, save a standard setting per use case so the whole team isn’t guessing every time.
If your source file is too heavy before you even start conversion, it’s worth cleaning that up first. This guide to compressing video on Mac is a practical companion step when your source assets are oversized and slowing down the export cycle.
How to preserve alpha transparency
If your source contains transparency, verify that from the source file first. Don’t assume your editor exported alpha just because the canvas looked transparent.
Then use FFmpeg with a transparency-safe workflow. A practical pattern is:
ffmpeg -i input-with-alpha.mov -c:v libvpx-vp9 -pix_fmt yuva420p -b:v 0 -crf 28 -an output-alpha.webmWhat matters there:
libvpx-vp9keeps you in a WebM-friendly VP9 path.-pix_fmt yuva420pis the key alpha-related pixel format setting many people miss.-androps audio when the asset is purely graphical and doesn’t need it.
After export, test the file on the exact page or player where it will live. Transparent WebM is one of those formats that can look fine in one environment and fail in another because playback support, browser behavior, or implementation details differ.
Common mistakes that break transparent exports
The usual failures are predictable:
- Wrong source format. The input never had alpha, so the output can’t preserve it.
- Wrong pixel format. The export completes, but transparency gets flattened.
- Wrong player assumptions. The file is valid, but the playback target doesn’t behave as expected.
- Too much compression. Fine transparent edges around shadows, cursors, or glow effects get chewed up.
For layered product demos, I’d always run a browser test before handing the asset to marketing or web.
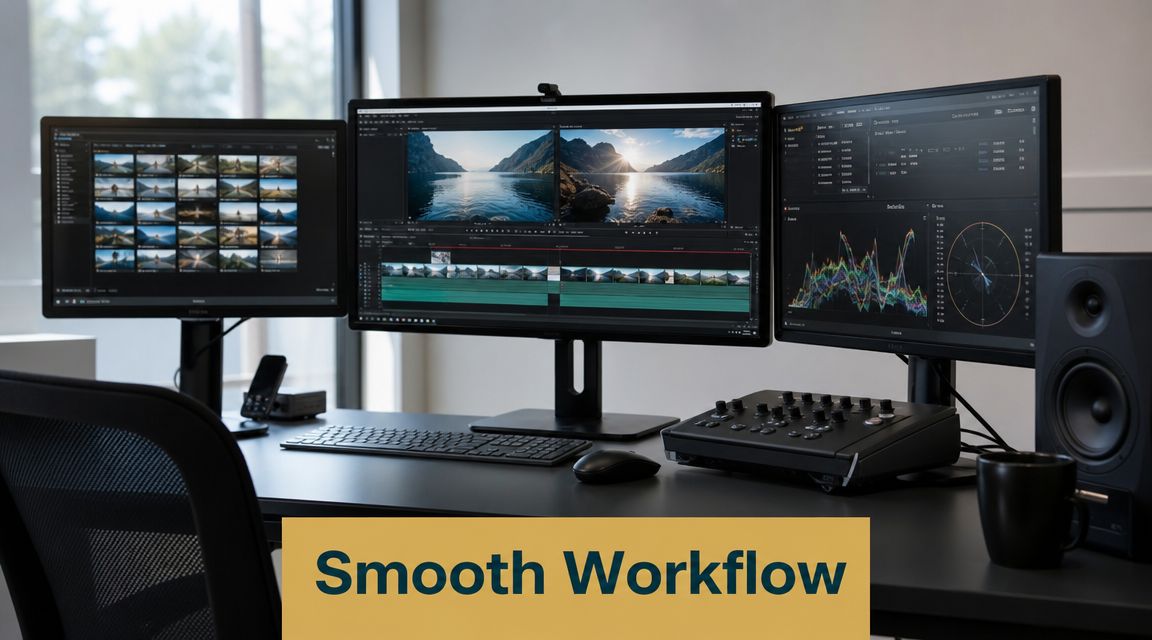
The Smoothest Workflow Exporting WebM from Smooth Capture
When teams ship polished web video regularly, the primary bottleneck usually isn’t whether conversion is possible. It’s how many steps sit between capture, edit, export, and browser check. That’s where an integrated macOS workflow saves time.
In production, the biggest technical trade-off is still quality versus processing time. Higher-quality settings generally increase encode time, and a final playback test in a target browser such as Firefox is a smart validation step to confirm codec choices, quality level, and alpha support, as noted in this production-focused WebM export walkthrough.
For Mac teams that record and ship product demos often, Smooth Capture reduces that friction because the recording, editing, and export workflow live in one place. That matters when you’re creating feature announcements, onboarding clips, UI walkthroughs, and transparent overlay assets on a repeating schedule rather than as one-off projects.
The biggest advantage is consistency. Instead of rebuilding export logic across different apps, teams can keep a repeatable path for browser-ready outputs, device-framed demos, cursor-enhanced walkthroughs, and polished edits without bouncing between tools. That’s especially useful when multiple people touch the same video pipeline and need outputs that behave the same way every time.
If your team records product demos, onboarding videos, or transparent UI animations on macOS, Smooth Capture is worth a look. It gives you a faster path from capture to polished WebM-ready delivery, with native editing and export workflows built for teams that need to ship clean video assets regularly.
Ready to create stunning app demos?
SmoothCapture makes it easy to record your screen with 3D device frames, cinematic cursor effects, and professional editing tools.