Compressing Video on Mac: A Practical Guide (2026)
You export a screen recording on your Mac, check the file size, and immediately hit the usual wall. It's too big to send to a client, awkward to upload to your help center, and heavy enough that a simple product demo starts feeling like a delivery problem instead of a communication asset.
That's where compressing video on Mac stops being a technical afterthought and becomes part of the production workflow. For screen recordings, the quality requirements are more demanding than with regular footage. You're not just trying to make a file smaller. You're trying to keep interface text crisp, preserve smooth cursor movement, and avoid turning subtle UI transitions into mush.
Table of Contents
- Why and When to Compress Your Mac Videos
- Quick and Easy Compression with Built-In Mac Tools
- Mastering Compression on Mac with HandBrake
- Decoding Your Export Settings: Codec, Bitrate, Resolution
- The Professional Workflow Using Apple Compressor
- Recommended Settings for Polished Business Videos
Why and When to Compress Your Mac Videos
A raw export often looks great and behaves badly. A large file slows approvals, creates friction for teammates, and makes publishing harder than it needs to be. If you produce demos, onboarding videos, feature walkthroughs, or support tutorials, compression is what turns an internal working file into something people can use.
For business video, the reason to compress isn't only storage. It's delivery. A smaller file moves faster through review tools, CMS uploads, email handoffs, and cloud folders. It also gives viewers a better experience when they're watching on ordinary office Wi-Fi, a hotel connection, or a mobile browser.
What compression is really solving
Compression helps in a few practical ways:
- Faster uploads: Large exports stall publishing queues and slow down last-minute revisions.
- Easier sharing: Sales, support, and customer education teams often need files that can move quickly between people and tools.
- Cleaner playback: A well-compressed file is more likely to start quickly and play smoothly for the viewer.
- Less waste: Many exports carry more data than the audience can see, especially when the final destination is a web page, a knowledge base, or social.
Practical rule: Compress for the destination, not for your ego. A pristine master file is useful. Sending that same file everywhere usually isn't.
There's also a quality reason to compress deliberately instead of casually. If you let a platform perform the only compression step, you're giving up control over what gets sacrificed. For screen recordings, that usually means the wrong parts suffer first: small text, cursor edges, click ripples, and thin UI lines.
The business case for doing it before publishing
Teams that ship video regularly need predictable outputs. One person might upload a launch teaser, another might send a product walkthrough to a prospect, and someone else might publish a help tutorial. Each use case wants a different balance of size, quality, and compatibility.
That's why a simple decision framework helps. Keep a high-quality source export for archive and future edits, then create delivery versions optimized for where the video will live. If you want a broader checklist for deciding what to reduce first, these tips for optimizing video size are a useful companion to the Mac-specific workflow in this guide.
Quick and Easy Compression with Built-In Mac Tools
A familiar business scenario: a product manager records a 12-minute walkthrough on a MacBook, sends the raw screen capture to sales, and the file is too large for email, slow to upload, and softer than expected after Slack or a CMS recompresses it. Built-in Mac tools solve that first delivery problem fast, especially when the goal is a smaller file today, not perfect compression control.
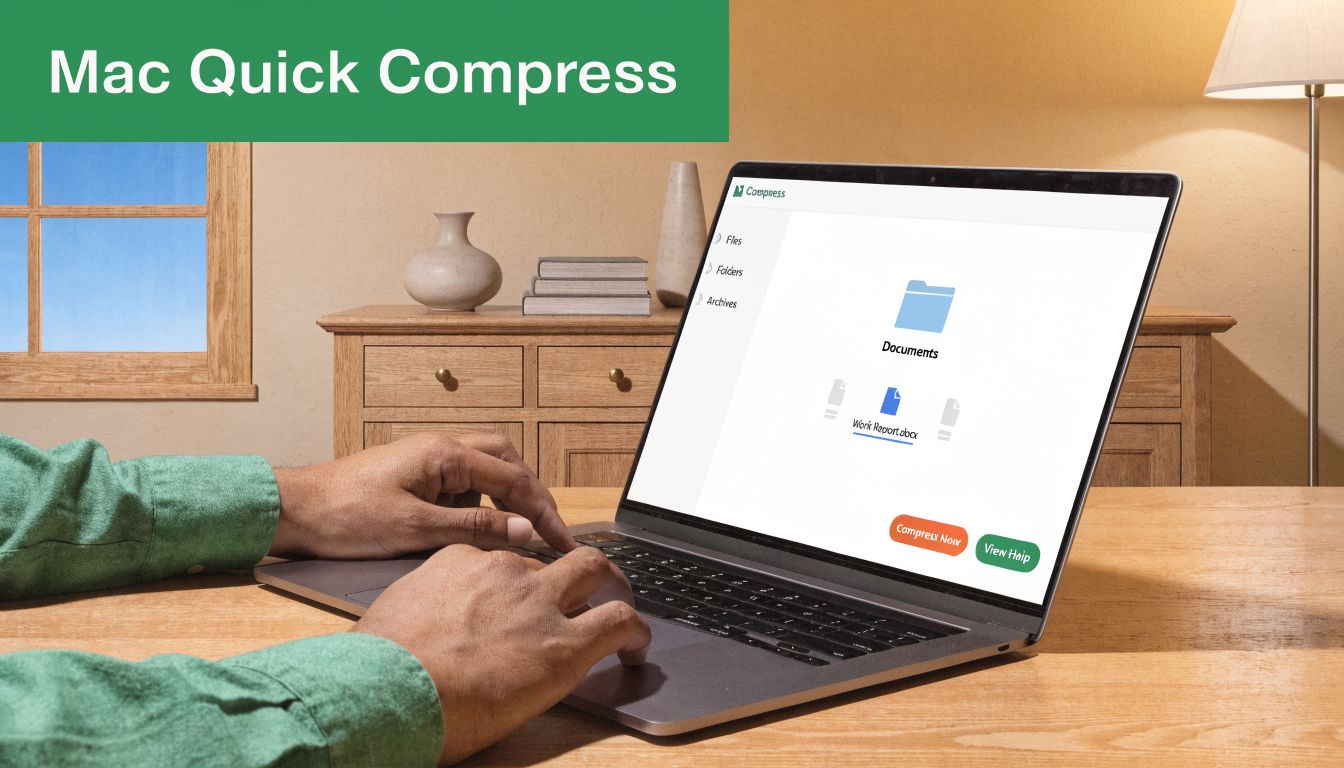
QuickTime Player and Finder encoding are the two native options that matter here. They work best for one-off exports, internal reviews, and routine business videos where compatibility matters more than squeezing every last megabyte out of the file.
For screen recordings, the main trade-off is straightforward. Apple's built-in tools are easy, but they give you limited control over the details that keep UI footage looking professional: text sharpness, cursor edges, and smooth motion in menus or dropdowns.
When built-in tools are enough
Use Apple's built-in options in cases like these:
- Internal product demos: You need to get a walkthrough into Slack, Notion, or email without opening another app.
- Client review copies: A compressed draft is fine as long as the screen remains readable.
- Simple downscaling: A 4K screen recording often becomes far more practical at 1080p, with a meaningful size drop and little downside for laptop viewing.
- Short tutorials: A 2 to 5 minute how-to clip usually compresses well enough with default Mac tools if the interface is not overly dense.
They start to fall short with UI-heavy footage. A software demo with small sidebar labels, code snippets, spreadsheets, or fast cursor movement needs more precision than QuickTime usually offers.
How to compress with QuickTime Player
QuickTime is the fastest option if you only need to reduce resolution and export a clean copy.
Open the video in QuickTime Player.
Go to File > Export As.
Choose 1080p or 720p based on the destination.
Save the new file.
Check the exported version at full screen before sending it.
For business screen recordings, 1080p is usually the safest floor. It keeps interface text readable in product demos and training clips. Dropping to 720p can work for social posts or lightweight internal updates, but thin UI lines and small labels often start to suffer.
A practical example: if a screen recording was captured at 4K and is only going to live in a help center article or be viewed on laptops, exporting to 1080p often cuts the file dramatically while preserving the details viewers need. If the video includes terminal text, analytics dashboards, or dense settings panels, inspect those areas before you send the file.
If you want to cut dead space before export, use QuickTime for that too. This guide on how to edit video in QuickTime Player is useful when you need to trim the opening, remove a pause, or shorten a tutorial before compressing it.
One caution. QuickTime does not let you choose bitrate targets, fine-tune codec behavior, or build repeatable presets. That limitation shows up quickly when two videos with the same resolution need different treatment because one is a talking-head clip and the other is a sharp UI walkthrough.
If your team records demos often, better source footage helps before compression even starts. Clean framing, readable zoom levels, and polished capture quality make exports hold up better, especially if you create studio-quality videos before they reach the compression step.
How to encode clips in Finder
Finder includes a built-in encoding shortcut that many Mac users miss. It is useful for small batches, especially when you have several clips from the same meeting, onboarding session, or feature demo.
- Select one or more video files in Finder.
- Right-click and choose Encode Selected Video Files.
- Choose a resolution and compatibility option that fits the destination.
- Create compressed copies and review one file before sharing the full batch.
Finder is convenient for teams that want a no-training workflow. An enablement manager can batch-convert a few tutorial clips without opening editing software, and the output is usually fine for internal documentation or review rounds.
The compromise is consistency. You get speed, but not much authority over how the encode behaves. For screen recordings used in sales demos, onboarding tutorials, or customer education, that usually means native Mac tools are best for quick delivery versions, not final polished exports where UI clarity has to survive every playback environment.
Mastering Compression on Mac with HandBrake
A common business scenario looks like this. A product marketer records a 12-minute feature walkthrough on a Mac, exports it, and ends up with a file that is far too heavy for email, LMS upload limits, or a sales enablement platform. The first bad fix is usually aggressive compression that makes menu text fuzzy and cursor movement stutter. HandBrake gives you enough control to avoid that.
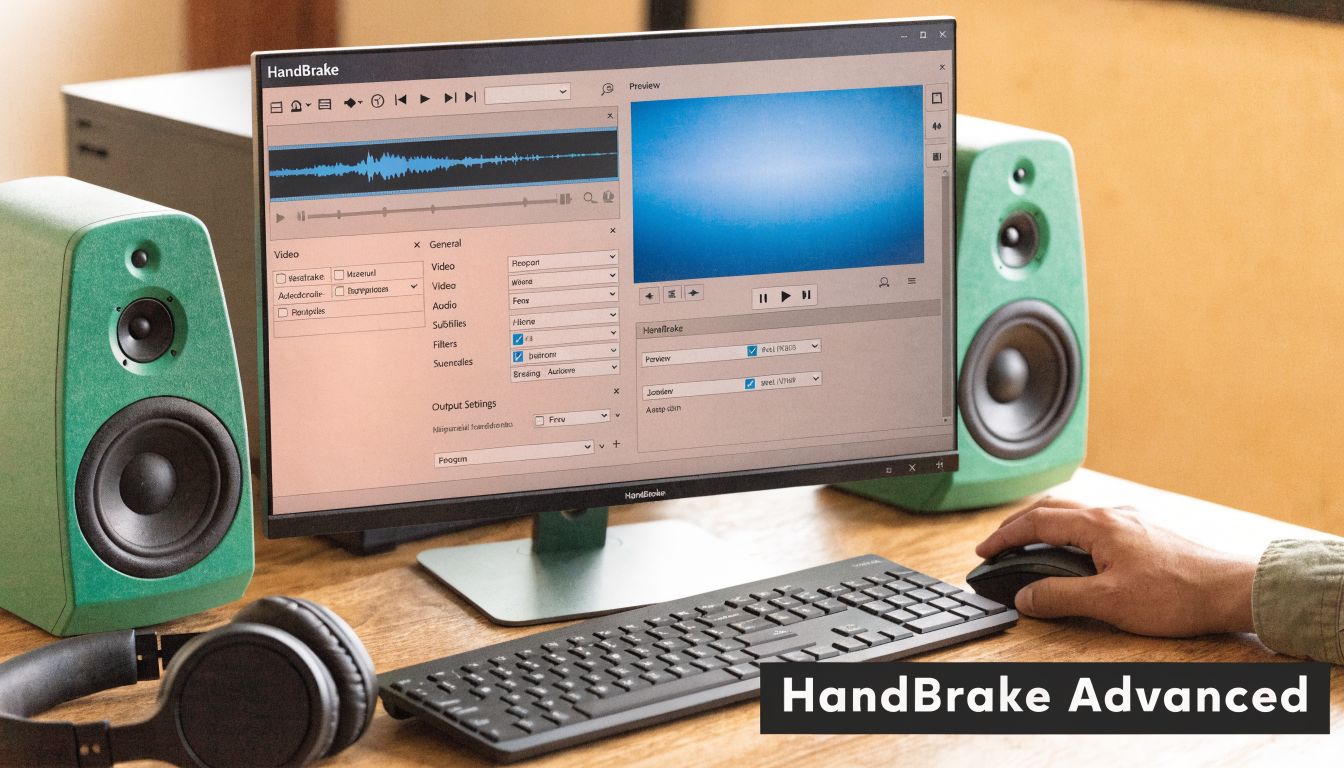
HandBrake is the tool I reach for when Finder exports are too generic but I do not need a full post-production workflow. It is free, stable, and especially useful for screen recordings, where text sharpness and interface edges matter more than cinematic texture.
The key habit is simple. Start with a preset that matches your delivery target, then control output with Constant Quality rather than chasing an exact file size on the first pass.
The settings that matter most
For product demos, onboarding tutorials, and internal training clips, these are the controls that deserve your attention:
- Preset: Start with Fast 1080p30 for standard business delivery.
- Codec: Use H.264 if the file must play anywhere without questions. Use H.265 (HEVC) when smaller files matter more and your audience is on modern Apple devices, current browsers, or recent corporate laptops.
- Quality: Use the RF slider. For UI-heavy recordings, lower RF usually pays off because small text exposes compression damage fast.
- Frame rate: Match the source. If the capture was recorded at 30 fps, keep it there. Do not create artificial smoothness by changing frame rate during compression.
- Audio: AAC stereo is usually enough for demos, webinars, and narrated tutorials.
- Queue: HandBrake is excellent for batches, especially when a team needs multiple tutorial clips compressed the same way.
For screen recordings, I usually start in a narrower RF range than I would for camera footage. A talking-head clip can tolerate more compression. A UI walkthrough cannot.
A practical HandBrake recipe for screen recordings
Use this starting recipe for Mac screen captures that include dashboards, product tours, or software training:
- Import the recording.
- Choose Fast 1080p30.
- Set format to MP4.
- Keep Web Optimized on if the file will be uploaded or streamed.
- Choose H.264 for broad compatibility, or H.265 (HEVC) if reducing file size is the priority.
- Set RF 20 to 22 for product demos where text and cursor detail need to stay clean.
- Keep Framerate: Same as source and select Constant Framerate.
- Check dimensions before export. If your source is already 1920x1080, do not resize unless you have a clear reason.
- Export a 20 to 30 second test section before running the full file.
That workflow holds up well for business content because it protects the details people need to read. Button labels, sidebar navigation, table text, and cursor movement are usually the first things to fall apart when compression is pushed too hard.
Here is a realistic trade-off. A 10-minute 1080p screen recording might start around 700MB to 1.5GB depending on the capture app and source settings. With HandBrake, it is often possible to bring that down into a much easier sharing range while still keeping interface text readable. If I am compressing a polished product demo for customers, I stay conservative on quality. If I am preparing an internal review copy, I will accept a softer encode to get a lighter file.
A short walkthrough helps if you prefer to see the layout before touching settings:
If text looks soft after export, check RF, scaling, and frame rate before blaming the codec.
What usually goes wrong
Most weak HandBrake exports for Mac screen recordings come from a small set of avoidable mistakes.
| Problem | What causes it | Better move |
|---|---|---|
| Soft UI text | RF pushed too high | Stay closer to RF 20 to 22 for demos and tutorials |
| Choppy cursor motion | Frame rate changed during export | Match the source frame rate |
| Distorted interface | Incorrect sizing or aspect settings | Verify dimensions before adding jobs to the queue |
| Tiny text after upload | Unnecessary downscaling | Keep 1080p for product demos unless the destination requires smaller |
| Good picture, oversized file | Codec or RF too conservative | Try HEVC or raise RF slightly, then compare a short sample |
A few settings deserve extra caution. Do not turn on filters unless you know why you need them. Screen recordings usually do not benefit from denoise or other cleanup effects, and those filters can smear fine interface detail. Watch anamorphic and scaling settings too. A subtle geometry error is easy to miss in export settings and obvious in a product UI.
The fastest way to get reliable output is to test a representative section first. Pick a segment with small text, dropdown menus, pointer movement, and one transition. If that section survives compression, the rest of the video usually will too.
Decoding Your Export Settings: Codec, Bitrate, Resolution
A screen recording of a product demo fails fast when export settings are off. Small UI text turns soft, fine lines around panels start to shimmer, and cursor movement loses its crisp feel. Codec, bitrate, and resolution are the three settings that decide whether a Mac export stays readable or falls apart.
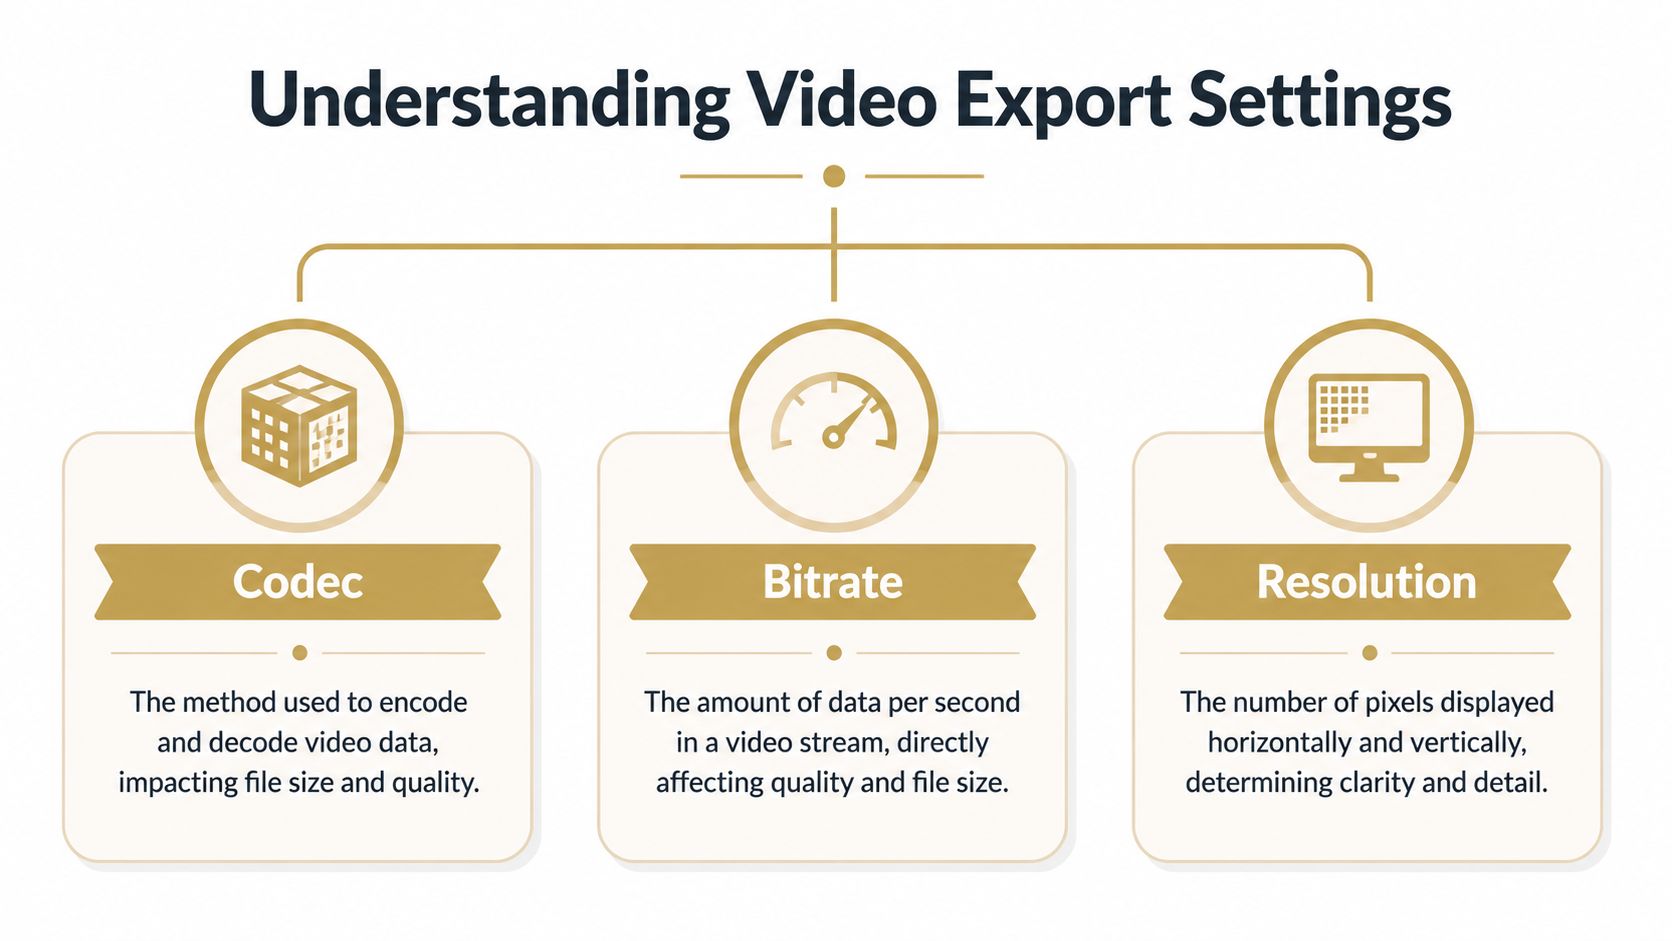
Codec decides how efficiently detail survives
Codec is the compression format. In day-to-day Mac workflows, that usually means choosing between H.264 and H.265 (HEVC).
H.264 is still the safe default for broad compatibility. It plays nicely in browsers, learning platforms, sales enablement tools, and older devices. If a tutorial is headed to customers, partners, or a mixed-device audience, H.264 avoids playback surprises.
HEVC usually produces a smaller file at similar visual quality, especially on newer Apple hardware. That makes it useful for internal training libraries, downloadable demo assets, or archived recordings where storage matters. The trade-off is compatibility. Some web apps, older Windows machines, and embedded players still handle H.264 more predictably.
For business screen recordings, the choice is less about cinematic quality and more about preserving interface detail. Product UIs have hard edges, thin fonts, and repeated patterns that expose weak compression quickly. If your team is also comparing export options in different apps, this guide to Mac video editing software for business workflows is a useful companion.
A practical rule works well here. Use H.264 for widest distribution. Use HEVC when file size matters and you control playback conditions.
Bitrate decides whether the file is lean or starved
Bitrate controls how much data the encoder can spend on the video over time. Too low, and text and icons break down first. Too high, and the file gets heavier without a visible gain.
For screen recordings, bitrate needs are different from live-action footage. A talking-head clip can tolerate some softness. A dashboard walkthrough cannot. Compression artifacts show up as fuzzy labels, ringing around text, and muddy gradients in app windows.
For a 1080p product demo or tutorial, I usually treat these as solid starting points:
- H.264, 1080p, 30 fps: around 6 to 10 Mbps
- HEVC, 1080p, 30 fps: around 4 to 7 Mbps
- 1080p recordings with lots of motion, such as animated UI transitions or fast cursor movement: start near the top of those ranges
- Static tutorials with mostly slides or slow clicks: start near the lower end, then inspect text at 100% size
A real example helps. A 10-minute 1080p screen recording exported at 12 Mbps H.264 will often land near 900 MB. The same video at 6 Mbps H.264 may drop closer to 450 MB. If the content is a CRM walkthrough with small text, that cut can be worth it only if labels still read cleanly after upload. If it is a social clip with large captions and simple motion, the smaller file is usually the smarter choice.
VBR is usually the right bitrate mode for this kind of footage because screen recordings alternate between still menus and bursts of movement. 2-pass VBR tends to produce cleaner delivery files when your app gives you the option and export time is not a concern. For teams comparing export speed and encoding behavior across tools, Larry Jordan's video compression speed test is a useful reference point.
Resolution determines readability faster than people expect
Resolution is where many otherwise good exports go wrong.
For business video, the target should match how the recording will be watched. A support tutorial viewed full screen on a laptop needs different treatment than a social cut-down watched in a feed.
Use this framework:
- Product demos with small UI text: keep 1920x1080 if the source supports it
- Detailed software training or code walkthroughs: keep the source resolution unless you have tested a smaller output and confirmed text remains readable
- Internal async updates with large interface elements: 1080p is usually enough
- Social media edits: crop for the destination first, then compress. Do not just shrink a full desktop recording and hope text survives
Downscaling can help file size, but it is usually the wrong place to save space on screen recordings. Cutting bitrate slightly is often less damaging than reducing resolution from 1080p to 720p when the video contains menus, sidebars, tables, or code.
Frame rate matters too. Cursor motion and panel animations look natural when the export matches the source. For most Mac screen recordings, 30 fps is a practical default. If you recorded at 60 fps because the demo includes quick pointer movement, scrolling, or polished motion design, keep 60 fps only if viewers will notice the difference and the delivery platform supports it. Otherwise, 30 fps is the better trade-off for file size.
The right export setting depends on the job. A customer-facing product tour should favor compatibility and crisp text. A social clip should favor platform fit and smaller files. An internal training library should favor efficient storage without sacrificing interface clarity.
The Professional Workflow Using Apple Compressor
Apple Compressor makes sense when video compression is no longer an occasional task. It's a workflow tool for repeatability. If your team exports often, needs consistent settings, or already works in Apple's ecosystem, Compressor is where ad hoc exporting turns into a process.
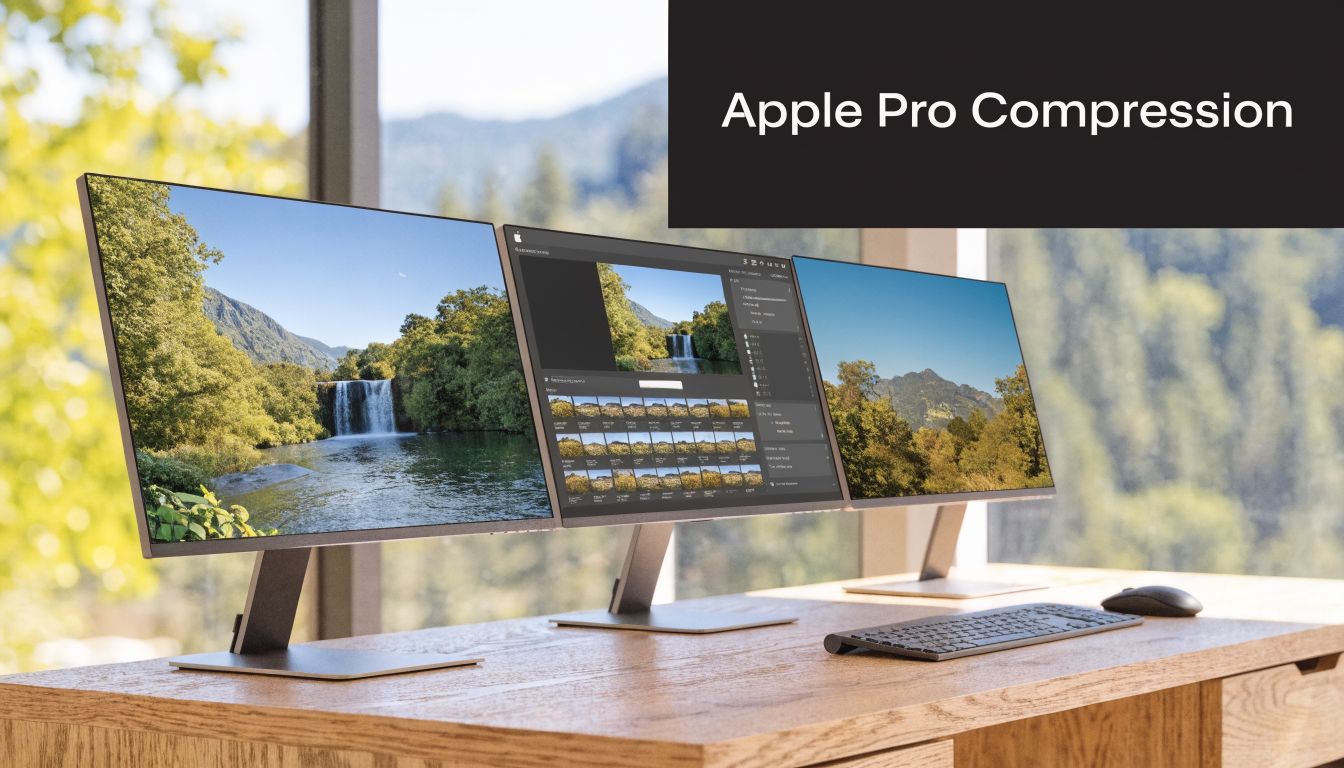
Where Compressor fits best
Compressor is strongest when you need the same outputs again and again. Think launch videos, support tutorials, app previews, onboarding lessons, or recurring product updates.
It also fits nicely with larger Mac-based editing setups. If your team is comparing tools around the Apple stack, this guide to Mac video editing software is a useful companion because compression quality often starts with the editing environment and export handoff.
A repeatable batch workflow
A practical Compressor workflow looks like this:
- Import the clip or send it from Final Cut Pro.
- Duplicate the job in the batch window if you need multiple output variants.
- Apply a starting preset, then switch to a custom H.264 or H.265 setup.
- Set bitrate to 5-15 Mbps for 1080p, with more room for motion-heavy scenes.
- Enable multi-pass encoding.
- Match frame rate to source and configure resolution scaling.
- Set audio to AAC 192 kbps stereo.
- Submit the job to the Apple Silicon cluster if you're using distributed encoding.
Apple Compressor uses hardware-accelerated H.264 and H.265 encoding through VideoToolbox on Apple Silicon. Benchmarks show 4x faster encodes on M2 Max versus Intel, and a 1GB 1080p ProRes clip can be reduced to 200MB H.264 with over 95% visual fidelity. Using Average Bitrate instead of CBR can cut file sizes by 25-40% without perceptible loss, based on this Apple Compressor setup and benchmark guide.
What I like about Compressor in team settings is consistency. Once you've built a preset for a support tutorial, app preview, or YouTube upload, you stop relying on individual judgment every time a new file lands.
Save presets around real destinations, not generic labels. “Help center 1080p” is better than “Medium quality.”
Compressor also rewards disciplined naming and batching. Build one preset for polished external delivery, one for internal review, and one for archival handoff. That kind of structure saves time because nobody has to re-decide the same export logic on every project.
Recommended Settings for Polished Business Videos
Generic export advice breaks down fast when the source is a screen recording. A product demo has different failure points than camera footage. Text can soften, cursor motion can feel sticky, and small interface transitions can disappear under aggressive compression.
A common gap in most guides is exactly this problem. For screen recordings, over-compression causes choppy cursor interpolation and blurred UI, and prioritizing HEVC (H.265) offers 30-50% better efficiency for this kind of content on macOS Ventura and newer, as noted in this screen recording compression guide for Mac.
Best settings by use case
Here's the practical version I'd use.
- Product demos for web playback: Use HandBrake, start with Fast 1080p30, switch to HEVC, and set RF 20 when interface clarity matters. This usually keeps text, cursors, and click effects in good shape.
- Tutorial libraries and help center videos: Export at 1080p unless the interface is unusually dense. Favor a quality-first setting over chasing the smallest possible file.
- App previews and polished marketing exports: Use Apple Compressor when you need consistency across many files, especially if your team wants saved presets and repeatable output behavior.
- Internal review files: QuickTime or Finder encoding is fine when speed matters more than fine control.
If your workflow revolves around recorded walkthroughs, launch assets, and tutorial production, this article on Mac screen cast workflows is a useful complement because recording choices affect compression results more than many realize.
The screen recording rule that matters most
Treat UI-heavy video like a precision asset, not generic footage.
That means:
- Keep source frame rate matched so pointer motion stays natural.
- Don't over-shrink text-heavy captures just to hit an arbitrary size target.
- Prefer HEVC when compatibility allows because it's usually more efficient for modern Mac workflows.
- Test a short section first if the clip includes fine text, hover states, or animated transitions.
The cleanest compressing video on Mac workflow is usually simple: quick tools for one-off jobs, HandBrake for tuned control, and Apple Compressor for repeatable team outputs.
If your team produces product demos, onboarding tutorials, client walkthroughs, or App Store-ready assets every week, Smooth Capture is built for that workflow. It combines native macOS recording, editing, cursor effects, device frames, automatic zoom, subtitles, and clean exports in one app, so you spend less time stitching together tools and more time shipping polished video.
Ready to create stunning app demos?
SmoothCapture makes it easy to record your screen with 3D device frames, cinematic cursor effects, and professional editing tools.