How to Remove Background Noise
You record a strong take. The pacing is right, the screen flow is clean, and the explanation lands. Then you listen back and hear the air conditioner, laptop fan, room echo, or a passing car sitting under every word.
That’s the moment one typically starts searching for how to remove background noise. The instinct is understandable. Open an editor, click a denoise button, and hope the problem disappears.
Sometimes that works. Often it doesn’t.
Clean audio comes from a lifecycle, not a single filter. You prevent what you can, capture the voice as clearly as possible, and only then clean what remains. That order matters because every noise-reduction tool is making a trade-off. The more junk you ask it to remove, the more likely it is to shave off detail from the voice too.
Table of Contents
- Great Audio Starts Before You Hit Record
- Control Your Environment to Prevent Noise
- Optimize Gain Staging for Clean Capture
- Simple Noise Reduction Inside Smooth Capture
- Advanced Cleanup for Tricky Audio Problems
- Troubleshooting Common Noise Removal Pitfalls
Great Audio Starts Before You Hit Record
Most bad audio isn’t caused by one dramatic mistake. It’s usually a stack of smaller ones. A reflective room, a mic too far away, input gain set too low, and an expectation that software will sort it out later. By the time you reach editing, the voice already carries the room and the room rarely leaves without a fight.
The professional mindset is simpler. Prevention first. Capture second. Cleanup last. That sequence saves time and preserves voice quality. If you’re building out a reliable recording rig, this essential podcasting setup guide is a useful reference because the hardware choices you make up front affect how much repair work you’ll need later.
Prevention beats repair
Noise removal software is best at steady, predictable problems like low fan noise, constant hiss, or a hum that stays in one place. It’s much worse at rescuing speech recorded from across the room, or voice masked by traffic and reflections. Once the voice and the noise are tangled together, there isn’t a clean line between “keep this” and “remove that.”
That’s why good workflows start before the record button. Shut down what you can. Choose the quietest corner you have. Move the mic closer. Monitor with headphones. If you’re recording to a Mac and need a simple way to improve capture options, using an iPhone as a microphone for your computer can be a practical workaround when your built-in mic is the weakest link.
Practical rule: If the room is doing most of what you’re hearing, post-production won’t magically turn it into a studio.
Think in stages, not miracles
A lot of creators treat denoising as the main event. It isn’t. It’s a finishing pass. The strongest workflow looks like this:
- Prevent obvious noise: Turn off fans, close windows, pause noisy apps, and record when the building is quieter.
- Capture a strong voice signal: Put the microphone close enough that your voice dominates the room.
- Clean selectively: Use the lightest processing that solves the actual problem.
That approach is how you remove background noise without making the speaker sound like they’re talking through wet cardboard.
Control Your Environment to Prevent Noise
The room is your first audio processor. Before a waveform hits your editor, the space has already added something to it. Sometimes that’s a low HVAC hum. Sometimes it’s hard reflections bouncing off walls and desks. Sometimes it’s both.
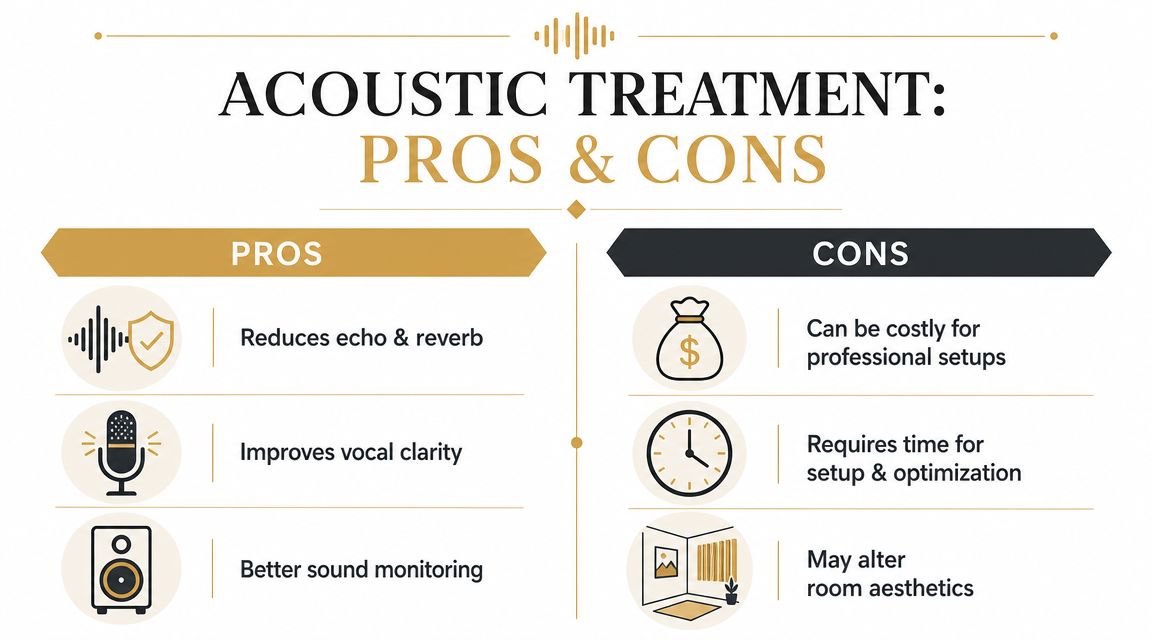
A useful distinction helps here. Soundproofing blocks outside noise from entering a room. Acoustic treatment manages how sound behaves inside the room. Most creators working from a home office or spare bedroom won’t fully soundproof a space, but they can make big improvements with basic treatment and smart positioning.
Treat reflections before you chase silence
If your voice sounds boxy, roomy, or splashy, the problem may not be “background noise” in the usual sense. It may be reflections. Hard floors, blank walls, glass, and desktops throw your voice back into the mic a fraction of a second later. The result is reduced clarity and a recording that feels farther away than it should.
Start with cheap, high-impact changes:
- Add soft surfaces: Rugs, curtains, couch cushions, and even thick blankets reduce high-frequency reflections.
- Break up flat hard areas: A bookshelf with uneven contents usually helps more than an empty wall.
- Move away from corners and windows: Corners can exaggerate low-end buildup, while windows reflect voice and admit outside noise.
A quieter room isn’t always the same thing as a better-sounding room. For spoken audio, reducing reflections is often the fastest win.
Position matters more than people expect
You can improve a mediocre room just by changing where you sit and where the microphone points. Don’t put the mic in the middle of the room and hope for the best. Put the deadest part of the room behind the microphone’s pickup pattern whenever possible, and keep noisy gear off-axis if you can.
Here’s a practical setup table:
| Problem | Better move | Why it helps |
|---|---|---|
| Laptop fan in the recording | Move laptop farther away or off to the side | The mic hears less direct fan noise |
| Boxy voice | Get closer to the mic | The voice gets louder relative to the room |
| Echo from walls | Face into soft furnishings or hang absorptive material nearby | Reflections lose energy before returning |
| Street noise | Record at a quieter time and avoid windows | Prevention is cleaner than repair |
Choose the right mic for the room
Many setups go sideways because a sensitive microphone in an untreated room often captures too much room. For voice work in a less-than-perfect environment, a dynamic microphone placed close to the mouth is often easier to manage than a condenser mic sitting farther away.
That doesn’t mean condensers are bad. It means context matters. If the room is lively and the street is noisy, mic discipline beats theoretical fidelity.
A practical checklist before every session helps:
- Listen before you record: Put on headphones and sit still for a few seconds. You’ll hear hums and fans you’ve been ignoring.
- Silence moving parts: Air purifiers, desk fans, notification sounds, and vibrating phones all sneak into takes.
- Control the desk: Keyboard clatter and mouse clicks matter if you’re narrating while demoing software.
- Record room tone: Capture a short silent section of the room. It helps later if you need cleanup or edits.
Build a repeatable recording corner
The best setup is the one you can recreate quickly. You don’t need a perfect studio. You need a spot that behaves consistently. Leave the mic stand where it works. Mark your chair position. Keep a simple preflight checklist near the desk.
People who produce demos, tutorials, and customer education content regularly benefit from consistency more than novelty. If your room, mic position, and monitoring stay stable, fixing audio becomes easier because fewer variables change from one recording to the next.
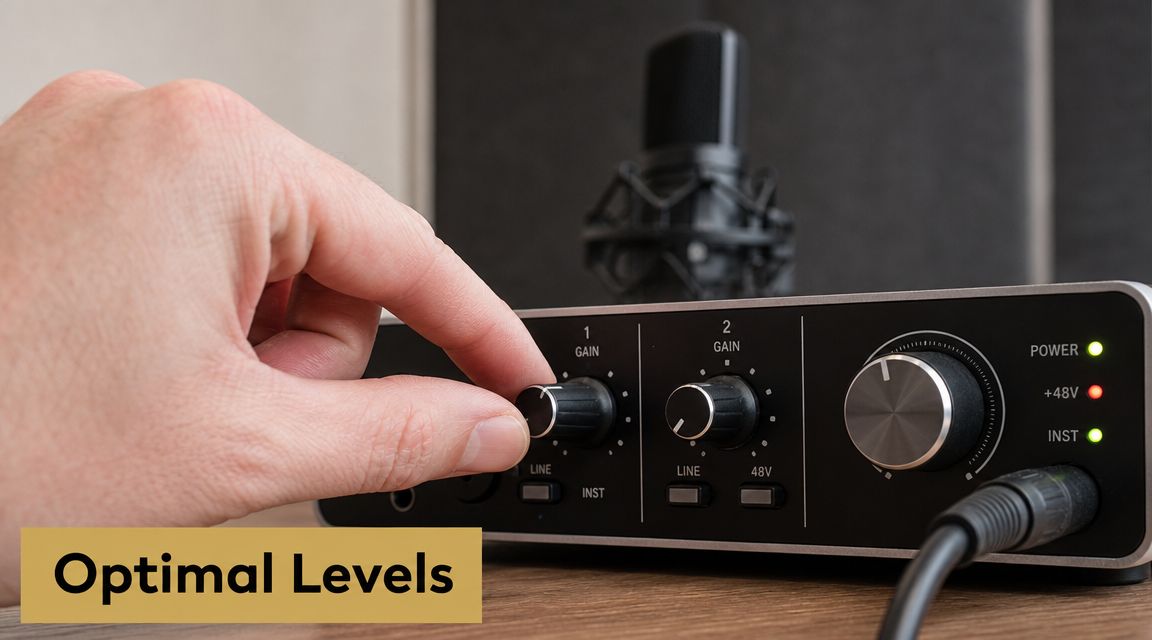
Optimize Gain Staging for Clean Capture
A clean recording isn’t only about the room. It’s also about gain staging, which is the process of setting input level so the voice is strong without clipping.
Think of gain like the fill level in a container. Too low, and you have to boost the recording later, which brings up hiss and room noise along with the voice. Too high, and peaks slam into the ceiling and distort. Clipped digital audio is harsh, obvious, and usually not repairable in a convincing way.
Aim for healthy level, not maximum level
For spoken word, you want enough headroom for louder phrases, laughter, or emphasis. A simple target is to let normal speech sit around -12 dB on a digital meter, with peaks above that but safely below clipping. That gives you room to perform naturally instead of speaking like you’re afraid of the meter.
Common mistakes look like this:
- Too quiet: The waveform looks tiny, so you raise it later and uncover preamp noise and room tone.
- Too hot: Peaks flatten out, consonants splatter, and the recording feels strained.
- Inconsistent distance: Even with a good gain setting, leaning back or turning away changes tone and noise pickup.
A quick setup routine that works
Set gain while speaking the way you’ll present. Don’t whisper during setup and then record the final take with more energy. Use the loudest likely phrase from the script and watch the meter while you say it naturally.
A practical routine:
- Set your recording position: Sit or stand exactly where you’ll perform.
- Speak at real delivery volume: Include your loudest likely emphasis.
- Raise gain until speech is solid but not near clipping: Leave space for surprises.
- Monitor with headphones: Meters show level. Headphones reveal hum, fan noise, and mouth noise.
- Record a test and listen back: Don’t trust the live input alone.
A short demo helps if you want to see metering and setup in action:
Why capture level affects noise removal later
Many people search for how to remove background noise when the actual problem is that the voice was captured at a low level. Noise-reduction tools can reduce steady interference, but they can’t replace a missing direct signal. If the room is almost as loud as the speaker, cleanup gets ugly fast.
Record so your voice is clearly in charge of the waveform. Noise reduction works best when it’s cleaning leftovers, not carrying the whole production.
This is also where real-time monitoring matters. If your app shows stable meters and lets you catch problems before the full take, you’ll avoid most of the cleanup work people struggle with later.
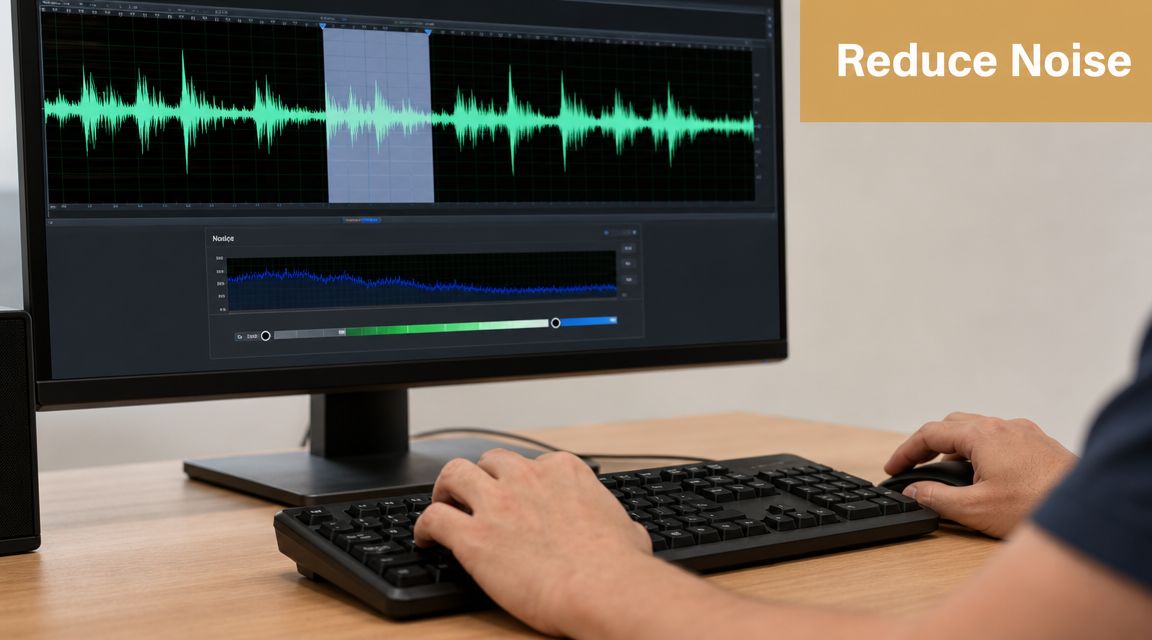
Simple Noise Reduction Inside Smooth Capture
Once the recording is done, start with the least invasive cleanup method that fits the problem. For steady background noise, the classic approach is noise profiling. The editor analyzes a short section that contains only the unwanted sound, learns its pattern, and reduces that pattern across the clip.
That workflow has been standard for years because it works well on constant interference like fan hum, low HVAC noise, and steady hiss. Adobe describes this as capturing a noise print and applying noise reduction to suppress constant noise such as microphone background noise, tape hiss, or power-line hum in its noise reduction and restoration documentation.
Use a noise-only sample
The quality of the profile matters. If you feed the tool a sample that includes speech, breaths, or keyboard taps, the cleanup pass may treat parts of the voice as noise. Audacity’s support guidance recommends a thorough sequence: capture a short noise-only segment, use it to generate a noise profile, apply reduction to the full clip, and audition the result with a residue or preview mode before committing in its noise reduction workflow guide.
In practice, that means you should look for a short patch at the start or end of the recording where no one is speaking. Even a brief sample is useful if it represents the actual noise floor.
A practical cleanup pass
Inside a multitrack editor, the process is straightforward:
- Find the silent bed of noise: Zoom in and select a section with no speech.
- Create the profile: Let the editor learn the hum, hiss, or steady room tone.
- Apply reduction to the full region or track: Start light.
- Preview before committing: Listen for damage to consonants and vocal texture.
- Back off if the voice starts sounding phasey or hollow: A smaller reduction often sounds better.
If you’re comparing tools or reviewing editing capabilities, the Smooth Capture features page gives a useful overview of what a modern screen recording and editing workflow can include around multitrack audio.
Conservative settings win more often
The mistake isn’t using denoise. The mistake is asking one pass to do too much. A moderate reduction that leaves a faint trace of room noise usually sounds more professional than a heavy pass that strips life out of the voice.
Preview modes matter. If your editor offers a way to hear what’s being removed, use it. When the residue contains pieces of the speaker’s articulation, you’ve gone too far.
A few practical cues help:
- Good result: The background steps back, but speech still feels intact.
- Warning sign: “S” sounds smear, room tone pumps, or the voice feels underwater.
- Better fallback: Split the difference. Leave some low-level noise and preserve natural speech.
For most creators, this gets you most of the way there on routine problems without turning audio repair into a full restoration project.
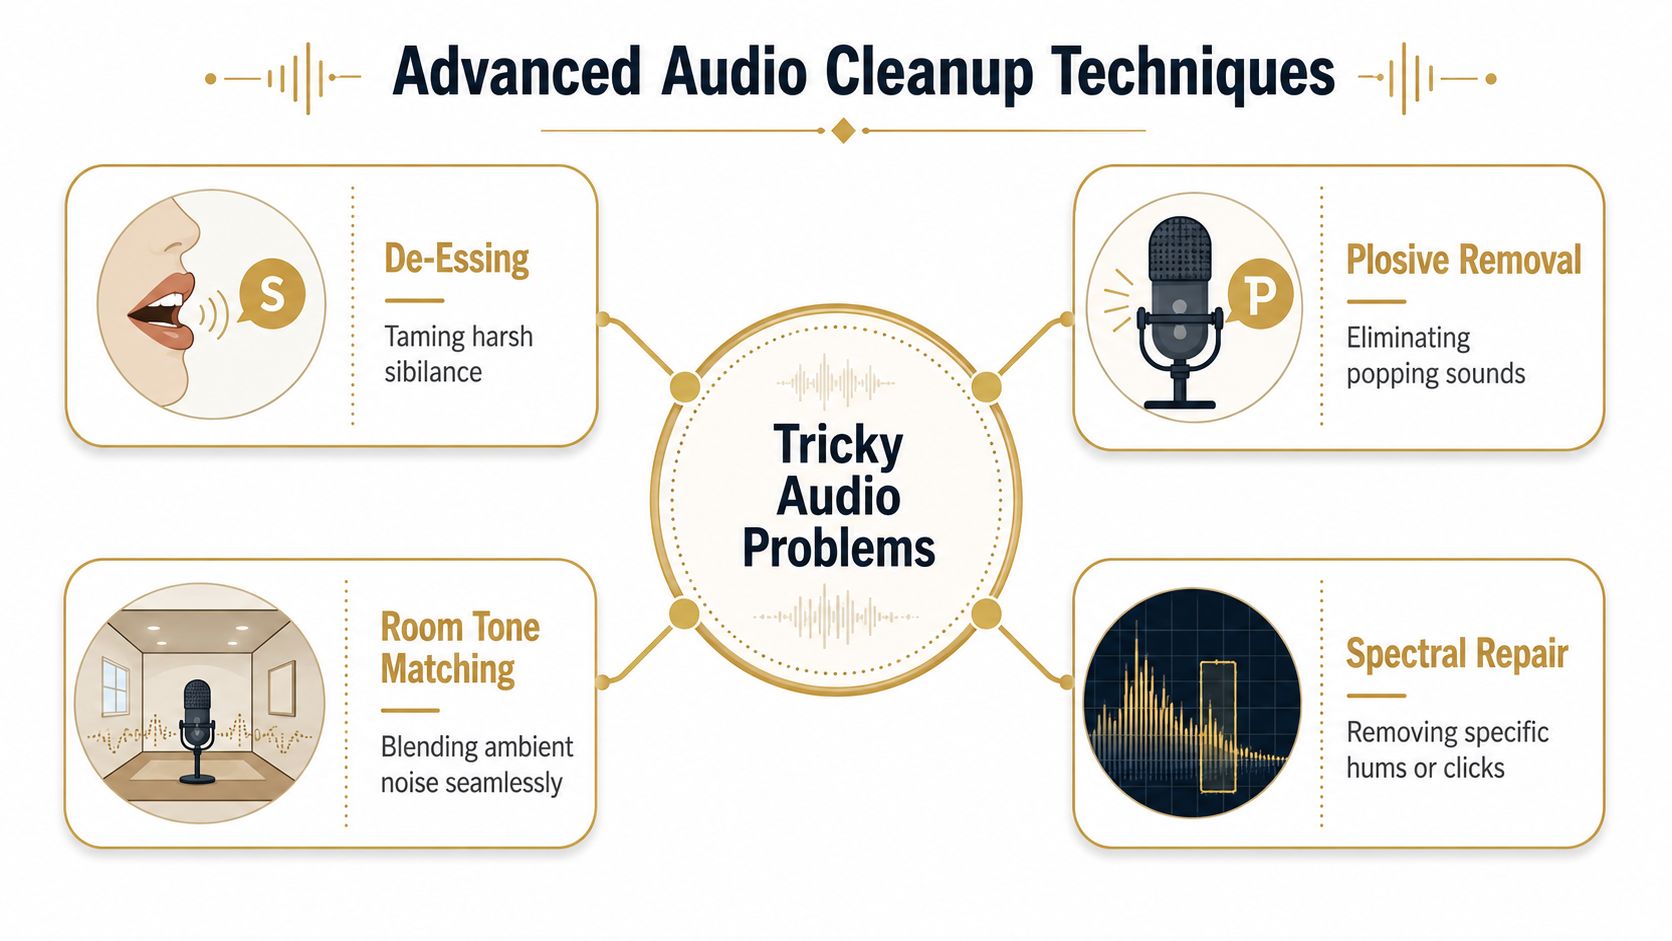
Advanced Cleanup for Tricky Audio Problems
Some recordings don’t fail in a simple, constant way. The noise changes over time, appears only between phrases, lives in a narrow frequency band, or arrives as isolated events like bumps, clicks, and sirens. That’s when one denoise pass stops being enough.
The right move is to match the tool to the symptom, not to keep stacking more of the same effect and hoping the problem disappears.
Match the tool to the problem
Here’s a practical decision table:
| Problem type | Best first tool | What it does | Main trade-off |
|---|---|---|---|
| Low rumble from HVAC, desk bumps, traffic | High-pass filter | Rolls off low frequencies below the useful voice range | Too much filtering thins the voice |
| Noise between phrases | Noise gate or expander | Turns down low-level background when you’re not speaking | Bad settings chop off word endings |
| Electrical hum | Narrow EQ cut or hum removal tool | Targets a tonal frequency problem | Can leave artifacts if overdone |
| Clicks, pops, door slams, sirens | Spectral repair | Lets you remove a specific event visually and surgically | Slower, more manual work |
Gates and expanders for pauses
A noise gate doesn’t clean the voice while you’re speaking. It lowers the noise floor when you stop speaking. That makes it useful for tutorials, support videos, and demos with clean phrase spacing. It is not a magic hum remover. If the noise continues under the words, the gate won’t solve that part.
An expander is often gentler than a hard gate. Instead of snapping the room fully off, it reduces low-level noise more gradually. That usually sounds more natural for spoken content.
Use a gate to clean pauses, not to fix a noisy take. If the room is obvious during speech, the solution lives elsewhere.
Filters for rumble and hum
Low-end rumble is common in home offices. Desk vibrations, HVAC systems, and traffic can all build energy where speech doesn’t need much support. A high-pass filter can trim that clutter before heavier processing. Used lightly, it clears space without making the speaker sound thin.
Hum is different. It tends to feel tonal and stubborn. In that case, targeted removal or narrow EQ cuts work better than broad denoising because the issue sits in specific bands.
Spectral repair and newer statistical approaches
When an isolated sound lands on top of speech, spectral editing is often the cleanest answer. You view the sound visually, identify the event, and attenuate just that section. It’s slower than one-click cleanup, but it’s one of the few ways to handle a bark, chair squeak, or notification ping without flattening the entire voice track.
Modern research is pushing this further. A 2023 Frontiers in Audiology and Otology study described statistical sound filtering as a domain-free approach that models background noise using spectrotemporal statistics and subtracts components consistent with the interference. In tests on the TIMIT speech corpus with semi-natural and natural background noises, it improved quality across all measured metrics and ran at about 100× real-time, making advanced cleanup practical for everyday workflows in the study’s reported setup, as detailed in the Frontiers paper on statistical sound filtering.
That matters because it points toward faster cleanup without forcing editors into painfully slow render cycles. It doesn’t remove the need for judgment, though. Fast processing is useful. Choosing the right process still matters more.
Troubleshooting Common Noise Removal Pitfalls
The biggest failure in noise reduction isn’t leaving too much noise. It’s removing too much voice.
People often judge cleanup by how silent the gaps become. That’s the wrong metric. Speech is the product. If the voice loses body, consonants smear, or the track starts sounding metallic, the cleanup pass failed even if the background is technically lower.
Learn the sound of over-processing
Over-reduction has a recognizable sound. The voice gets watery, hollow, or metallic. Tails of words flutter. Room tone seems to breathe unnaturally. Audiences may not know the technical reason, but they’ll hear that something feels off.
A practical guideline from editors aligns with that. Aggressive settings can suppress noise but also damage speech timbre, creating watery or metallic artifacts, so experienced editors work in small increments and start conservatively, as discussed in this guide to avoiding over-reduction in Audacity.
Good enough audio is often better than perfect silence
For demos, tutorials, onboarding videos, and support recordings, a trace of natural room tone can sound more trustworthy than absolute digital silence. When every pause drops into a vacuum, edits feel obvious and the voice can feel detached from the scene.
That doesn’t mean you should leave recordings messy. It means you should prioritize intelligibility over sterile perfection.
Use this checkpoint list when deciding whether to stop:
- Speech first: Every word should be easy to understand without strain.
- Artifacts second: If cleanup draws attention to itself, back it off.
- Consistency third: Noise should feel stable, not pumping or changing strangely between edits.
- Context last: A product demo can tolerate a light room bed more easily than a narrated brand film.
When the fix is a re-record
Sometimes the fastest professional move is to record it again. If the original take has clipping, heavy room reflection, or overlapping intermittent noise, deeper repair can take longer than a fresh pass captured properly.
That’s especially true for screen recordings. If the app audio is wrong, the mic was misrouted, or the recording chain failed, start with a clean diagnosis instead of stacking repair plugins. This guide to fixing screen recordings with no audio on Mac is a useful troubleshooting reference when the problem begins at capture rather than cleanup.
Leave a little imperfection if removing it would make the speaker sound less human.
The best answer to how to remove background noise is rarely “use more denoise.” It’s usually “record cleaner, reduce less, and stop when the voice still sounds real.”
If your team records product demos, onboarding walkthroughs, or tutorial libraries regularly, Smooth Capture gives you a practical way to handle the full workflow in one place. You can capture polished screen recordings, monitor audio more deliberately, and edit with a fast multitrack timeline instead of stitching together separate tools after the fact. That’s a major productivity advantage. Fewer rescue jobs, more clean takes, and less time fighting preventable audio problems.
Ready to create stunning app demos?
SmoothCapture makes it easy to record your screen with 3D device frames, cinematic cursor effects, and professional editing tools.