Android Wireless Display: Cast to TV, PC, and Mac (2026)
You're probably here because the easy version of Android wireless display already failed once.
Maybe you opened Smart View before a client call and your TV didn't show up. Maybe Chromecast connected, but the video looked soft and laggy. Maybe you're trying to record a clean product walkthrough on a Mac and realized that “just cast your phone” is advice written for living rooms, not production workflows.
That's where the actual division lies with android wireless display. Some methods are built for convenience. Others are built for control. If you only need to throw your screen onto a TV for casual viewing, the built-in options are usually enough. If you need a stable, repeatable feed for demos, tutorials, QA review, or launch videos, the setup choices matter a lot more than most guides admit.
Table of Contents
- Why Wireless Display Matters for Your Workflow
- Casting to Your TV with Chromecast and Miracast
- Mirroring to a PC or Mac with Receiver Apps
- High-Fidelity Mirroring with Scrcpy and Wireless ADB
- Troubleshooting Latency and Quality Issues
- Creating Polished Demos from Your Wireless Display
Why Wireless Display Matters for Your Workflow
Android screen sharing used to feel like a niche feature. It isn't anymore. The global wireless display market was valued at USD 5.41 billion in 2023 and is projected to reach USD 11.08 billion by 2030, according to Grand View Research's wireless display market analysis.
That matters because it reflects what teams already feel in practice. Wireless screen sharing is now part of normal work. Product marketers use it for feature demos. Support teams use it for reproducing customer issues. Trainers use it for walkthroughs. Founders use it when they need a phone screen on a bigger display without hunting for a cable five minutes before a meeting.
Two very different jobs
The mistake is treating every wireless display workflow as the same job.
If your goal is casual viewing, your best setup is usually the fastest one to launch. Cast to a TV. Mirror to a meeting room display. Accept a little latency and some compression. That's fine when the audience only needs to see what's happening.
If your goal is high-quality video production, convenience stops being the main requirement. You need predictable framing, stable motion, reliable orientation, and a screen feed that won't shift midway through a recording. In that environment, a method that works “most of the time” is the wrong method.
Practical rule: Choose your mirroring setup based on the final output, not the first successful connection.
What actually changes by method
The display target changes the workflow more than people expect:
| Target | Best for | Usual trade-off |
|---|---|---|
| TV | Meetings, quick reviews, casual playback | Less control over framing and quality |
| Windows PC | Webinars, support sessions, desktop recording | Depends heavily on receiver app quality |
| Mac | Tutorial production, polished demos, editing workflows | Often needs third-party tools or a more technical setup |
The biggest shift happens when recording enters the picture. Once you're making a repeatable asset, not just live-sharing a screen, your tolerance for randomness drops fast.
What works in practice
For quick sharing, built-in casting wins because it removes setup friction. For desk-based work, receiver apps give you more flexibility because you can route the phone feed into a computer workflow. For the cleanest, most controllable result, high-control mirroring tools tend to beat consumer casting methods.
That's why experienced teams usually stop asking, “Can I cast my Android?” and start asking, “What's the least fragile way to get a clean Android feed into the device where I work?”
Casting to Your TV with Chromecast and Miracast
If you want the path of least resistance, start with the TV.
For many users, Chromecast and Miracast are the two default answers to android wireless display. They solve the same broad problem, but they don't behave the same way. That difference matters when you move from watching content to presenting apps, navigating menus, or recording motion-heavy screens.
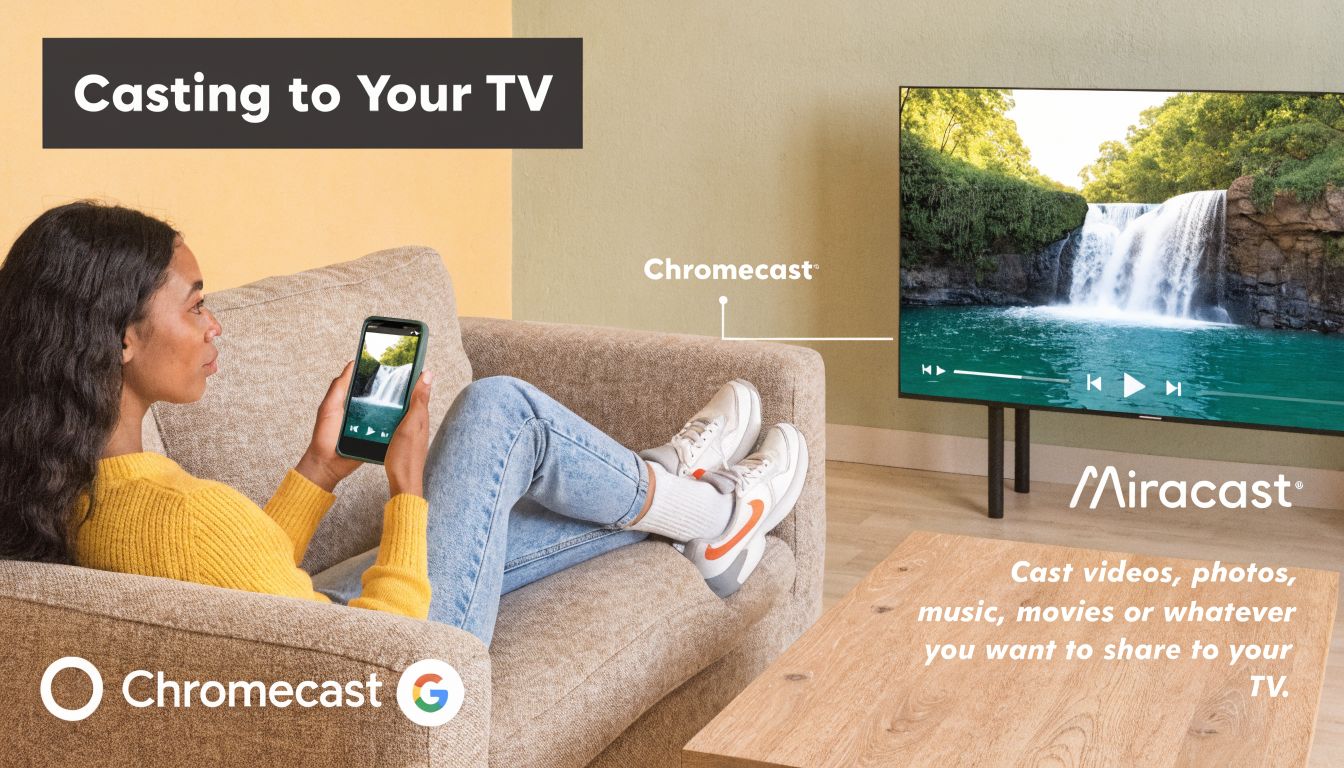
Chromecast is the easier consumer path
Chromecast works best when your TV has Google TV built in, a Chromecast device attached, or another display that supports Google Cast.
On Android, the usual path is simple:
- Open the quick settings panel.
- Look for Cast, Screen Cast, or the manufacturer's version of it.
- Select the TV or streaming device.
- Confirm screen sharing.
This is usually the fastest setup for a home TV or conference room display. It's also the least technical. If all you need is to show a screen, a video, or a short app flow, it's often good enough.
What it doesn't give you is precision. Framing can vary. Compression can change depending on the network and device pair. Some phones expose useful display settings, others hide them deep inside brand-specific menus.
Miracast is real-time duplication
Miracast is the better term to understand if you want to know how Android wireless display works under the hood.
A foundational research paper described Wi-Fi Display and Miracast as technology for screen duplication from a source device to a receiver, and that's the key distinction. This isn't just sending a file. The phone is continuously encoding what's on screen and transmitting it as a live visual stream, which makes it a higher-bandwidth workflow where latency and quality become real constraints, as discussed in the MobiSys paper on Miracast and Wi-Fi Display.
When the phone is mirroring in real time, every swipe, animation, keyboard pop-up, and orientation change becomes part of the stream.
That's why a setup can look fine when showing static screens and then fall apart once you scroll fast or switch apps.
Which one should you use
Use this simple decision filter:
- Choose Chromecast if your display already supports it and you want the fastest setup with the fewest moving parts.
- Choose Miracast-compatible screen mirroring when your phone and display both support direct mirroring and you want a closer replica of the live phone screen.
- Avoid TV casting for recorded demos when visual consistency matters more than convenience.
A TV is still the best answer for live viewing in a room. It's not usually the best answer for capture.
What usually breaks first
The common failure points aren't hard to spot once you've seen them enough times:
- Soft text: Fine for watching, bad for product UI.
- Display lag: Noticeable when demonstrating gestures or transitions.
- Aspect ratio mismatch: Black bars on the sides, or content stretched to fill the screen.
- Rotation surprises: The phone flips, the TV doesn't.
For a meeting, you can live with that. For a launch video, you usually can't.
Mirroring to a PC or Mac with Receiver Apps
Mirroring to a computer opens up better workflows than casting to a TV.
Once the Android screen lands on a Windows PC or Mac, you can place it beside slides, record it with desktop software, use it in a webinar, or keep notes visible on the same machine. Third-party receiver apps earn their place here. They're not glamorous, but they're often the fastest way to get a phone feed into a work setup.
How the setup usually works
The basic pattern is consistent across most tools.
You install a receiver app on the computer, then connect from the Android phone using the same app or a compatible sender flow. Some tools use local network discovery. Others use pairing codes or account-based sign-in. The important part is that the computer becomes the display target, not just the recording destination.
If you need a Mac-specific overview of casting approaches before choosing software, this guide on screen casting on Mac is a useful reference.
The apps people actually use
Three names come up often because they solve slightly different problems.
| App | Best fit | Watch-outs |
|---|---|---|
| LetsView | Quick mirroring for meetings and simple desktop viewing | Free-tier experience can feel more consumer-focused than production-focused |
| AirDroid Cast | Cross-device workflows and remote presentation style use | Feature depth can add complexity if you only need a clean local mirror |
| Vysor | Users who also want device control from the computer | The desktop-control angle matters more than visual polish |
The right choice depends less on the headline feature list and more on how you'll use the mirrored feed.
What to compare before you commit
Don't pick a receiver app based only on “works with Android.” That's the bare minimum. The better questions are practical:
- How stable is the connection during a long session? A tool that reconnects poorly will ruin live demos.
- How clean is the mirrored image? Some apps are fine for meetings but too soft for UI recording.
- What does the free tier add? Watermarks, session limits, or reduced-quality output can make a test look better than a real workflow.
- Can you control the phone from the desktop? Useful for support and QA. Less important if you only need passive recording.
- How well does it handle portrait apps? A lot of Android content is vertical, and some desktop mirror windows frame that awkwardly.
Bench test the exact app flow you plan to record. Don't assume a mirror window that looks acceptable during setup will still look clean once you capture it.
When receiver apps are the right answer
Receiver apps are the sweet spot when you need more flexibility than TV casting but don't want to jump straight into command-line tools.
They're especially useful for:
- Training teams: mirror a phone while narrating from the desktop
- Support teams: reproduce an issue and keep chat or ticket notes open
- Marketers: show mobile flows inside webinar software
- Agencies: review app builds with clients on a larger screen
Where they fall short is consistency. Different apps make different choices about scaling, smoothing, and compression. That's manageable for general work. It's less ideal if you're trying to produce the same polished output every week.
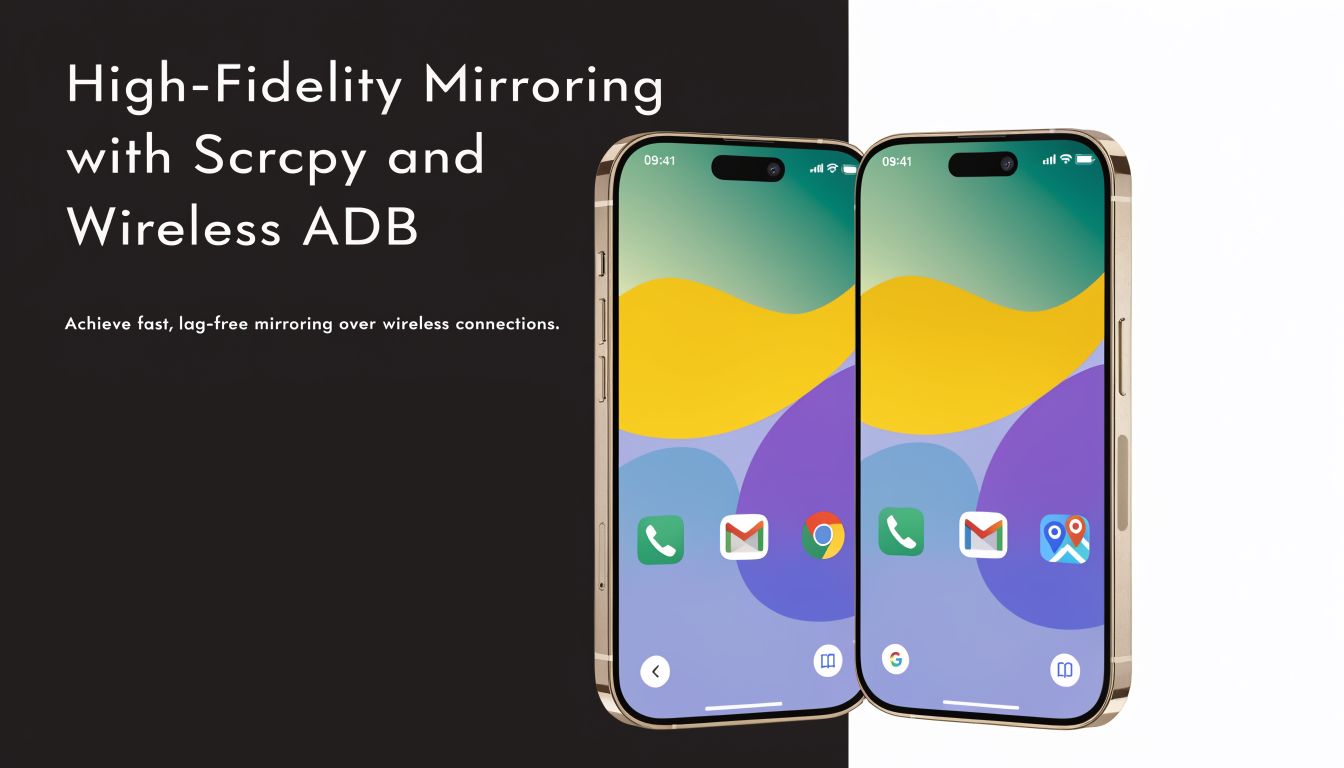
High-Fidelity Mirroring with Scrcpy and Wireless ADB
If you care about clean output, scrcpy is the tool to take seriously.
Consumer casting tools aim for convenience first. scrcpy aims for performance and control. That makes it a much better fit for developers, product teams, and anyone recording Android UI where softness, random scaling, or unstable frame pacing will show up immediately in the final video.

Why scrcpy stands out
The key advantage isn't that scrcpy is wireless. It's that you get far more control over how the mirrored screen behaves.
That matters because standard wireless mirroring can introduce variable compression and scaling. For polished demos and tutorials, that inconsistency is hard to manage. Mersive's overview of screen mirroring on Android captures the core trade-off well: convenience is useful, but high-control methods like scrcpy, and in many cases wired capture, often produce more visually consistent results.
The setup is more technical
This isn't a one-tap TV workflow. You'll need:
- Developer options enabled on the Android device
- Wireless debugging or ADB access configured
- scrcpy installed on the computer
- The phone and computer on the same network for wireless use
In many teams, the best practice is to do the first pairing carefully, save the workflow, and reuse it for future recordings. Once that initial setup is done, scrcpy is often much less fragile than consumer mirroring apps.
What professionals actually gain
The difference shows up in the details:
- Cleaner image handling: Better for text-heavy interfaces and settings screens.
- More predictable scaling: You're less likely to get surprise framing changes.
- Low-friction repeatability: Good for teams recording updates across many app versions.
- Useful command-line control: Strong fit for developer and QA environments.
If you record desktop output after mirroring, that control compounds. Your mirrored Android feed behaves more like a reliable source and less like a temperamental second screen.
For Mac-based recording workflows, this guide on how to record Mac screen is a practical companion once the mirrored window is stable.
Don't choose scrcpy because it's trendy. Choose it because repeated recording sessions punish every weak link in your workflow.
Wireless isn't always the final answer
There's one trade-off worth stating plainly. Even with scrcpy, wireless introduces more variables than a cable. If the recording is high stakes and you need the least possible uncertainty, a wired path is still the safest option.
That doesn't make wireless a bad choice. It just means the standard for “good enough” changes when you're recording a launch asset instead of showing a quick prototype to a teammate. In that context, scrcpy is often the best wireless compromise because it gives you control where consumer casting tools usually hide it.
Troubleshooting Latency and Quality Issues
Most Android wireless display failures aren't mysterious. They're usually network problems, scaling problems, or both.
People often blame the phone first. In practice, the router, the wireless band, and the display settings cause more frustration than the Android device itself. The fastest way to fix mirroring is to diagnose it by symptom instead of randomly changing settings.
If the screen stutters or disconnects
Start with the network.
Google's Chromecast help documentation recommends keeping devices within 15 feet, using the same Wi-Fi network name, avoiding AP isolation, and reducing stutter by keeping devices on the same 2.4 GHz or 5 GHz channel in supported setups, as noted in Google's steps for fixing Chromecast connection and quality issues.
Use that advice as a checklist:
- Move closer first: Distance still matters, especially through walls.
- Prefer 5 GHz when available: It usually handles active screen mirroring better than crowded 2.4 GHz environments.
- Check network isolation settings: Guest modes and isolation features can block device discovery.
- Reduce competition on the network: Big downloads, cloud sync, and streaming on the same Wi-Fi can destabilize the session.
One quick practical test is to stop all nonessential traffic, move both devices closer, and retry. If the mirror suddenly becomes stable, you've identified the actual bottleneck.
If the picture has black bars or gets cropped
This is usually an aspect ratio problem, not a signal problem.
Phones are tall. TVs and monitors are wide. When those shapes collide, something has to give. Some systems preserve the full phone frame and add black bars. Others try to fill the display and crop the edges. On Samsung devices, for example, settings like phone aspect ratio or rotation controls can be tucked inside Smart View menus rather than the obvious display settings.
Try these fixes in order:
- Look for fit or preserve aspect ratio on the receiving display.
- Check the phone's mirroring menu for screen ratio or rotate options.
- Lock orientation before connecting if an app keeps flipping between portrait and horizontal mode.
- Test with the target app open already because some apps trigger different scaling behavior after launch.
A black bar is often the correct result. Stretching the phone image to fill a TV usually looks worse than preserving the original frame.
If audio and video feel out of sync
Audio drift usually follows the same pattern as video lag. The network is strained, buffering increases, and the mirrored feed starts to feel loose.
The practical fix isn't exotic. Simplify the setup. Fewer hops, less congestion, and a closer router usually help more than changing random phone settings. If the session still feels inconsistent after that, switch methods. Some workflows don't need more troubleshooting. They need a more controllable mirroring path.
Creating Polished Demos from Your Wireless Display
A stable mirror is only the raw material. It isn't the finished asset.
Once you've got the Android screen onto your Mac or PC cleanly, the next job is making it readable for someone who wasn't in the room with you. That means framing, focus, subtitles, edits, and an output format that matches where the video will live.
Record the mirrored window, not the whole desktop by default
When teams first record a mirrored phone, they often capture the entire screen. That creates unnecessary cleanup work. A tighter source gives you more control over the final composition and makes it easier to repurpose the footage for horizontal and vertical outputs.
A practical production flow looks like this:
- Select the mirrored window as the recording source: This keeps the capture clean and removes desktop clutter.
- Frame the device intentionally: If the mirror has black bars or unusual padding, fix the composition during editing instead of forcing a distorted live mirror.
- Highlight interactions: Zooms, cursor guidance, and focus effects help viewers follow taps and transitions.
- Trim aggressively: Mobile demos feel better when dead time, hesitation, and reconnect moments are removed.
The aspect-ratio problem is especially common here. Some phones mirror with bars or inconsistent orientation, and the relevant controls can be buried in manufacturer menus such as Samsung's Smart View options. That's one reason post-capture framing control matters so much, as shown in this Samsung Smart View aspect ratio walkthrough.
Add production polish where viewers actually notice it
Good demo editing is mostly about attention control.
If the product action happens in a small part of the phone screen, use zoom and motion to guide the eye. If the app relies on spoken explanation, subtitles improve clarity and make social cut-downs more usable. If the mirrored feed sits inside a desktop canvas, device framing can make the output feel intentional instead of improvised.
For teams comparing best screen recording options, it's worth separating “can record a screen” from “can turn a mirrored mobile workflow into a presentable business asset.” Those aren't the same category of tool.
Build a repeatable workflow
The fastest demo teams don't reinvent the process each time. They standardize it.
That usually means:
| Production step | What to standardize |
|---|---|
| Mirroring | One method per team, with fallback ready |
| Recording | Same canvas size and source framing |
| Editing | Reusable zoom, subtitle, and trim patterns |
| Exporting | Presets for product pages, social, and internal review |
If you need a fuller walkthrough for assembling these assets on Mac, this guide to a product demo video maker covers the production side in more detail.
The big shift is mental. Stop treating android wireless display as the deliverable. It's only the capture path. The actual deliverable is a video that looks deliberate, clear, and consistent every time.
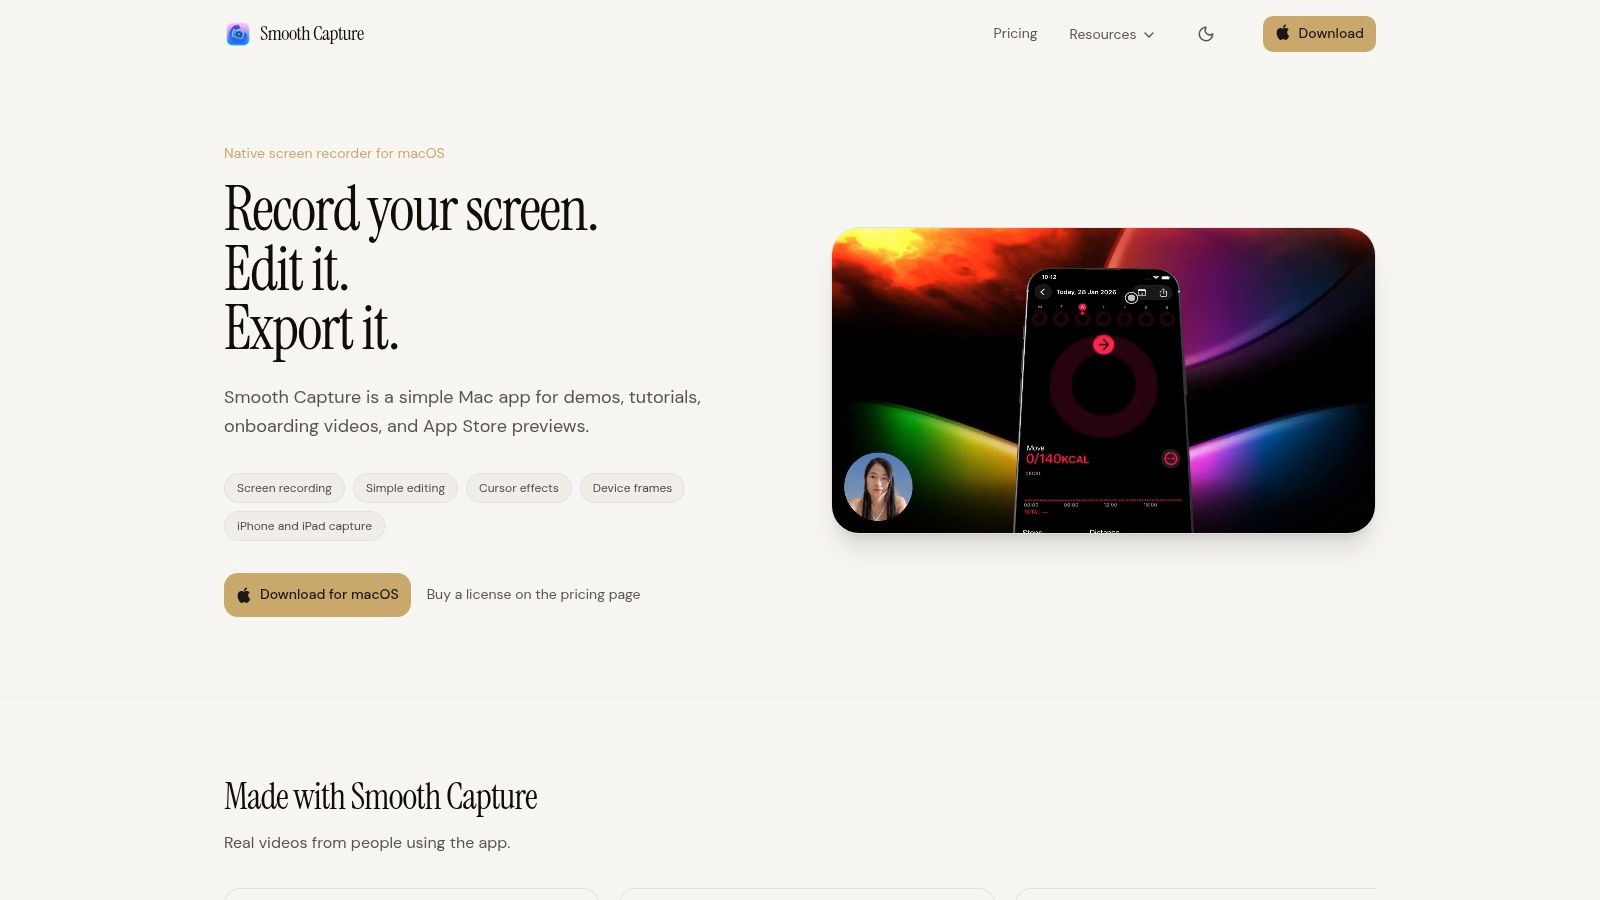
If your team records demos, tutorials, or launch videos regularly, Smooth Capture is built for that exact workflow on macOS. You can record a mirrored Android window, refine framing, add device frames, subtitles, zooms, cursor effects, and clean edits without bouncing between multiple apps. There's a free trial, so you can test it against your current setup before committing.
Ready to create stunning app demos?
SmoothCapture makes it easy to record your screen with 3D device frames, cinematic cursor effects, and professional editing tools.