Product Demo Video Maker: Guide to Polished Videos
You’re probably in the same spot most product teams hit eventually. A launch date is close, the feature is finally stable, and someone says, “We just need a quick demo video.” Then the quick part disappears. You record three takes, notice a stray notification in one, a cursor wobble in another, and an awkward pause in all of them. By the time you export something usable, it still looks more like an internal walkthrough than a customer-facing asset.
That gap usually isn’t about effort or taste. It comes from using a fragmented workflow for a job that needs one clean system. A polished demo has to do two things at once. It has to explain the product clearly, and it has to make the product feel credible.
Table of Contents
- Why Most Product Demos Fail to Impress
- Planning and Scripting Your High-Impact Demo
- Recording a Flawless Screen Capture
- Editing for Maximum Clarity and Impact
- Applying Immersive Animations and Device Frames
- Subtitling, Exporting, and Building a Repeatable Process
Why Most Product Demos Fail to Impress
Most weak demos fail long before editing. The script tries to cover everything. The recording captures a real workflow, but not a watchable one. Then the editor gets used like a repair shop for problems that should have been solved earlier.
That’s why so many product videos feel clunky even when the product itself is strong. Viewers don’t see intent. They see hesitation, dead air, tiny interface details, and a presenter moving too fast because they already know where everything is.
Historically, teams paid for that polish with time or budget. A high-quality demo used to cost $1,000 to $3,000 per finished minute, and the broader shift toward no-code video tools is part of why the AI video generator market is projected to reach $946.4 million in 2026, with 20.3% CAGR through 2033 according to Grand View Research coverage on product demo video makers. That shift matters because it changes the primary constraint. The hard part isn’t getting access to video production anymore. It’s building a workflow your team will consistently repeat.
The real problem is workflow debt
A demo usually starts in the wrong tool and finishes in too many others. You record in one app, clean audio in another, crop for social in another, then subtitle somewhere else. Each handoff creates friction and usually breaks consistency.
Common failure points look like this:
- Too much product in one take. Teams try to show every major feature, so the story loses shape.
- Recording without visual intent. Cursor movement, window placement, and zoom moments aren’t planned.
- Editing for rescue instead of clarity. The timeline becomes a patchwork fix for rushed source footage.
- Exports that don’t match distribution. A wide-format demo gets awkwardly repurposed for social or App Store use.
Practical rule: If you need heroic editing to save a demo, the problem started in planning or capture.
A dedicated product demo video maker changes that because it keeps the work centered on one outcome. You’re not just saving time. You’re preserving quality from script to export. That’s the difference between a demo that feels homemade and one that feels like part of the product.
Planning and Scripting Your High-Impact Demo
A good demo starts with a single promise to the viewer. Not a feature list. Not a release note recap. One clear takeaway.
If the viewer remembers only one thing after watching, decide what that thing is before you write a word. That decision sharpens every shot, every zoom, and every cut. It also keeps the video from turning into a guided tour of your navigation.
Start with one viewer outcome
The strongest product demos answer one practical question. It might be “How do I create my first dashboard?” or “What changed in the new workflow?” It shouldn’t be “How does the entire platform work?”
Use this quick filter before scripting:
- Who is this for? A new trial user, a current customer, an evaluator, or an internal stakeholder.
- What job are they trying to do? Stay concrete. “Set up alerts” is better than “learn automation.”
- What action should happen next? Start a trial, book a call, explore a feature, or complete onboarding.
When teams skip this step, the script becomes feature-first. The viewer has to work too hard to understand why each screen matters. If you want a strong reference point for structure and examples, this breakdown of a product demonstration video is useful because it keeps the focus on the job the viewer needs done.
Use a tight problem-to-product script
Short demos win because they respect attention. Data shows demos with fewer than 10 steps can reach up to 80% completion, compared with 40% for longer, more complex formats, and the optimal length is under 3 minutes according to these B2B demo video metrics.
That’s the strongest argument for scripting restraint. Don’t aim for complete. Aim for convincing.
A structure that holds up in practice:
- Hook the problem fast. Open with the friction the viewer already recognizes.
- Show the workflow in context. Move directly into the product solving that problem.
- Pick only the essential moments. Two or three proof points are enough.
- End on the next action. Don’t drift into extra explanation after the payoff.
A demo script should sound like a smart teammate walking you through one job, not a narrator reading a spec sheet.
Build the shot list before you record
Shot lists seem fussy until you’ve had to re-record because one tiny modal was cut off or one dropdown opened differently on take three. A shot list gives you repeatability. It also makes edits faster because the footage already has a shape.
Here’s a simple template that works well for launch demos and tutorials:
| Shot # | Action/UI Element | Narrative/Voiceover Cue | Visual Note (e.g., zoom in) |
|---|---|---|---|
| 1 | Home screen or opening state | Introduce the user problem | Clean full-frame view |
| 2 | First action button | Show how the workflow starts | Cursor emphasis |
| 3 | Key settings or feature panel | Explain why this option matters | Zoom in on detail |
| 4 | Result state | Show the outcome clearly | Hold for readability |
| 5 | CTA screen or next step | Tell viewer what to do next | Keep layout simple |
A few planning habits save a lot of downstream work:
- Write to the screen. If a sentence takes longer to say than the UI takes to show, the pacing will feel off.
- Script transitions, not just scenes. The awkward parts usually happen between steps.
- Choose one canonical path. Don’t branch into “you could also do this” unless the branch is the point of the video.
The teams that ship polished demos consistently don’t improvise less because they’re less creative. They improvise less because they know polish comes from decisions made before recording.
Recording a Flawless Screen Capture
The recording stage is where quality gets locked in. If the raw footage is calm, readable, and intentional, the edit stays light. If the raw footage is messy, every later step becomes damage control.
Start by treating the screen like a set, not just a desktop.

Set up the recording before you touch the product
A polished capture usually comes from boring prep. Close extra tabs. Hide the menu bar clutter if possible. Turn off notifications. Remove files from the desktop. Sign into the right workspace and pre-load anything that would otherwise create a delay.
Then choose the capture mode that matches the job:
- Window capture works when you want a clean app-only frame.
- Region capture works when you need tighter control and plan to compose the shot.
- Full screen is useful when the workflow depends on multiple surfaces.
For mobile demos, direct device capture matters. Plugging an iPhone or iPad in over USB gives you a much cleaner source than trying to fake a handheld recording. It also gives you more flexibility later if you want to place the recording in a device frame instead of baking that look into the source.
Capture clean source footage once
A product demo video maker earns its place here by reducing avoidable retakes. Smooth Capture handles full-screen, window, region, and connected iOS device recording in one macOS workflow, which is what makes it practical for teams producing launch assets and tutorials on a recurring schedule.
A few capture habits make a visible difference:
- Move the cursor slower than feels natural. What feels obvious to you can feel rushed to the viewer.
- Pause briefly after important state changes. Give the eye time to register the result.
- Record a second clean pass of complex moments. It’s easier to swap in one segment than redo the whole story.
- Use a stable visual scale. Don’t resize windows mid-recording unless the motion is intentional.
If you need a deeper setup guide for framing and recording options on macOS, this walkthrough on how to record Mac screen covers the practical basics well.
Use shortcuts and audio checks to avoid retakes
Keyboard shortcuts matter more than people think. If you can start, pause, and stop recording without hunting for controls, your hands stay in the workflow and your pacing stays natural. That’s especially useful when you’re recording with voiceover and trying to keep your cursor movement consistent.
Audio still matters even in screen-first demos. If your voice is too quiet, viewers won’t forgive it just because the visuals are clean. If you’re troubleshooting inconsistent input levels before recording, this mic volume booster guide is a practical reference for getting spoken audio into a usable range.
Later in the process, seeing the tool in motion helps. This short walkthrough gives a good sense of capture flow and editor behavior:
The main goal during recording is simple. Create footage that already feels close to finished. Editing should sharpen the story, not rescue the take.
Editing for Maximum Clarity and Impact
Editing decides whether the viewer understands the product at the speed you intended. A common mistake is editing for aesthetics first. Clarity comes first. A polished look only helps if the viewer can follow the action without effort.
That means your timeline should answer three questions in order. What can be removed? What needs emphasis? Where should the next action appear?
Cut for pace first
Start by stripping out everything that creates hesitation. Long mouse travel, loading moments that add no meaning, false starts, repeated clicks, and filler language all make a demo feel less trustworthy.
A fast timeline editor helps because product demos usually need structural edits more than cinematic ones. Trim aggressively. Split clips whenever a transition feels soft. Rearrange segments if the story improves. If a step needs too much setup, it probably belongs in a separate video.
A good rule in the edit:
- Keep actions contiguous. Viewers should never wonder whether a cut skipped something important.
- Hold on outcomes longer than actions. The result matters more than the click that triggered it.
- Delete verbal throat-clearing. “So,” “basically,” and “what we’re going to do” rarely help.
- Use silence intentionally. A half-second pause after a meaningful UI change can improve comprehension.
If viewers get lost, it’s usually because the editor assumed recognition too early.
Guide the eye with motion and focus
Once the pacing is clean, direct attention. At this point, cursor effects, click ripples, interpolation, zooms, and lens treatments stop being decorative and become instructional.
Small interface details are where demos often break down. A compact icon, a subtle state change, or a secondary control can be obvious to your team and invisible to a new viewer. Smooth cursor interpolation makes movement feel deliberate instead of twitchy. Click ripples confirm exactly where interaction happened. Automatic zoom with focus detection can isolate the important region without forcing you to hand-animate every moment.
A magnifying lens effect is especially useful when one tiny control determines the whole workflow. Used sparingly, it tells the viewer, “Look here, this is the moment that matters.”
If you’re broadening your production stack beyond capture and editing, this guide to AI for content creators is a solid starting point for thinking about where automation helps and where manual judgment still matters.
Place the CTA where attention still exists
The CTA is part of the edit, not a separate marketing layer added at the end. If it appears only after the viewer has mentally checked out, it won’t do much.
For product demos, a mid-roll CTA usually performs better than a post-roll one. Data shows placing the CTA within the first 10% to 20% of runtime can lift conversions, with mid-roll CTAs at 16.95% versus 10.98% for post-roll CTAs according to these product demo best practices.
That doesn’t mean interrupting the story with a hard sell. It means inserting the next step right after the viewer understands the value. In practice, that might be a subtle overlay after the first successful outcome, or a quick spoken line tied to the action just completed.
A CTA works when it feels like momentum, not interruption.
Applying Immersive Animations and Device Frames
Some demos are clear but still feel plain. That’s usually a presentation problem, not a content problem. The screen recording explains the workflow, but it doesn’t yet feel like a finished marketing asset.
This is where framing and animation do real work. They create context, depth, and perceived craftsmanship.
When a plain screen recording feels too flat
A raw app window on a blank background can work for internal training. For launch videos, paid placements, social cut-downs, or App Store previews, it often needs more structure.
A framed composition fixes that quickly. Put an iPhone capture inside an iPhone frame. Place a desktop walkthrough in a MacBook or display frame. Add a controlled background instead of leaving the recording floating in empty space. The product immediately feels more intentional because the viewer sees where the experience lives.
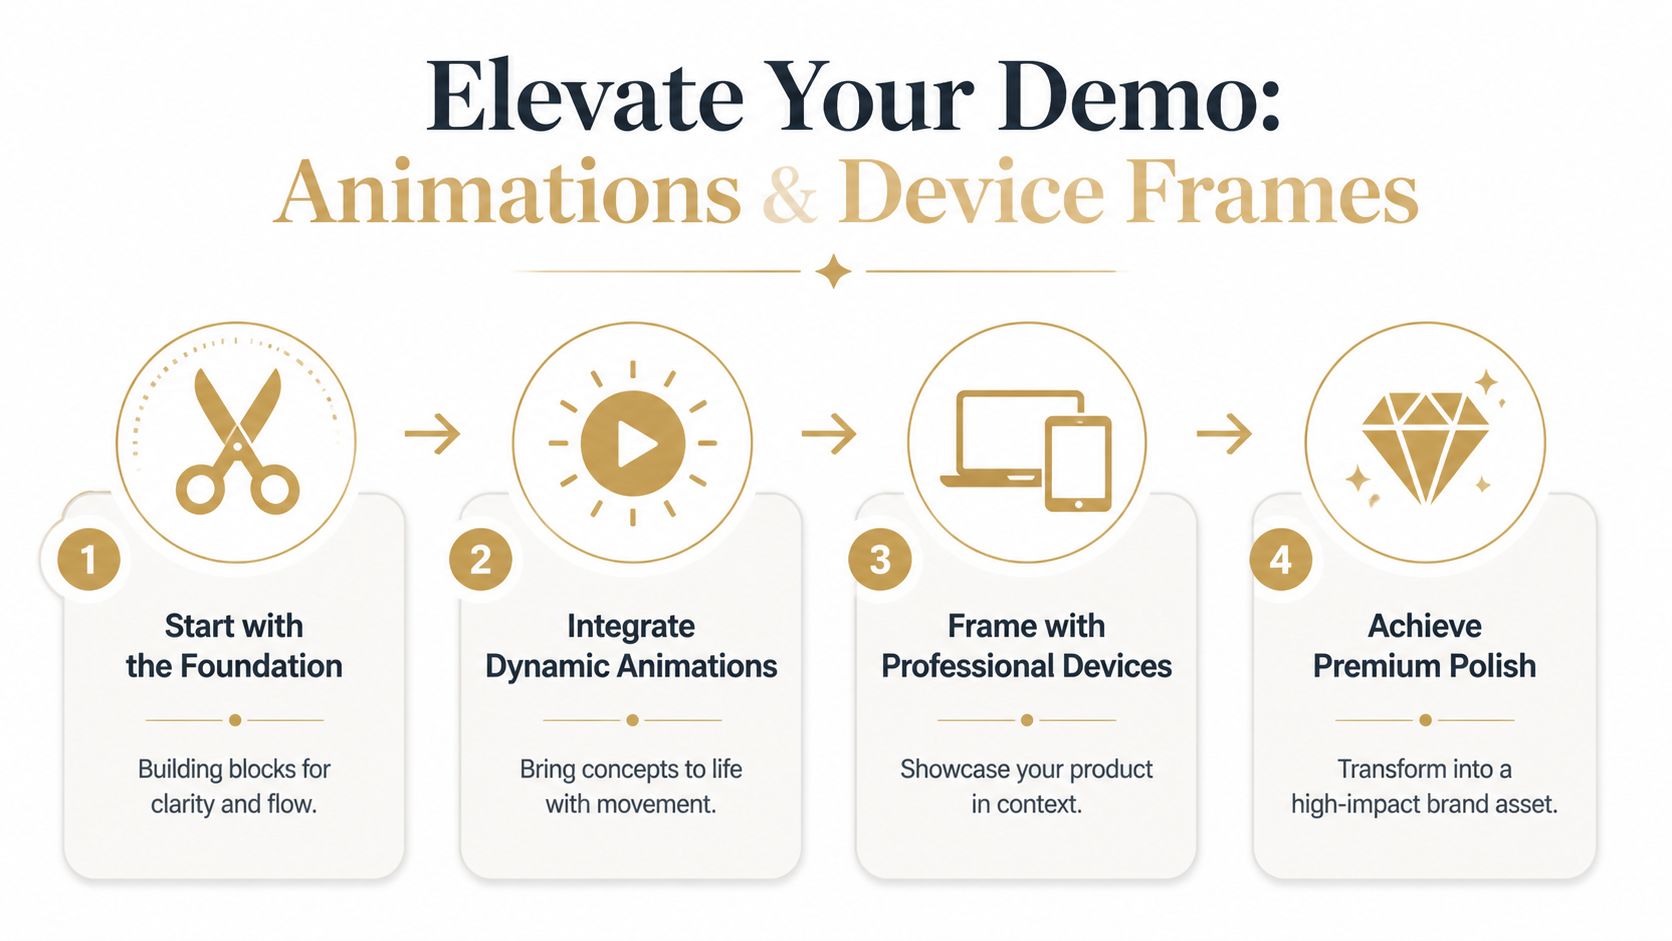
This gets more interesting when you add perspective. A slight 3D angle can turn a static walkthrough into something that feels designed for distribution, not just documentation. The motion doesn’t need to be dramatic. A restrained push, tilt, or angle shift is often enough.
For frame selection ideas and compositing approaches, this guide on adding a device frame to a screen recording is a useful practical reference.
Use keyframes to add movement without clutter
The best animation in product demos is almost invisible. It supports attention instead of demanding it. Keyframes help you do that with precision.
One pattern I’ve seen work well is a layered side-by-side sequence. Start with the product dominant on screen. Bring in a webcam overlay only when human context matters, such as a greeting, a setup explanation, or a quick CTA. Then reduce or move the webcam when the interface needs full attention again. That kind of motion feels intentional because it follows the viewer’s needs.
A few animation choices create polish without making the demo feel overproduced:
- Use short perspective moves when opening or closing a section.
- Animate webcam overlays in and out instead of leaving them static throughout.
- Match movement to narrative beats so every shift has a reason.
- Keep backgrounds simple when the product UI is already visually dense.
Premium polish comes from restraint. One well-timed movement beats five decorative ones.
Device frames and 3D treatments work because they make software feel tangible. That’s useful in markets where buyers evaluate trust quickly. If the workflow is polished, the product feels considered. If the video feels sloppy, viewers often project that sloppiness back onto the product itself.
Subtitling, Exporting, and Building a Repeatable Process
The last mile decides whether your demo travels well. Teams often spend most of their energy on recording and editing, then rush through subtitles and export settings. That’s backwards. Distribution quality determines how the work gets experienced in the world.
Subtitles are now part of the product experience
Captions aren’t a nice extra anymore. They’re part of usability. Eighty-five percent of social media users watch with the sound off, and the EU Accessibility Act requires captions by 2026, which is why this subtitling and accessibility overview argues that on-device captioning is now essential for modern product demos.
That matters for more than compliance. Subtitles make feature names, UI labels, and value statements easier to retain. Karaoke-style highlighting is especially effective because it gives the eye a rhythm to follow without pulling attention away from the product.

Export for the channel, not just the archive
A polished master file isn’t enough if the end format is wrong for where the video will live. App previews, YouTube embeds, landing pages, and vertical social all ask for different framing choices. The best workflow is to decide those outputs before you record, then export versions intentionally rather than forcing one file everywhere.
Useful export habits include:
- Create a primary version first. Decide whether horizontal or vertical is the canonical edit.
- Check safe areas for overlays. Social platforms crop and cover more than people expect.
- Review motion in the final aspect ratio. A zoom that works in horizontal can feel cramped in vertical.
If vertical social is part of your mix, this guide to 2026 Instagram video dimensions is a handy reference for avoiding awkward crops and mismatched framing.
Turn one good workflow into a team standard
A product demo video maker offers more than just one strong video; it provides a reliable production system. Save your preferred capture settings. Reuse intro and outro structures. Standardize cursor effects, subtitle style, framing, and export presets. Keep a shared shot list template. Decide how feature launches, onboarding clips, and support explainers should differ.
That’s what makes quality repeatable across a team. New marketers, customer education managers, founders, and support leads don’t need to reinvent style choices every time. They start from a working pattern and spend their energy on the message.
A repeatable process also reduces a hidden cost of demo production. Decision fatigue. When your team already knows how to record, edit, subtitle, and export, the work gets faster without looking standardized in a bad way. It just looks consistent.
If you want one workflow for recording, editing, framing, subtitling, and exporting polished demos on macOS, Smooth Capture is built for that kind of repeatable production. It’s a practical fit for teams making product launches, onboarding videos, client walkthroughs, and App Store assets without stitching together a stack of separate tools.
Ready to create stunning app demos?
SmoothCapture makes it easy to record your screen with 3D device frames, cinematic cursor effects, and professional editing tools.