Best Screencast Software Mac: Create Pro Demos in 2026
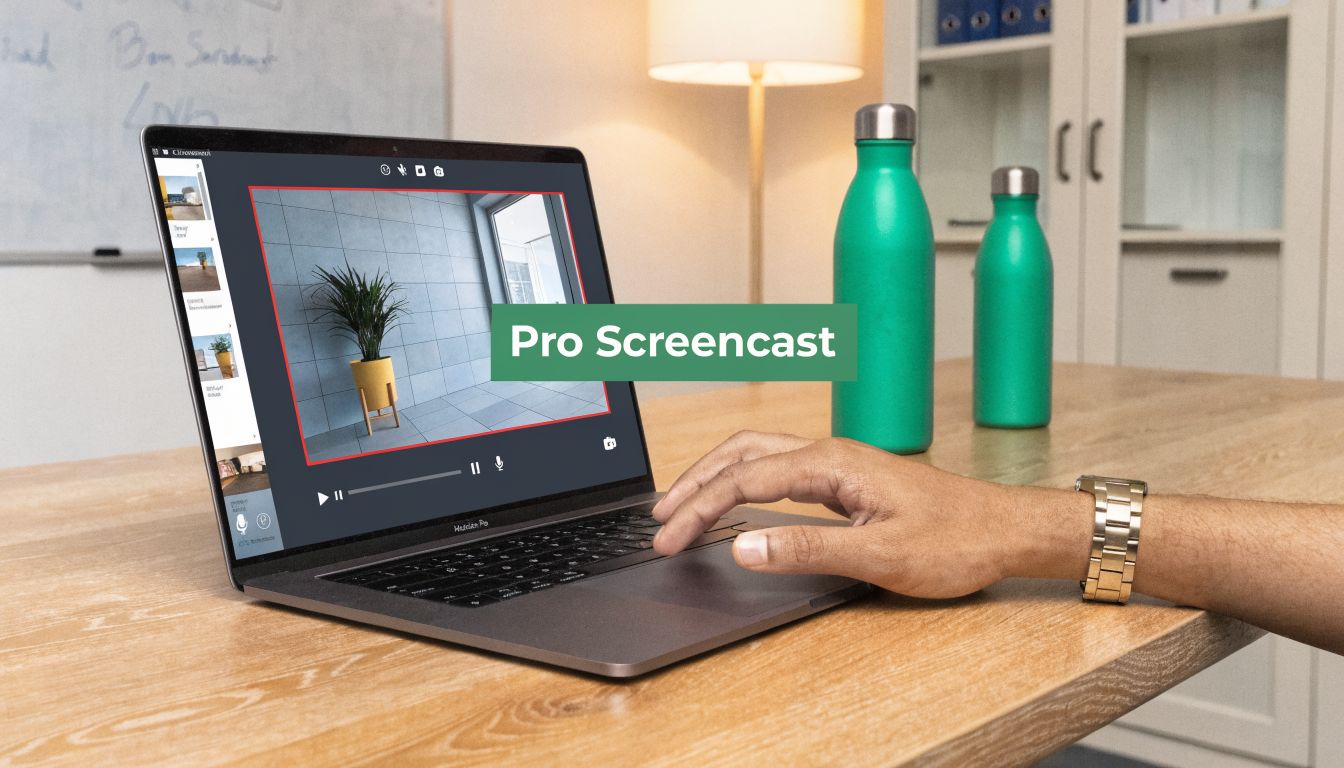
You've probably had this happen. A teammate records a “quick” Mac demo for a launch, drops it in Slack, and everyone spots the same problems immediately. The cursor darts around, the audio feels rough, the crop is awkward, and the final video looks like a screen recording instead of a product story.
That gap matters more now than it used to. Product marketing teams aren't only making internal walkthroughs. They're cutting feature launches, onboarding clips, App Store previews, social snippets, customer education videos, and sales follow-ups. Basic capture isn't enough. You need context, pacing, clarity, and exports that fit the channel without forcing a re-record.
The good news is that screencast software mac options are much stronger than they were a few years ago. The hard part isn't finding a recorder. It's choosing a workflow that helps your team produce polished assets repeatedly, without turning every video into a mini post-production project.
Table of Contents
- Choosing Mac Screencast Software for Professional Results
- A Pre-Production Checklist for Flawless Recordings
- Mastering the Capture Workflow for Teams
- Editing and Exporting for a Polished Final Product
- Optimizing Screencasts for App Store Previews and Social
- The Right Tool Makes the Workflow
Choosing Mac Screencast Software for Professional Results
Your team records a strong product walkthrough on a Mac. The feature story is clear, the presenter hits the right beats, and the product behaves. Then the bottlenecks show up. The cursor is hard to follow, the audio is baked into one track, the edit needs a mobile frame for social, and the App Store preview version has to be rebuilt from scratch.
That is usually the point where a basic screen recorder stops being useful.
A Mac screencast tool for product marketing has a different job than a simple capture app. It needs to help you produce demos, App Store previews, launch videos, and social cutdowns from the same source material. That means capture quality matters, but framing, edit control, and export speed matter more.
What separates a basic recording from a usable asset
QuickTime can record a screen. OBS can capture almost anything if someone on the team knows how to configure it. Those tools are fine for internal walkthroughs, bug reports, or rough async updates.
Professional marketing output asks for more. You need clean audio control, editable timelines, clear cursor emphasis, and a fast path to multiple aspect ratios. If the tool only captures and leaves the rest to three other apps, production slows down and consistency disappears.
I look for one question first. Can the team turn one take into several polished deliverables without rebuilding the whole thing?
That standard changes what "good" software looks like. High resolution is table stakes across Mac recording tools. The primary separator is whether the app helps your editor shape attention and package the recording for the channel it is headed to.
The features that change output quality
Some features read well on comparison pages and barely affect the final video. Others solve problems you hit every week.
These are the capabilities that tend to matter in practice:
- Multi-track audio: Separate narration, system sound, and music so you can fix balance issues without damaging the whole mix. If your team still struggles with routing Mac audio cleanly, this guide on capturing sound from your Mac helps clarify the setup.
- Cursor treatment: Click highlights, motion smoothing, and hover emphasis make the product easier to follow, especially in fast UI flows.
- Non-destructive editing: Product messaging changes. The timeline has to survive trims, rearranges, and updated scenes.
- Flexible capture modes: Full screen, window, and region capture each fit different outputs. Social clips and support videos rarely want the same canvas.
- Export presets: Teams get more consistent results when launch demos, vertical cutdowns, and preview videos use saved settings instead of manual choices.
For product marketers, a few features carry extra weight:
| Capability | Why it matters in product marketing | Where basic tools fall short |
|---|---|---|
| Automatic zoom behavior | Directs attention to the moment that sells the feature | Manual zoom edits add time to every cut |
| Cursor effects | Makes clicks, drags, and selections readable on smaller screens | Native captures often leave actions ambiguous |
| Device framing | Gives mobile and cross-platform demos context that plain screen video lacks | General editors treat framing as an afterthought |
| Template exports | Keeps campaigns visually consistent across channels | Manual export choices create avoidable variation |
Tool choice depends on what your team publishes and how often. OBS Studio's G2 profile shows why it remains a strong free option for teams that can handle a more technical setup. Wondershare DemoCreator's G2 profile points to a different strength: an easier all-in-one workflow for recording and editing. QuickTime still has a place for simple captures. ScreenFlow remains a serious option on Mac when the editor needs more control.
The trade-off is straightforward. Free tools reduce software cost. Integrated tools reduce production drag. For outward-facing demos, App Store creatives, and social assets, the better screencast software mac choice is usually the one that cuts revision time and keeps visual context intact.
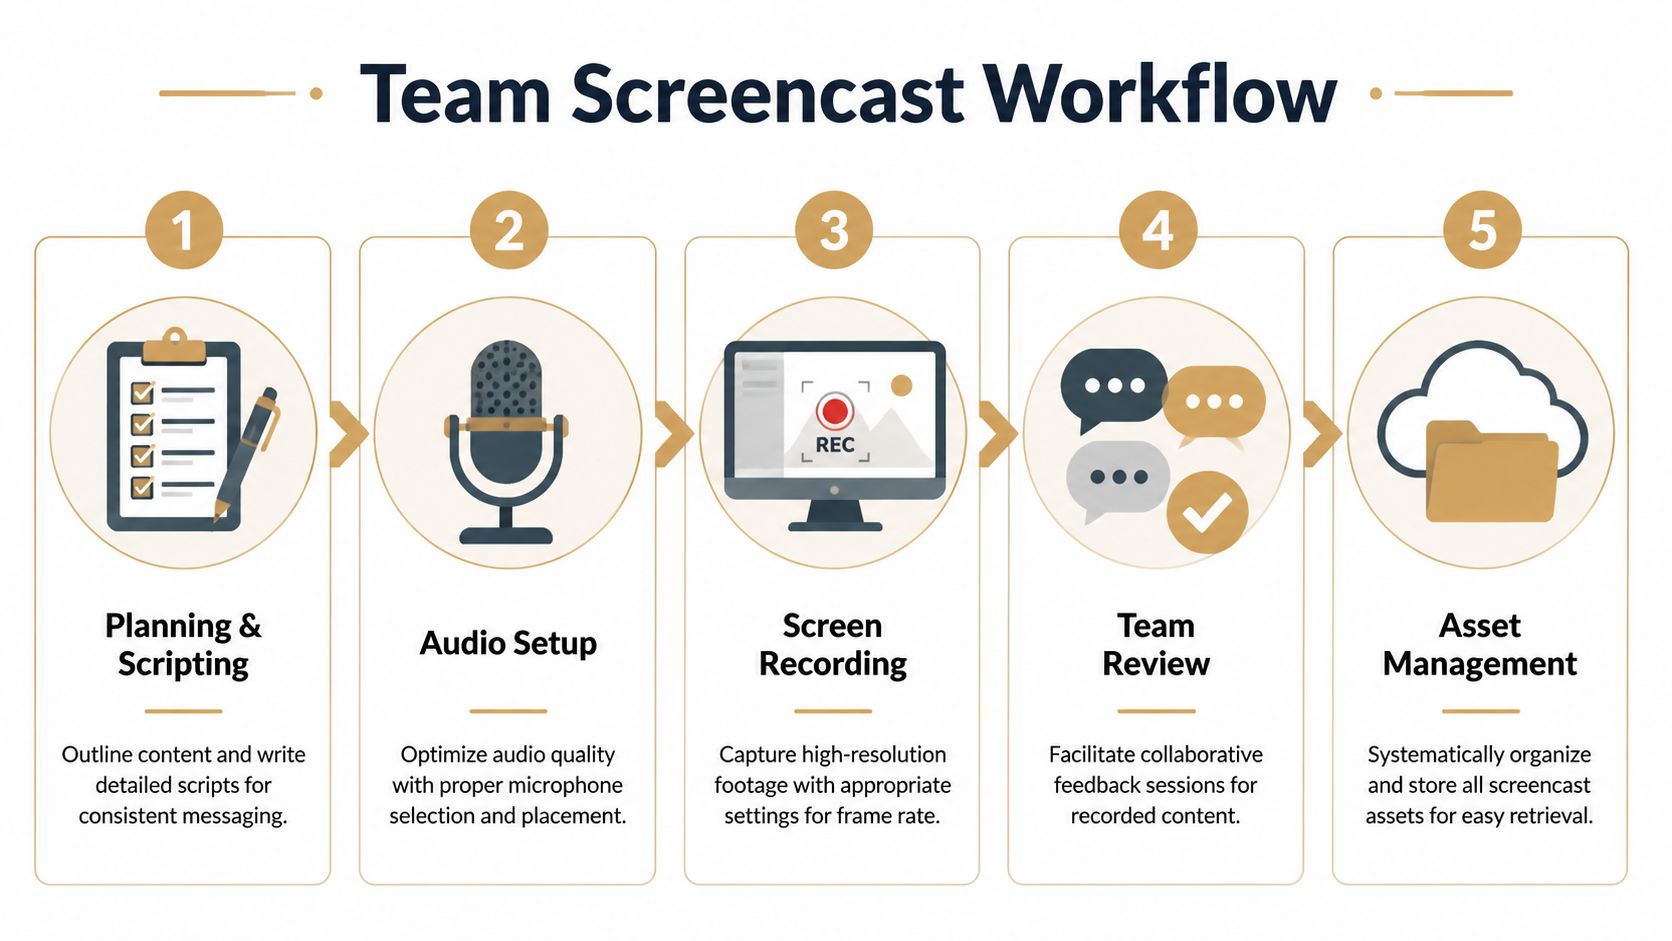
A Pre-Production Checklist for Flawless Recordings
Most bad screencasts are already failing before the record button gets pressed. The desktop is cluttered. Notifications are still on. The script hasn't been tightened. Somebody is hoping they can “just fix it in editing.”
That approach creates slow production and mediocre output. Clean setup is faster than cleanup.
Clean the recording environment first
Treat the Mac like a set, not a workstation. Every visible element tells the viewer something, even if you didn't intend it to.
Use this pre-flight pass before every recording:
- Clear the desktop: Remove unrelated files, screenshots, and folders. They pull attention away from the product.
- Turn off notifications: Pop-ups ruin otherwise usable takes. They also create editing cuts you didn't plan for.
- Close irrelevant apps: Menu bar clutter, browser tabs, and Dock activity make the product feel less focused.
- Check your recording area: A selected region is often cleaner than full-screen capture for tutorials and social crops.
- Verify system audio routing: If you need app sounds and narration together, test it before the first take. If your team is still sorting out audio capture on macOS, this guide on capturing sound from your Mac is a useful starting point.
- Reset the product state: Demo accounts, empty inboxes, clean dashboards, and predictable data make recordings easier to follow.
The fastest edit is the one you never create because the raw take was clean.
A lot of teams overlook visual hierarchy at this stage. If the UI itself is dense, zoom level matters. Too zoomed out and labels become unreadable. Too zoomed in and navigation feels cramped. The right balance depends on where the video will live, but you should decide that before recording, not after.
Choose the right level of scripting
A fully scripted take sounds safe. It can also sound stiff. Bullet points feel natural. They can also invite rambling and missed product details. Neither method wins every time.
For a launch video, scripting usually works better when message precision matters. You need control over positioning, naming, and sequence. For onboarding or internal training, structured bullet points often produce a more conversational result.
Here's the practical trade-off:
| Approach | Best for | Risk |
|---|---|---|
| Full script | Launches, ads, App Store preview narration | Sounds over-rehearsed if read flat |
| Bullet outline | Tutorials, walkthroughs, support content | Presenter may skip key steps |
| Hybrid script | Most team workflows | Requires prep discipline |
A hybrid approach tends to hold up best. Script the opening, key claims, transitions, and close. Use bullet prompts for the product actions themselves. That keeps messaging tight without turning the presenter into a teleprompter.
Prep the interaction, not just the words
Good narration can't rescue messy product movement. Before recording, click through the entire path once at real speed. Watch for moments where the cursor has to cross long distances, menus stack awkwardly, or a modal appears too quickly to register.
If an interaction is visually confusing, adjust the route. Reposition windows. Increase spacing if possible. Use a cleaner path through the product.
A polished screencast doesn't start with software. It starts with deliberate staging.
Mastering the Capture Workflow for Teams
A team recording session usually goes wrong in predictable ways. The presenter talks too fast because they know the product too well. The cursor moves like they're trying to beat a timer. Someone misses a step, pauses, apologizes out loud, and starts over from the top.
That's why a repeatable recording pattern matters more than recording talent.
A repeatable recording sequence for launch demos
A simple team workflow works well for most product demos:
Run a silent rehearsal first
Don't narrate the first pass. Just perform the clicks, drags, and screen transitions. This exposes awkward movements and timing issues quickly.Record the take at a slower pace than feels natural On screen, deliberate usually looks confident. Fast usually looks nervous.
Pause after key actions
Give the UI half a beat to settle. That small pause creates room for edits, captions, and zoom behavior later.Narrate what the viewer should notice
Don't just describe the click. Explain the result or reason. “Here's where you assign the owner” is weaker than “At this juncture, the handoff becomes visible to the whole team.”Mark mistakes and keep going
If the presenter misses a step, pause, go back to the start of that sequence, and repeat it cleanly. Don't scrap the whole take unless the flow is broken.
Professional product demos benefit from cursor interpolation and click ripple effects, and automatic zoom with focus detection helps keep attention on the right interaction while reducing manual editing, as described in ScreenSnap's guide to Mac screencasting. Those features help most when the operator already records with intention. They're not substitutes for pacing. They're multipliers.
When a viewer gets lost, it's usually not because the product is complex. It's because the screen language was rushed.
What to do when the take goes off script
The best teams don't chase a “perfect” uninterrupted recording. They build a recording method that survives small mistakes.
A new feature demo is a good example. Say the presenter opens the right page, explains the setup clearly, then clicks the wrong tab. If they panic and restart, energy drops. If they continue without acknowledging the mistake, the editor has fewer clean cut points.
The better response is controlled recovery:
- Stop speaking for a second
- Move back to the last clean state
- Repeat the sequence with the same cursor path
- Leave a little silence before resuming narration
That gives the editor a usable seam. It also keeps the presenter from sounding flustered.
Consistency beats personality in team production
One person on the team can usually improvise a great demo. That doesn't scale. A repeatable workflow does.
Teams get better results when they standardize a few things across recordings:
- Narration pace: conversational, not rushed
- Cursor behavior: intentional, with fewer loops and corrections
- Screen composition: same crop logic across videos
- Retake handling: recover in-place instead of restarting constantly
That's what makes a video library feel coherent. Not flashy motion. Not louder music. Just disciplined capture that makes every product interaction easier to understand.
Editing and Exporting for a Polished Final Product
Raw footage rarely earns trust on its own. The recording might be accurate, but accuracy isn't the same as polish. The edit is where timing gets tighter, interactions become easier to follow, and the product starts to look like something worth buying.
That's also where a lot of teams lose time. They open a generic editor, start making one-off choices, and rebuild the same style decisions on every project.
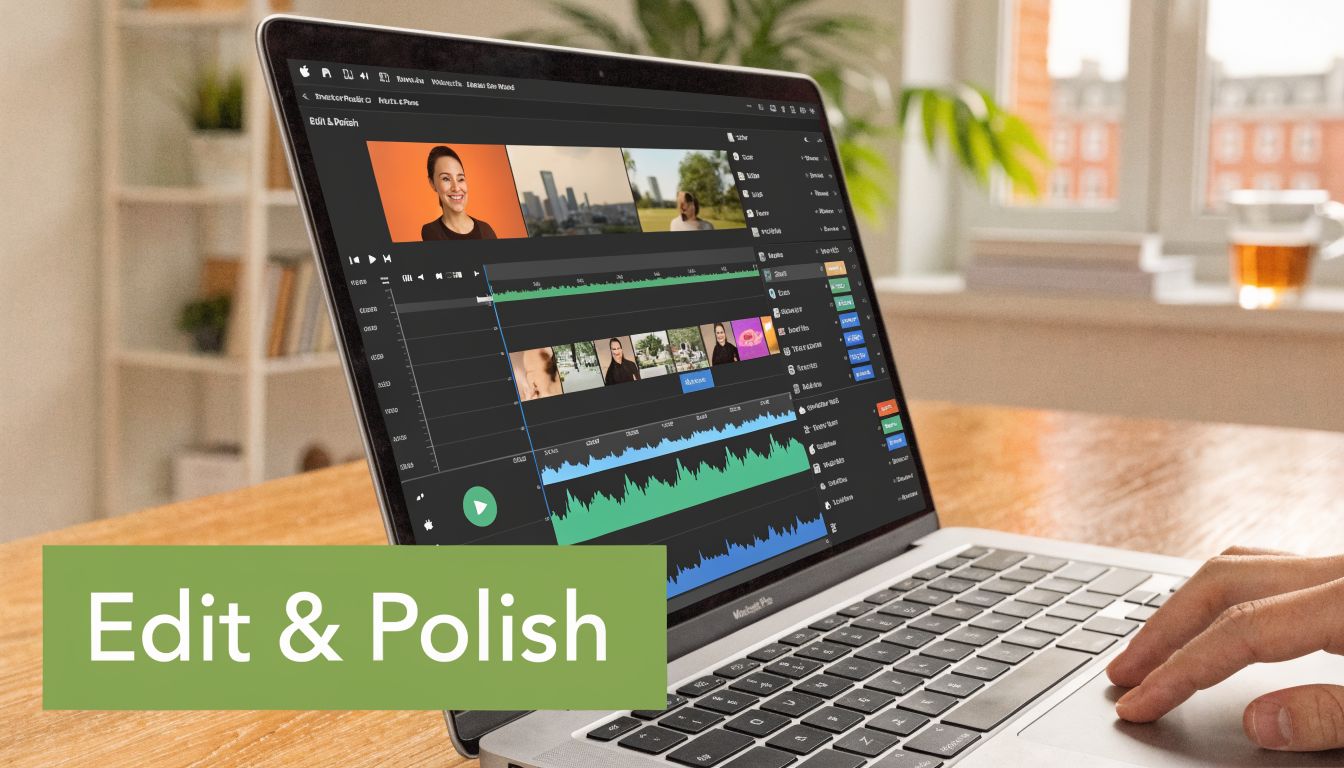
The edit is where the video becomes marketable
A good edit does three jobs at once. It removes friction, strengthens emphasis, and adds context.
Start with timing. Cut verbal restarts, cursor dead space, loading delays, and any on-screen hesitation that doesn't help comprehension. Then move to structure. If the strongest product payoff appears late in the recording, bring it forward. Screencasts don't have to preserve the exact chronology of the live action.
For teams comparing tools, timeline control matters more than flashy filters. You need to trim, split, reorder, and keyframe without fighting the app. Multi-track editing matters for the same reason. Voiceover and system audio should not live on the same track if you care about clarity.
One practical example is Smooth Capture, which combines Mac screen recording with timeline editing, multi-track audio, cursor effects, device frames, 3D perspective treatments, USB iOS capture, and the ability to switch between horizontal and vertical outputs from one capture. That kind of integrated workflow is useful when a team is producing product demos, onboarding videos, and App Store assets from the same source material.
Editing rule: If an effect doesn't improve comprehension or context, cut it.
Device framing is one of the few visual treatments that often earns its place. For desktop software, a plain screen can work. For mobile or cross-device demos, context changes everything. A framed iPhone capture or perspective treatment tells the viewer what they're looking at immediately. It also makes the asset feel intentional instead of improvised.
If you're evaluating broader post-production workflows, PhotoMaxi's AI video software guide is a useful reference for understanding where automation can help and where manual control still matters.
Here's a short walkthrough format that usually edits well:
| Edit pass | Focus | Typical result |
|---|---|---|
| Pass one | Remove mistakes and dead time | Cleaner pacing |
| Pass two | Add emphasis with zooms, cursor effects, and callouts | Better viewer guidance |
| Pass three | Apply framing, subtitles, and channel-specific layout | Distribution-ready asset |
A short visual demo helps when you're dialing in edit decisions for distribution:
Build export presets once and stop deciding every time
Teams waste a surprising amount of effort at export. Someone debates resolution. Someone else changes frame rate. Another person picks a different codec than last week. You get inconsistency with no real upside.
According to ScreenCharm's guidance on Mac screencasting, a baseline export profile of 1080p at 30 FPS is the recommended target for software tutorials and demos, and teams shipping multiple videos can reduce time-to-publish by 40 to 60 percent by establishing baseline export settings instead of optimizing every project manually. That's the kind of operational habit that matters more than one more plugin.
Set standard outputs for your common destinations:
- Tutorial library: 1080p, stable file size, clear narration
- Sales follow-up clip: smaller file, fast shareability
- Social cutdown: layout optimized for feed viewing
- Product launch asset: highest polish, controlled branding
If large exports are slowing reviews or approvals, this guide on compressing video on Mac is a practical next step.
The right export workflow doesn't ask editors to be format strategists every time. It lets them choose the destination and move on.
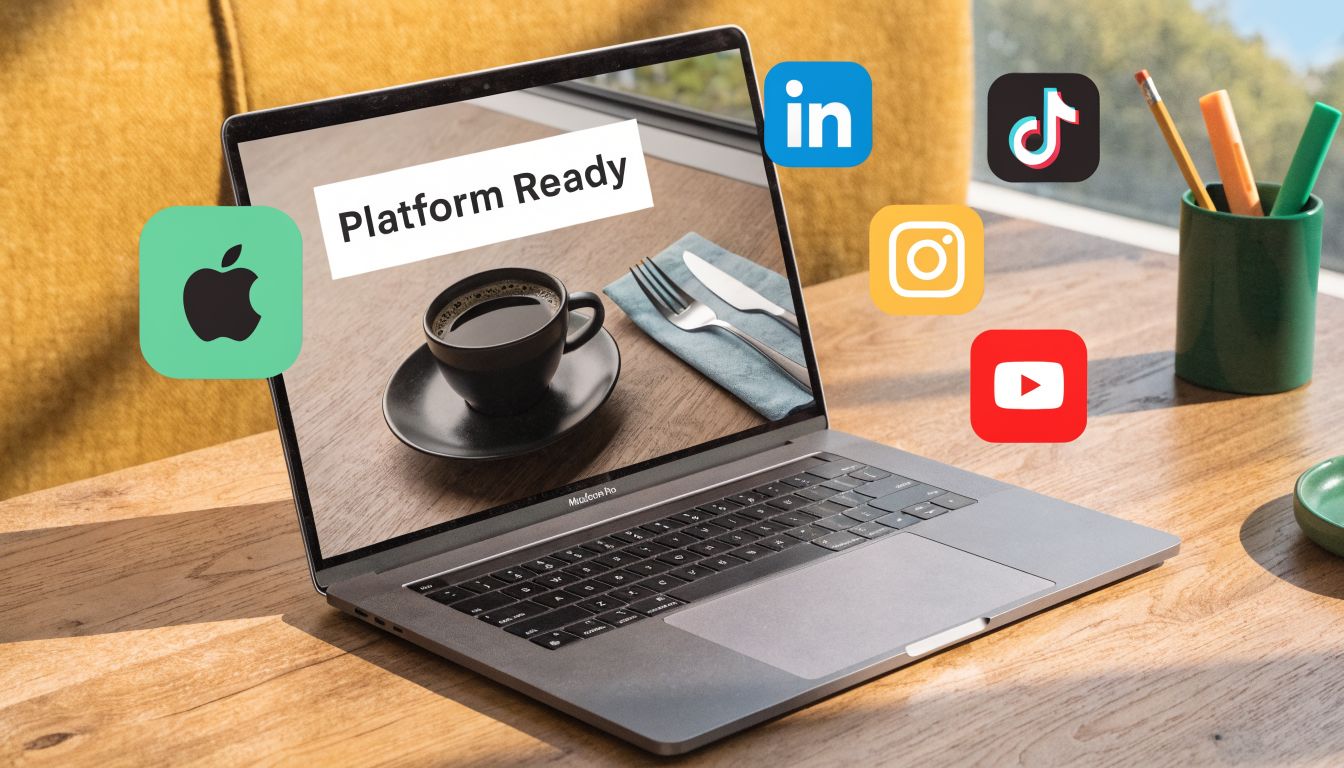
Optimizing Screencasts for App Store Previews and Social
A screencast that looks strong on a laptop can fail instantly on a phone feed. Text becomes too small. Framing collapses. The product loses context. Consequently, “just export another version” turns into unnecessary work.
The smarter approach is to record once with repurposing in mind.
One capture should feed multiple channels
A strong master recording should support multiple layouts. That means keeping enough margin around the core interaction, avoiding narration that depends on tiny UI details, and planning where subtitles or titles will sit.
This is especially important for silent-play environments. Social viewers often see the motion before they hear the story. Subtitles and visual emphasis have to carry meaning without relying on voice alone. On-device subtitle generation is useful here because it removes another external processing step and keeps iteration fast.
A single capture becomes more valuable when the tool can adapt the output cleanly. If your process requires separate recordings for widescreen launch video, vertical social, and mobile-focused variants, you'll either waste time or lower quality by rushing alternate takes.
Context matters more for mobile demos
Mobile product marketing exposes a real gap in many screencast workflows. Plenty of tools can record a screen. Fewer tools treat device framing, perspective treatments, orientation changes, and multi-device presentation as first-class needs.
That gap is called out in Apple's Mac App Store editorial coverage, which notes that App Store preview workflows often need iOS capture composited into 3D frames with specific aspect ratios, and that tools capable of swapping between horizontal and vertical outputs from one capture address an overlooked production need. That's exactly the difference between basic software documentation and product marketing output.
A mobile demo without device context often looks like cropped footage. A framed demo looks like a product asset.
For teams preparing launch-ready mobile videos, this guide to App Store preview video planning is a useful reference point.
A practical distribution setup usually looks like this:
- App Store preview: prioritize device context and orientation accuracy
- LinkedIn or X social clip: tighter pacing, stronger opening motion, readable captions
- YouTube walkthrough: more room for explanation and feature sequence
- Internal enablement version: longer form, less stylized, more procedural detail
One recording can serve all of those. But only if the workflow was designed for adaptation from the start.
The Right Tool Makes the Workflow
A common Mac screencast stack looks efficient until the team is under deadline. Capture in one app. Clean audio in another. Add callouts somewhere else. Rebuild the whole piece again for a vertical social cut and an App Store preview. The work gets done, but the process burns time and introduces small inconsistencies that show up in the final video.
That is why tool choice affects output quality as much as editing skill.
The Mac screencast market has clear tiers. Free native recorders cover simple capture. Open source tools give you more control if you can tolerate setup time. Dedicated Mac editors reduce post-production friction. Mid-tier apps have also improved, especially around subtitles, cleanup, and faster first-pass edits.
Free tools work for capture. Production teams need more than capture.
QuickTime still has a place. I use it for quick internal clips and one-off references because it starts fast and stays out of the way. OBS Studio is useful when recording flexibility matters, especially for layered inputs or more custom recording setups. ScreenFlow and similar Mac-first tools make more sense when the team needs repeatable editing, annotation, and export in one environment.
The trade-off is labor. A free tool can lower software cost while increasing production cost if every polished deliverable needs extra handoffs.
That shows up fast in product marketing work. A plain screen recording may be enough for support documentation. It is usually not enough for a launch demo, a paid social cutdown, or a mobile feature preview that needs device framing, motion treatment, and multiple aspect ratios from the same source footage.
Integrated workflows reduce rework
For teams publishing often, the right software removes avoidable steps. Record, trim, add cursor emphasis, place subtitles, frame the app in a device shell, then export horizontal and vertical versions without rebuilding the scene from scratch. That workflow is what keeps a weekly demo program sustainable.
Every extra handoff creates room for drift. Captions get restyled. Cursor behavior changes between videos. The mobile app appears framed in one asset and unframed in the next. None of those issues break a screencast on their own, but together they make the brand look less disciplined than the product team intended.
The best choice depends on the job. Occasional internal walkthroughs do not need a heavy production tool. Teams shipping demos, tutorials, App Store previews, and social edits on a regular cadence should use software built for that pattern, especially if iPhone capture, device context, timeline editing, and format adaptation are part of the brief.
Good screencasts come from preparation and editorial judgment. The software should support both. It should help the team move from raw capture to polished asset with fewer rebuilds, clearer standards, and less manual cleanup.
If your team ships demos, tutorials, App Store previews, or launch videos on a Mac, Smooth Capture is worth evaluating. It's a native macOS option built around a practical production workflow, including recording, timeline editing, device frames, cursor effects, multi-track audio, subtitle generation, and flexible exports for social and product marketing use cases.
Ready to create stunning app demos?
SmoothCapture makes it easy to record your screen with 3D device frames, cinematic cursor effects, and professional editing tools.