How to Speed Up Videos Online Free (2026 Guide)
You’ve got a video that’s too long, too slow, or just not shaped for where it needs to go. Maybe it’s a product demo that drags in the middle. Maybe it’s a tutorial with dead air between clicks. Maybe you’re trying to turn a full walkthrough into a tighter social cut. That’s why so many people search for speed up videos online free instead of opening a heavy editor. The appeal is obvious. Drop in a file, move a slider, export, done. Sometimes that really is enough. But speed changes aren’t only about making a clip shorter. They affect pacing, readability, audio quality, privacy, and how much time you lose waiting on uploads and exports. Free online tools are great for quick fixes. They’re much less great when the footage matters, the file is large, or the edit needs precision.
Why Speeding Up Your Video Is a Modern Superpower
Most speed edits start with a simple problem. The video is useful, but it takes too long to get to the point.
 A good speed change removes drag without removing meaning. That’s why it matters in demos, onboarding clips, feature announcements, and quick social edits.
The habit also lines up with how people watch video now. The growth of free online speed tools has tracked the rise of short-form video, and TikTok reported over 1.5 billion monthly active users globally by 2023, with 60% of videos featuring speed adjustments (Canva).
A good speed change removes drag without removing meaning. That’s why it matters in demos, onboarding clips, feature announcements, and quick social edits.
The habit also lines up with how people watch video now. The growth of free online speed tools has tracked the rise of short-form video, and TikTok reported over 1.5 billion monthly active users globally by 2023, with 60% of videos featuring speed adjustments (Canva).
Condense long explanations
Tutorials often contain useful steps mixed with waiting. Menus open. Pages load. Someone moves the cursor across the screen slower than the audience needs. That middle space is where speed control does real work. You don’t need to cut everything. You can make the low-information parts move faster.
Turn ordinary footage into a better story
Time-lapse sequences, setup shots, packaging clips, whiteboard sessions, and design workflows all benefit from speed changes. A basic clip becomes more watchable when the pace matches the idea. That matters for product marketing too. A feature reveal often lands better when repetitive setup is accelerated and the key moment stays readable.
Speed is not a gimmick when it removes friction for the viewer.
Fit the format you need
Platform limits shape editing decisions. App previews, social clips, ads, and internal explainers all reward tighter pacing. If you’re building launch assets, this is the same discipline behind a good App Store preview video workflow. The goal isn’t “make it faster.” The goal is “make it easier to understand in less time.”
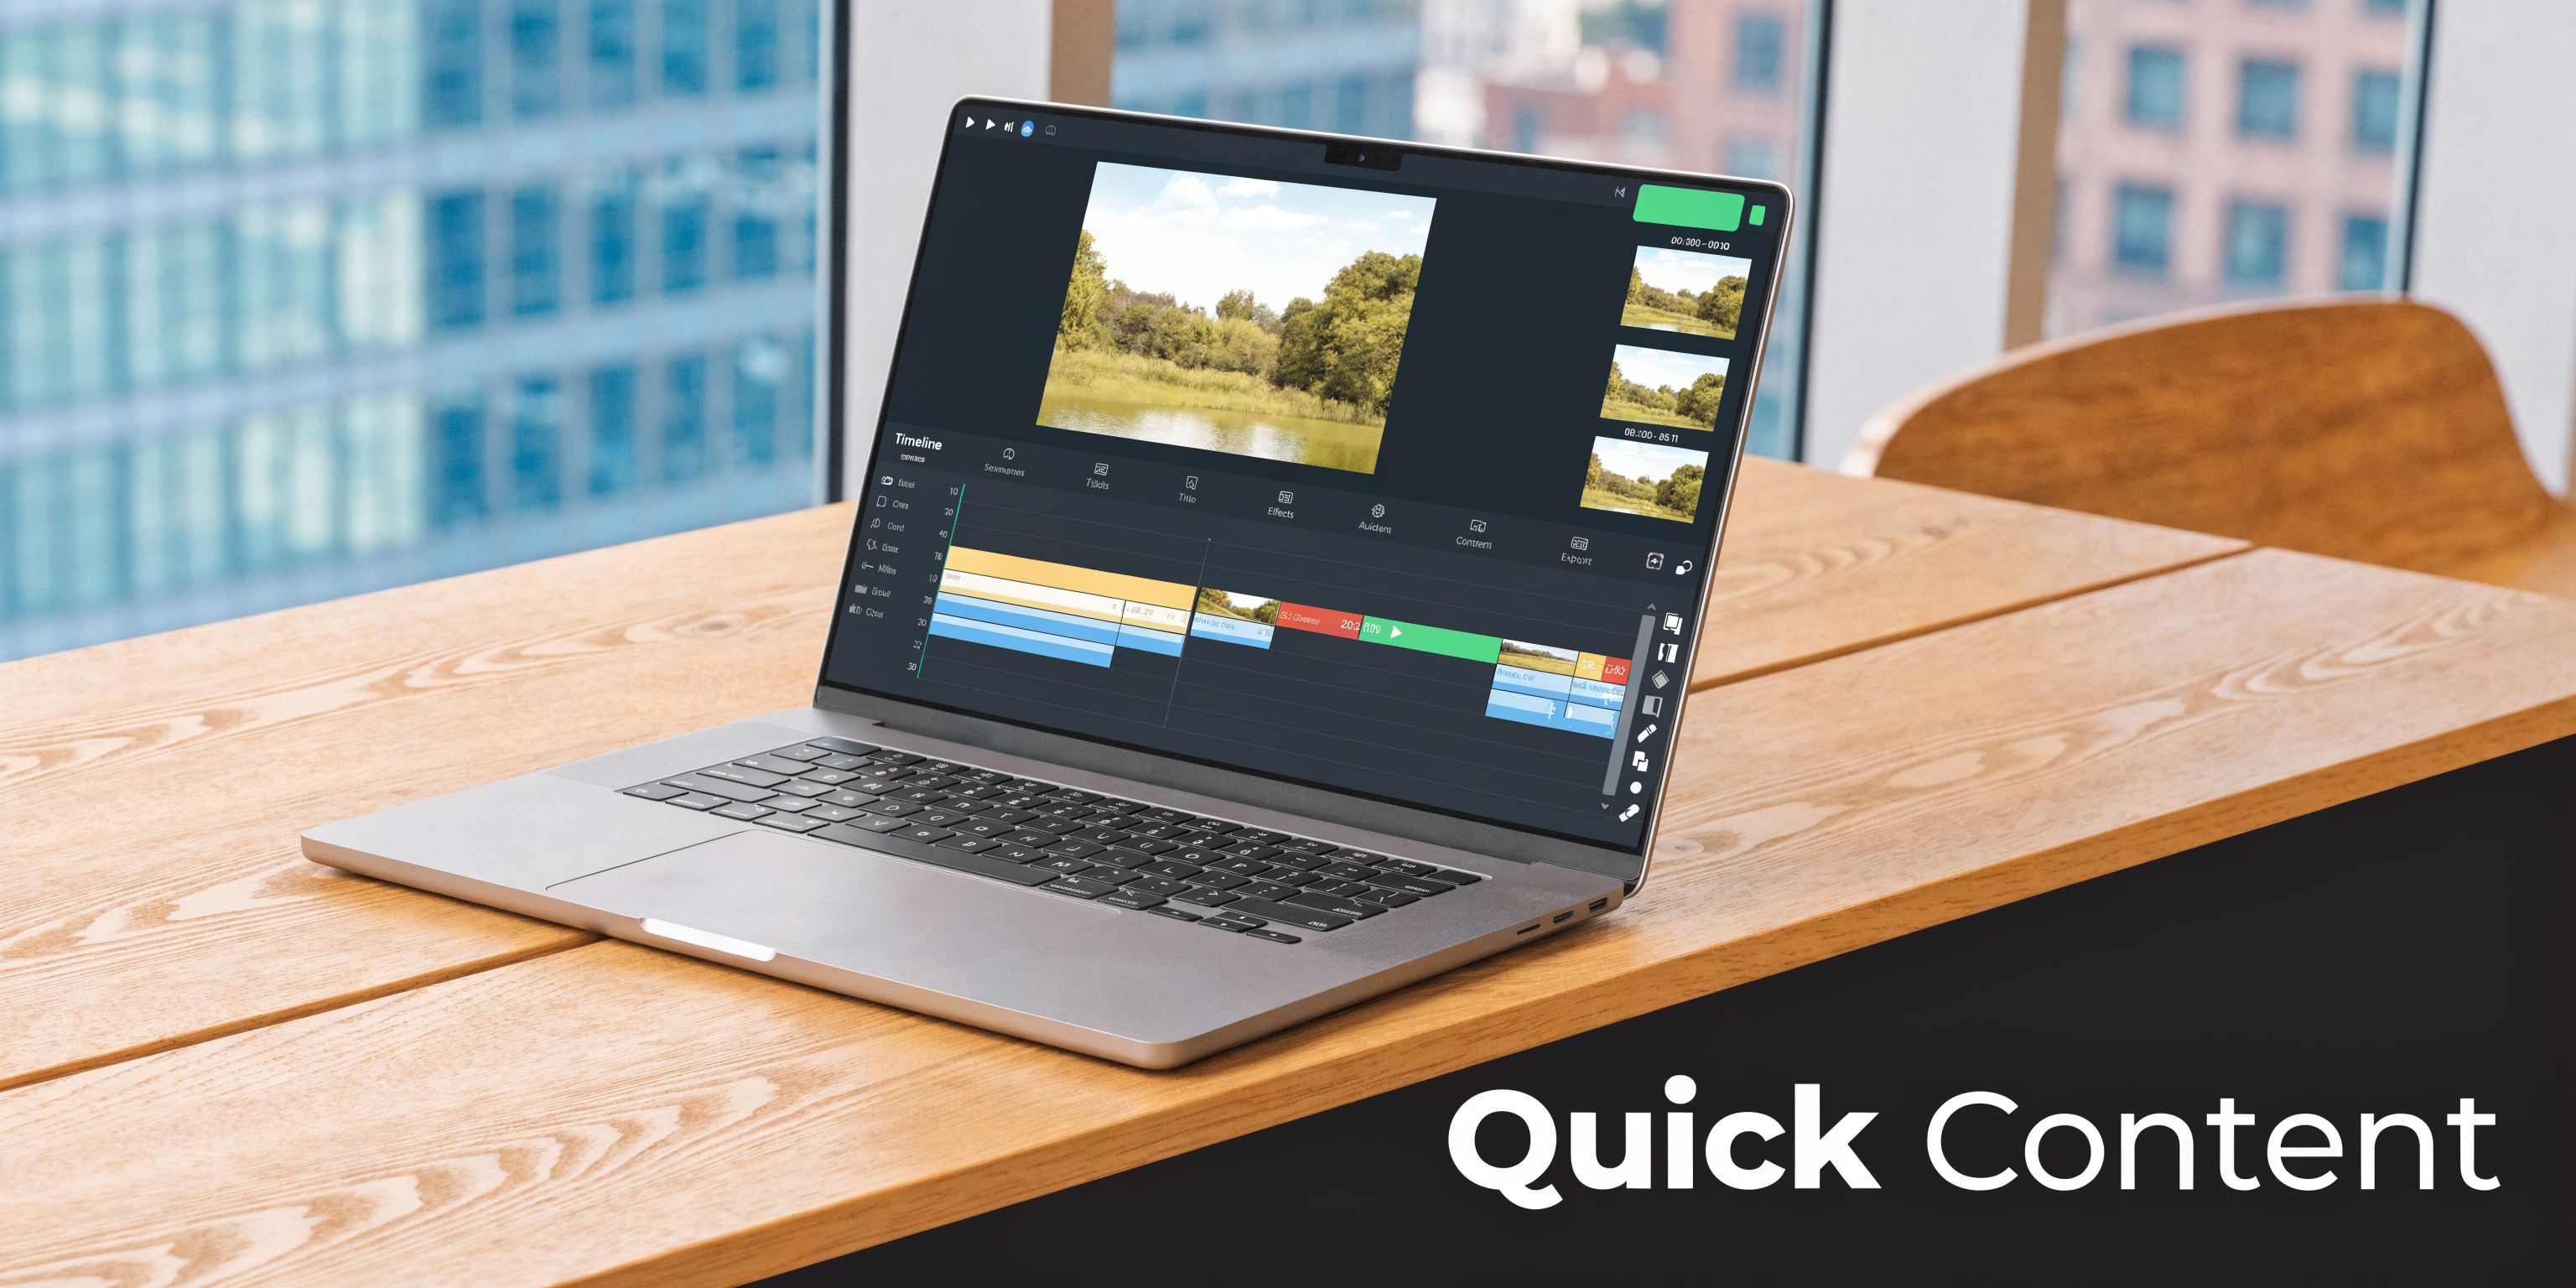
Your Quick Workflow to Speed Up Videos Online
If you’ve used one browser tool, you’ve already seen the basic pattern. Upload, choose a speed, preview, export.
The details matter more than people think.

Pick the right kind of free tool
Not all free tools solve the same problem. Some are best for a quick no-signup edit. Rotato focuses on private, instant processing and accepts all file types. Cap.so handles files up to 500MB and supports 0.25x to 3x speed changes with client-side processing, which means the file stays local instead of being uploaded to a server (Cap.so). That local-first model also aligns with privacy preferences in regulated markets, where 65% of creators prefer local processing according to the same source. Others are better when you need more range. Flixier supports up to 4x. VideoCandy extends further. Canva and Adobe Express are good if you already work in browser-based creative tools and want social-friendly exports. A practical rule:
- Use no-signup tools for one-off edits, rough drafts, or non-sensitive clips.
- Use browser editors with more controls when you need trimming, resizing, and a cleaner export flow.
- Avoid random upload sites if the footage includes customer data, unreleased product screens, or client work. If you want a broader shortlist before choosing a speed tool, this roundup of best free AI video editor tools is useful because it helps separate simple web utilities from editors that can handle more of the job.
Run the edit like a checklist
Here’s the workflow that works across most free online speed changers.
- Choose the tool based on file sensitivityIf privacy matters, start with a browser tool that processes locally. If speed matters more than privacy, a cloud-based tool may be fine for harmless footage.
- Upload the original fileKeep the original untouched. Don’t rename over it. Speed edits are easy to redo, but only if you keep the clean source.
- Find the default speed markerMost editors label normal playback as 1x. From there, move upward for faster playback or downward for slow motion.
- Start smallFor spoken demos, a slight increase is often enough. For repetitive setup footage, push further. Don’t jump straight to the maximum just because it’s available.
- Preview before exportWatch the cursor movement, text legibility, and transitions. Fast edits can look fine in a thumbnail and fail as soon as someone has to read the screen.
- Export for the destinationA social cut, a help center clip, and a product tutorial don’t need the exact same output choices.
Practical rule: If the audience needs to read text or follow clicks, test the sped-up section at normal viewing size before you export.
One more workflow note. If your original footage is a screen recording, starting with a clean capture saves you from trying to fix clutter later. This guide on how to record screen on Mac is worth reviewing if your raw recordings already feel messy before editing begins.
Choose export settings based on the destination
A quick table makes this easier.
| Use case | What matters most | What to watch for |
| Social clip | Fast turnaround | Cropping, over-compression |
| Product demo | Readable UI | Tiny text after speed increase |
| Internal tutorial | Clear voice and steps | Audio timing drift |
| Client review cut | Clean playback | Watermarks, branding limits |
A lot of free tools are “good enough” when the video is short, the stakes are low, and you only need a whole-video speed adjustment. They stop being convenient when you need repeatable output.
How to Avoid Chipmunk Audio and Pixelated Exports
The first bad speed edit usually fails in one of two ways. The voice turns thin and squeaky, or the picture gets mushy. Both problems are common. Neither is hard to catch if you know what to look for.
Fix the voice first
When you speed up audio without pitch correction, voices rise in tone. That’s the classic chipmunk effect. Professional editors usually handle pitch correction automatically at higher speeds, which keeps speech sounding natural. There’s also a teaching benefit to better pacing. Varying speed through a tutorial, instead of using one fixed speed throughout, can improve information retention by up to 31% (Clipchamp). That tells you two things.
- Look for pitch controls such as “Maintain Pitch” or “Pitch Correction.”
- Don’t force one speed across the whole timeline when only some sections need acceleration. If the browser tool doesn’t offer pitch handling, you’ve got three options. Mute the original audio. Replace it with music. Or re-record narration after the speed change.
Keep your talking sections slower than your transition sections. Viewers forgive fast motion more easily than fast instructions.
If your workflow involves narrated screen recordings, clean capture matters before editing too. Strong source audio makes speed changes more forgiving. This article on a Mac screen recorder with audio covers the recording side well.
Protect clarity before export
Pixelation usually comes from a combination of aggressive compression, low export settings, and footage that was already soft before you sped it up. The fix is practical, not magical.
- Keep the original resolution when possible. Don’t downscale unless the destination requires it.
- Preview text-heavy sections at the size viewers will see.
- Use moderate speed increases on UI footage. Fast motion makes tiny labels unreadable quickly.
- Avoid repeated exports from multiple free tools. Each handoff can damage quality. If your source footage already looks rough, speed won’t hide it. In that case, a guide to video upscaling software can help you understand what can and can’t be recovered after export. The simple test is this. If the viewer needs to read, click, compare, or follow a spoken instruction, clarity matters more than shaving off a few extra seconds.
Common Pitfalls of Free Online Speed Changers
Free tools save money. They do not always save time.
 That’s the part most comparison posts skip. They list features, then act as if every “speed up video” button creates the same result. It doesn’t.
Free often means limited control
Some tools only let you change the speed of the entire clip. Others add watermarks at export. Some accept the upload, then fail on long videos or stall during processing. The quality problem is worse because it’s often undocumented. Free tools may offer 4x speed or more, but those pages rarely explain what happens next. For professional demos, going beyond 2x to 3x often makes on-screen interactions illegible and can throw audio out of sync (Kapwing). That creates a trap. The tool technically offers the option, but the output stops being useful.
The hidden cost is rework
Here’s where “free” starts getting expensive in practice:
- You export twice because the first version sounds wrong.
- You re-record narration because the timing no longer fits.
- You split the clip manually because the tool can’t speed up only one section.
- You move to another site because the first one added a watermark or hit a file cap.
A free tool is good enough when the first export is close to final. It’s the wrong tool when every fix creates another fix.
Privacy is the other issue people underestimate. If you’re editing an internal product demo, customer onboarding flow, or client walkthrough, uploading footage to an unknown service may be the bigger risk than the editing limitation itself. The takeaway is simple. Browser tools are fine for low-stakes edits. They become frustrating when the video has to look polished, stay private, and ship on time.
When to Upgrade to a Native Desktop App
You outgrow browser tools the same way you outgrow basic screenshots. Not because they failed, but because your workload changed.
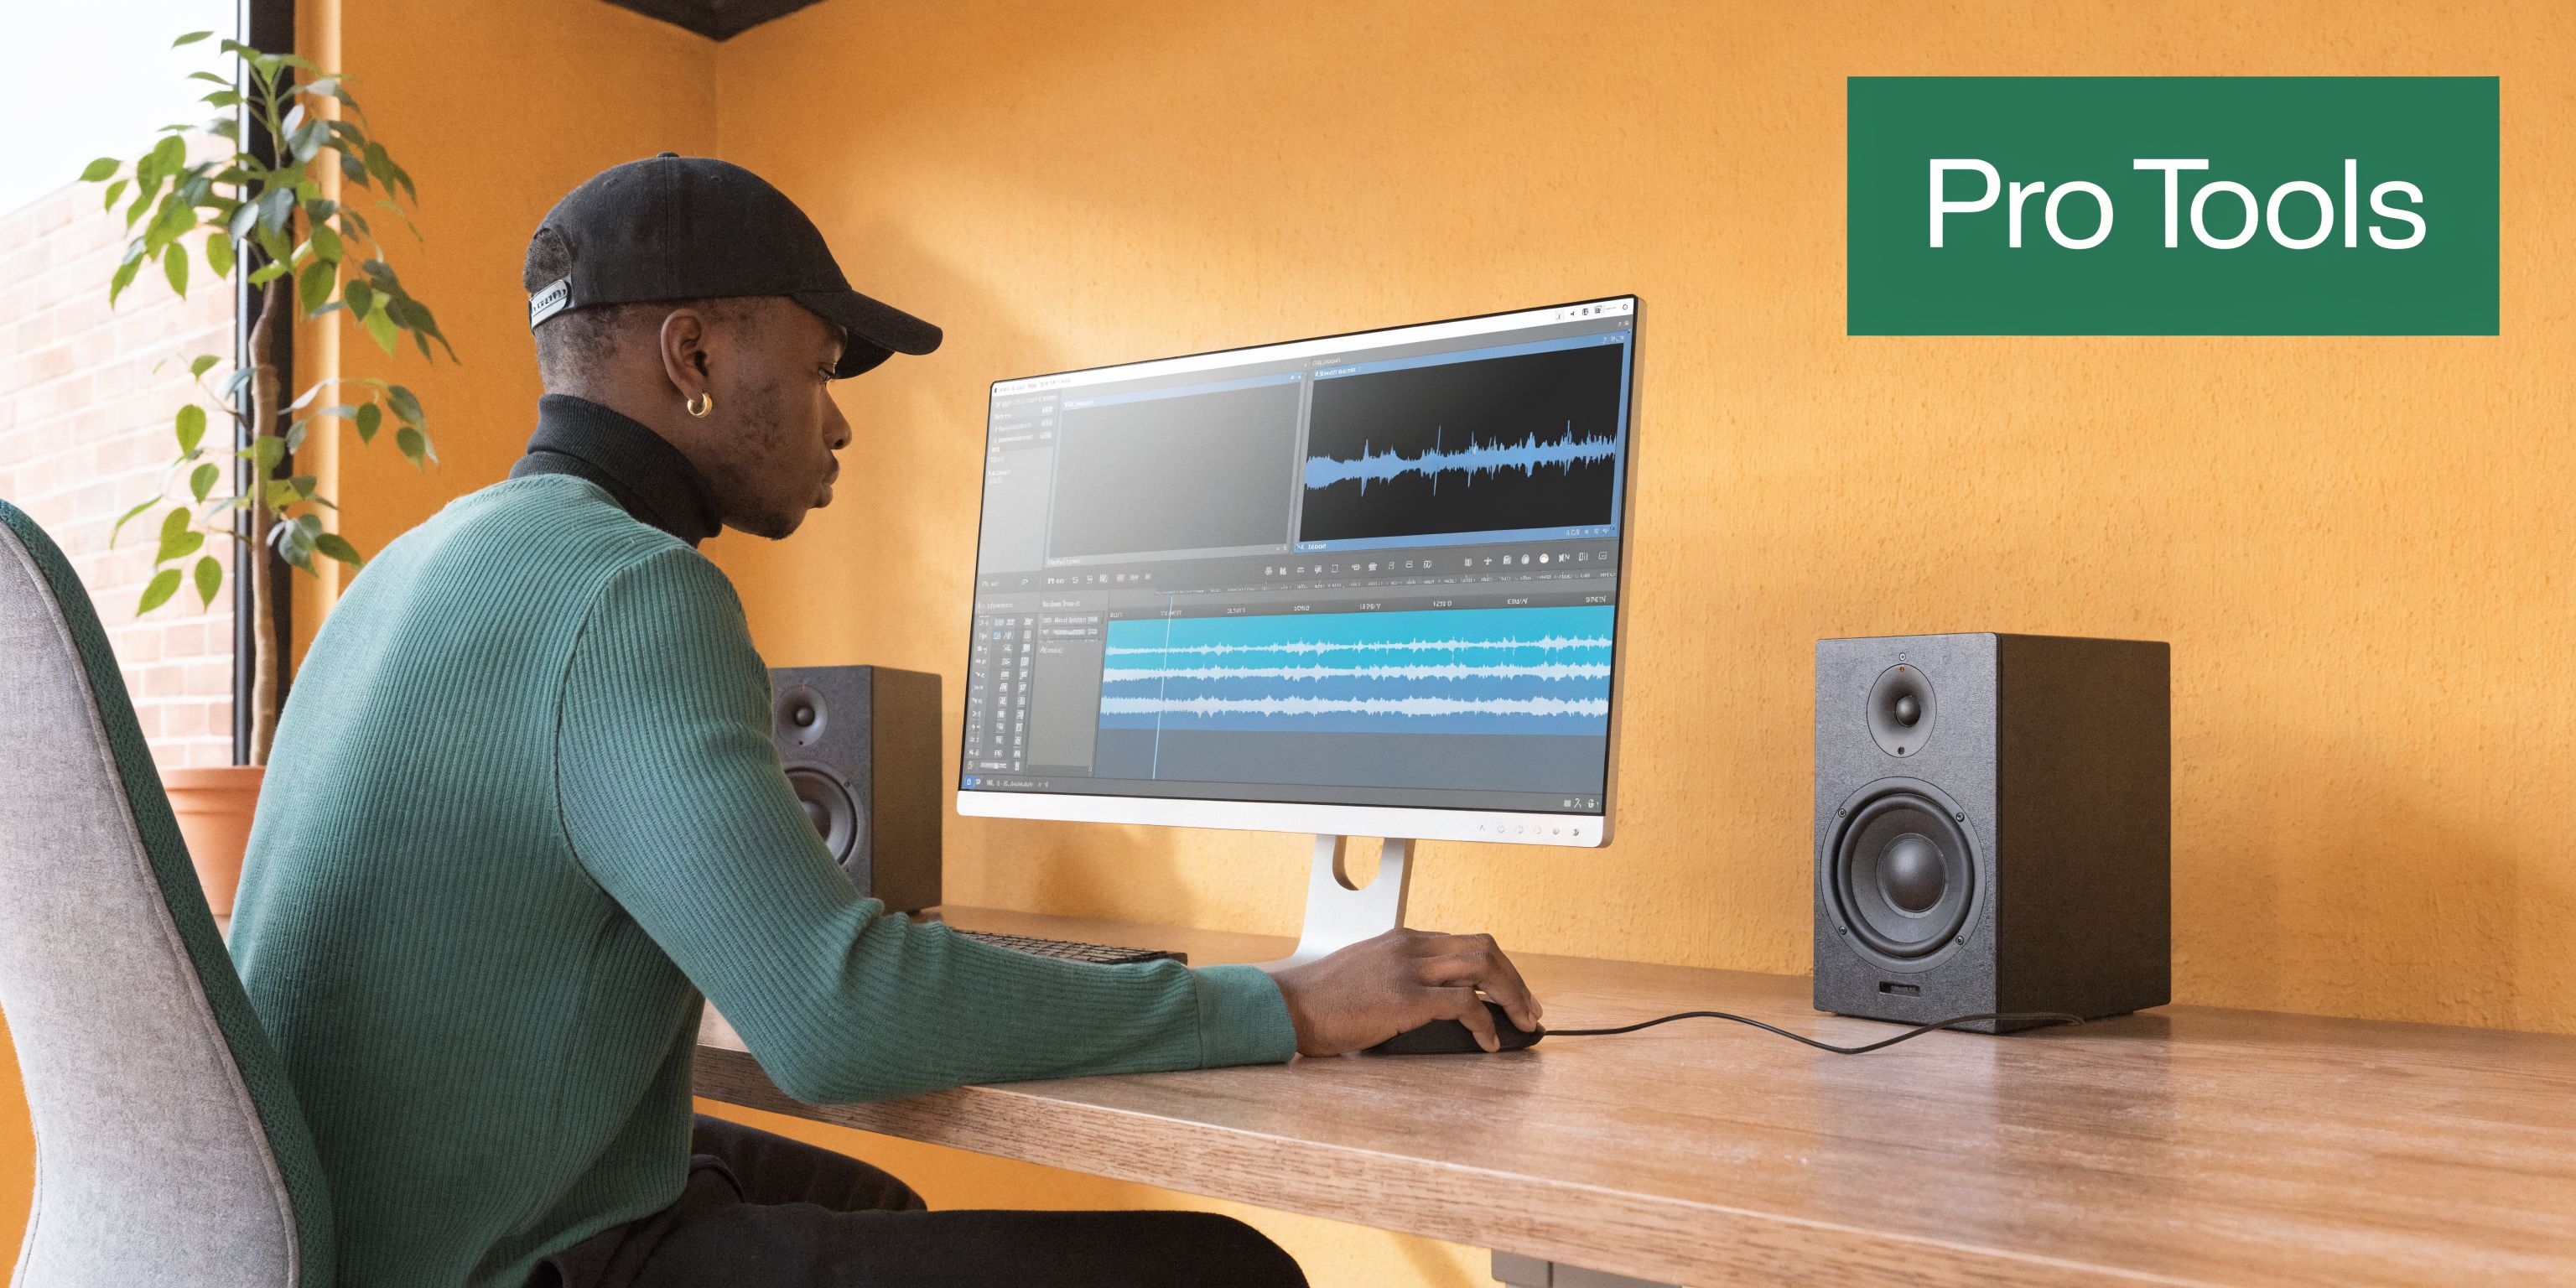 If you only need an occasional speed tweak, staying online makes sense. If you ship videos every week, the browser starts adding friction everywhere.
The browser stops being enough
Browser editors have real performance limits. Rendering time rises with video length, and the web workflow introduces upload delays, queue time, and export waiting. By contrast, native desktop apps keep processing local and can cut workflow time by about 40% for teams producing tutorial libraries (YouTube reference). That performance gap matters most when you need to:
- Work with larger recordings
- Edit several videos in a row
- Adjust speed on one section, not the whole file
- Preserve export quality without browser compression
- Keep sensitive footage fully on-device A lot of teams don’t notice the threshold until volume increases. One quick web edit feels easy. Ten tutorial updates in a week feels very different.
What changes in a native workflow
A stronger desktop workflow gives you more than speed control. It gives you editing precision. You can trim before changing speed. You can split the timeline and accelerate only the boring parts. You can layer voiceover, keep cursor actions readable, and export without wondering whether the browser tab is about to choke on a long render. That’s when a capable native app becomes the practical choice, not the fancy one. Especially if your team creates repeatable assets like onboarding lessons, feature walkthroughs, launch videos, or client-facing explainers. Use this rule of thumb:
| Stay with free online tools when | Move to a native app when |
| You need a one-off speed change | You publish videos regularly |
| The footage isn’t sensitive | The footage includes product or client material |
| Whole-video speed is enough | Section-based timing matters |
| Export quality can be “fine” | Export quality needs to be dependable |
Once you’re doing serious production work, “good enough” usually means “I’ll fix it later.” That’s where the true cost shows up.
Frequently Asked Questions
Can I speed up only one part of a video with a free online tool
Sometimes, but not always. Basic tools often apply one speed to the whole file. If the editor doesn’t support section-based speed changes, the workaround is to split the video into separate clips, speed up only the part you want, and then recombine them. It works, but it’s clumsy.
Are free online speed tools safe for private videos
Some are safer than others. A better option is a tool that processes locally in your browser instead of uploading the file to a remote server. Check whether the site explains how it handles files, whether it requires login, and whether you’d be comfortable uploading the footage if it contained customer or unreleased product information.
Do these tools work on phones
Many do, but desktop is usually easier. You get a larger preview, better file handling, and fewer browser limitations. For UI demos and tutorials, a desktop browser makes it much easier to judge readability after a speed change.
What speed should I use
Use the slowest increase that solves the pacing problem. Spoken walkthroughs usually need restraint. Repetitive actions can go faster. If text becomes hard to read or clicks feel abrupt, you’ve pushed too far. If your team has moved beyond one-off web edits and needs a faster, more reliable way to record and polish demos, tutorials, and launch assets, take a look at Smooth Capture. It gives macOS teams a native workflow for recording, editing, refining timing, and exporting clean videos without the usual browser bottlenecks.
Ready to create stunning app demos?
SmoothCapture makes it easy to record your screen with 3D device frames, cinematic cursor effects, and professional editing tools.