Fix Screen Record No Audio on Mac: Easy Guide
You finish the take, save the file, hit play, and hear nothing.
That moment is worse on a Mac because “screen record no audio” can mean two completely different failures. Sometimes your voice didn’t record. Sometimes your Mac’s internal sound didn’t record. People often treat those as the same bug, then waste an hour changing the wrong setting.
The fix is to separate the problem first, then troubleshoot in layers. Start with fast checks that catch the obvious misses. Then test microphone input by itself. Then test system audio by itself. If both should be present, only combine them after each path works independently. That order matters because macOS audio routing gets messy fast once you introduce Bluetooth devices, virtual drivers, browser tabs, and multiple recording apps.
Table of Contents
- The Silence After a Perfect Take
- Your First 60-Second Audio Check
- Troubleshooting Your Microphone Input
- Solving the System Audio Puzzle on macOS
- Debugging Advanced Audio Conflicts
- Building a No-Fail Recording Workflow
The Silence After a Perfect Take
A silent export usually shows up after the take you don’t want to repeat. The cursor moved cleanly. The product behaved. You finally got through the walkthrough without a typo, awkward pause, or stray notification. Then the playback opens and the timeline is dead quiet.
I’ve seen the same pattern with product demos, onboarding videos, bug reports, investor updates, and support tutorials. The creator assumes the recorder failed in some vague way. What happened is usually more specific. The microphone wasn’t armed. The app never got permission. The recorder captured your screen but not your Mac’s audio output. Or macOS routed sound somewhere you weren’t monitoring.
Practical rule: Treat silence like a routing problem, not a mystery.
That mindset changes how you debug it. Don’t start by reinstalling apps or rebooting five times. First identify what type of audio is missing.
There are only three useful questions:
- Is the microphone missing when you expected voiceover?
- Is system audio missing when you expected app sounds, browser audio, or notifications?
- Are both missing, which usually points to permissions, device selection, or a deeper routing conflict?
That split matters because the fix for voice capture lives in one part of macOS, while the fix for internal audio often lives somewhere else entirely. If you change microphone settings while your real issue is system audio, nothing improves. If you install a virtual driver when the app lacks mic permission, you add complexity without solving anything.
Your First 60-Second Audio Check
Before opening advanced utilities, do the checks that solve the highest-probability failures.
A prevalent issue in screen recording is the failure to capture audio due to misconfigured microphone settings. According to Wondershare’s troubleshooting guide, up to 70% of “screen record no audio” complaints stem from the microphone being toggled off by default or lacking system permissions during initiation.
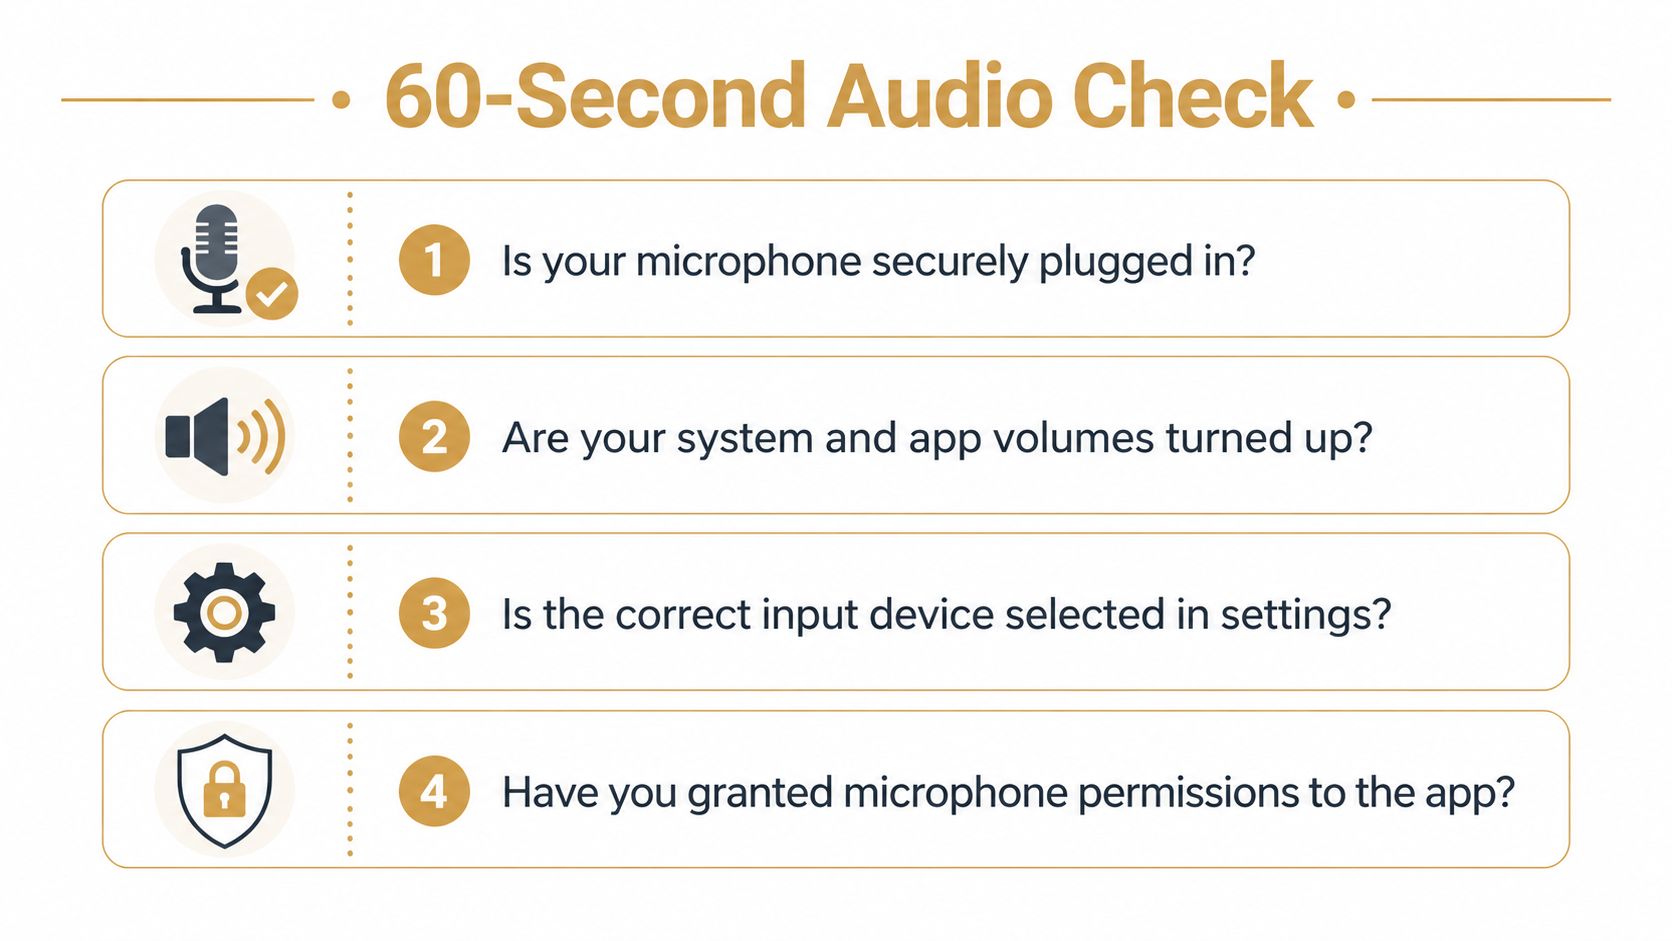
Check the obvious before you touch anything deeper
Start with the things people skip because they feel too simple:
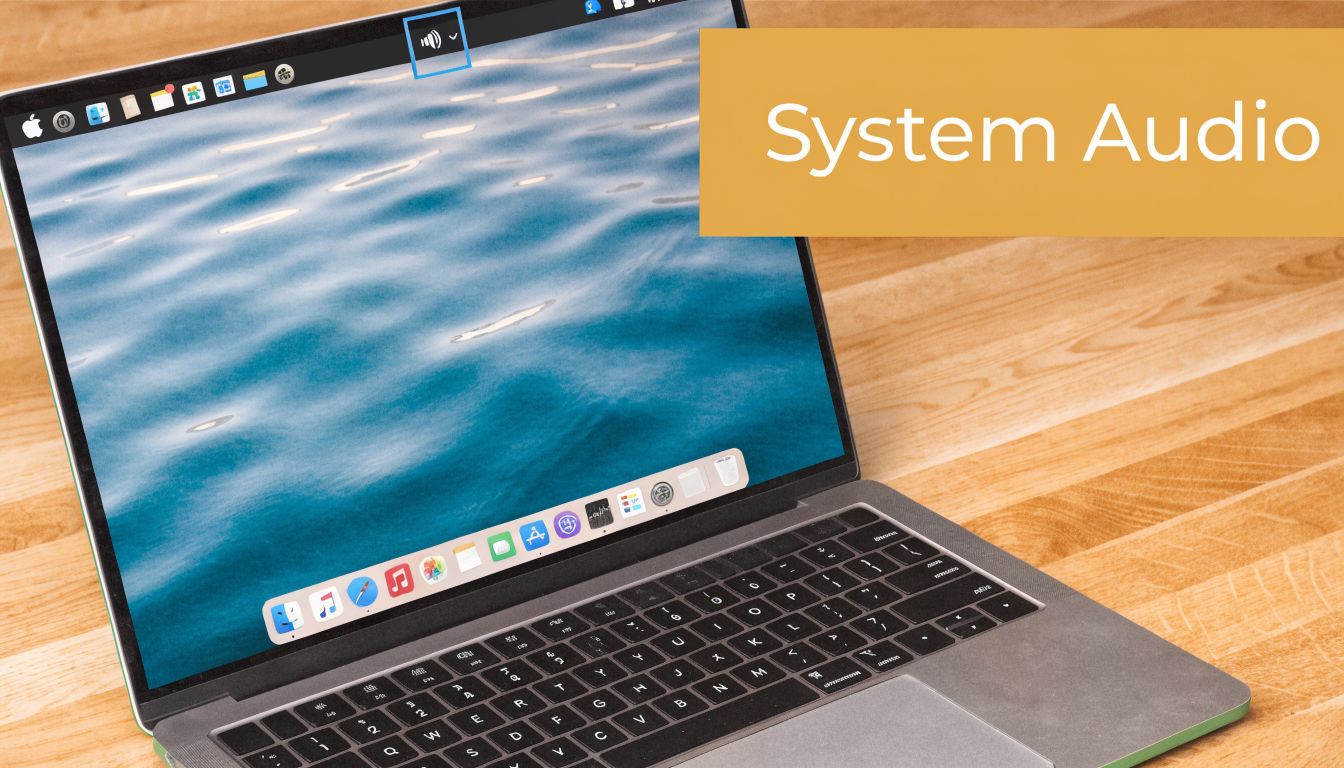
- System volume: If your Mac output is muted or extremely low, you may think system audio wasn’t recorded when the file is just quiet.
- App audio source: Many recorders default to no microphone, or they remember the last disconnected device.
- Mic hardware: USB microphones can stay powered while failing to present a usable input to the recorder.
- Saved file sanity check: Open the recording in another player before you blame the capture. Sometimes the problem is playback, not recording.
If you’re recording tutorials regularly, a basic process like this pairs well with a broader setup guide for recording your screen on a Mac.
Check Privacy and Security permissions
On macOS, permission issues often look like hardware failure. The microphone appears connected. The app opens normally. The recording finishes. The file has no voice.
Go to System Settings > Privacy & Security > Microphone and confirm your recorder is enabled.
Then check System Settings > Privacy & Security > Screen & System Audio Recording if your app uses that permission path. Some tools need both screen recording access and microphone access to produce a complete file.
If an app never received permission, changing inputs inside the app won’t help. macOS blocks the signal before the recorder can use it.
Run a one-minute isolation test
Don’t start another full take yet. Record a tiny clip with just one goal: prove the audio path works.
Use this sequence:
- Speak clearly for a few seconds to test the mic path.
- Play a short sound on the Mac if you also need system audio.
- Stop and replay immediately.
- Label the failure as mic-only, system-only, or both.
That label tells you where to go next. Without it, you’re just clicking around.
Troubleshooting Your Microphone Input
When your voice is missing, stop thinking about screen recording for a minute. This is an input-device problem first.
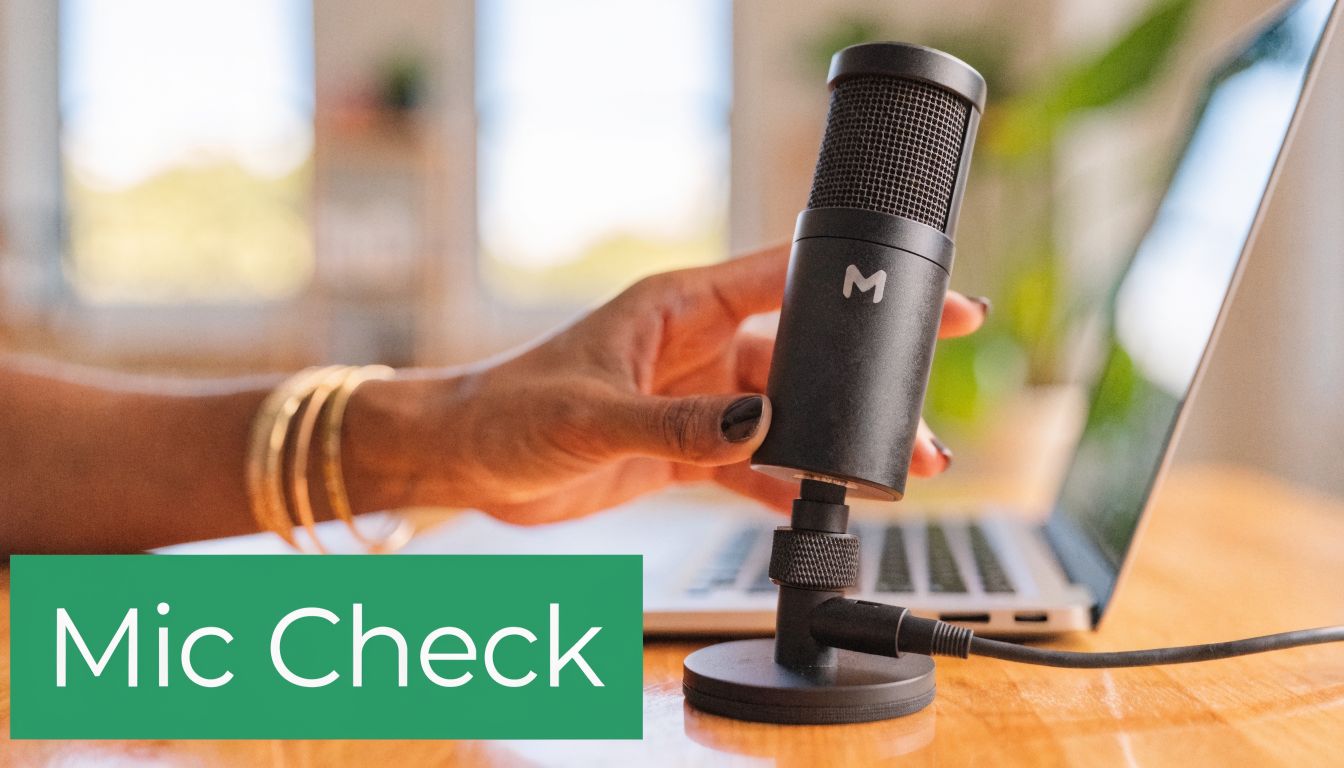
The biggest mistake here is trusting the microphone because it’s plugged in and lit up. USB mics, docking stations, webcams, and headsets can all appear connected while macOS or the recording app is listening to a different source.
Make sure macOS actually sees the mic
Open System Settings > Sound > Input.
You want two things to be true at the same time:
- The intended microphone is selected
- The input level meter moves when you speak
If the meter stays flat, the recorder isn’t your first problem. macOS itself isn’t receiving usable input from that device.
Try this order:
- Internal mic first: Switch to MacBook Microphone and test. If that works, the issue is your external mic path.
- Reconnect the device: Unplug and reconnect USB microphones directly to the Mac if possible.
- Avoid hubs temporarily: Docks can introduce flaky detection, especially when you reconnect devices between takes.
- Rename confusion out of the setup: If you have multiple similar devices, pick one and disconnect the rest.
Check the recorder, not just the Mac
A mic can work perfectly in macOS and still fail in the app because the app is set to another input.
Open your recorder’s audio settings and verify:
- Microphone source: It should match the exact device you tested in Sound settings.
- Input monitoring or meter: If the app shows a level meter, speak and watch for movement.
- Per-scene or per-project settings: Some tools remember different audio sources for different recording presets.
This cross-check matters because the app may keep pointing at a headset mic or webcam mic from an older session.
A quick side note if you also work cross-platform. A practical walkthrough on how to test a microphone on your PC is useful if you switch between Mac and Windows setups and want the same methodical habit on both.
Watch for app conflicts
Some silent voice tracks happen because another app is already using the microphone aggressively. Video call apps are the usual suspects. Zoom, Google Meet, Teams, and browser-based meeting tabs can hold onto the mic or keep changing the active input device.
Common symptoms look like this:
| Situation | What you notice | What to do |
|---|---|---|
| Zoom was open earlier | Recorder captures nothing or the wrong mic | Fully quit Zoom, not just close the window |
| Bluetooth headset connected | Mac switches input automatically | Set input manually back to the intended mic |
| Webcam mic takes over | Audio sounds thin and distant | Re-select the USB or built-in mic in both macOS and the recorder |
A short live demonstration can help if you want to compare what healthy mic selection should look like before recording:
Quit any app that could plausibly be listening before you record. “Not in a meeting” doesn’t always mean “not using the mic.”
If the mic works in Sound settings and in the recorder’s meter, record another short test clip before moving on. Don’t assume it’s fixed until the exported file confirms it.
Solving the System Audio Puzzle on macOS
System audio is where many Mac users lose time, because native expectations don’t match how macOS handles internal sound.
System-level permission and driver issues contribute to 50 to 60% of screen recording no-audio failures, and on macOS, QuickTime’s native screen recording since Mojave 10.14 defaults to no internal audio capture, often requiring a third-party routing tool like iShowU Audio Capture. According to the MuseScore discussion of this issue, that step resolves up to 85% of silent recording reports.
Why QuickTime and many Mac recorders miss internal sound
When people say “my screen recording has no audio,” they often mean, “it didn’t capture the sound coming out of my speakers.” On macOS, that’s a different job from recording a microphone.
QuickTime can record your screen and can use a microphone, but internal audio capture is not handled the simple way many users expect. That’s why you can narrate a video and still lose the app sounds, browser playback, or product UI effects you wanted in the recording.
This isn’t usually a bug. It’s a routing limitation.
Your Mac knows where sound is going out. Your recorder still needs a way to receive that same sound as an input.
How loopback audio fixes it
The standard solution is a virtual audio device, often called a loopback driver. Tools in this category create a software-based path that sends system output back into a recorder as an input source.
The workflow usually looks like this:
- Install a loopback driver such as BlackHole or iShowU Audio Capture.
- Set macOS output to that virtual device, or build a multi-output path if you also need to hear the sound live.
- Select the same virtual device inside the recorder as the system audio source.
- Run a test clip with obvious sounds like button clicks, notifications, or a short video.
What works well:
- Single-purpose testing: Use one app and one sound source first.
- Wired monitoring: It reduces routing surprises while you confirm the setup.
- Short validation clips: They expose failures before the final take.
What often fails:
- Changing multiple devices at once: You won’t know which change broke it.
- Bluetooth monitoring during setup: It adds another routing layer.
- Assuming “screen recording permission” means “system audio enabled”: Those are not the same thing.
If you want a broader look at tools built specifically for this use case, this guide to a Mac screen recorder with audio is useful for comparing recorder options.
A simple decision table
Use this when the problem is specifically internal sound:
| If this is your goal | Native recorder likely enough | Extra routing likely needed |
|---|---|---|
| Record your voice over the screen | Usually yes | No |
| Record app sounds or browser playback | Often no | Usually yes |
| Record both voice and internal audio cleanly | Sometimes | Often yes |
| Record product demos repeatedly for team use | Possible, but fragile | A dedicated workflow is easier to maintain |
The practical takeaway is simple. If your missing audio is your own voice, stay in microphone troubleshooting. If your missing audio is the Mac itself, think routing, not permissions alone.
Debugging Advanced Audio Conflicts
If you’ve already verified permissions, selected the right mic, and set up system audio routing, the remaining failures usually come from conflicts deeper in the audio chain.
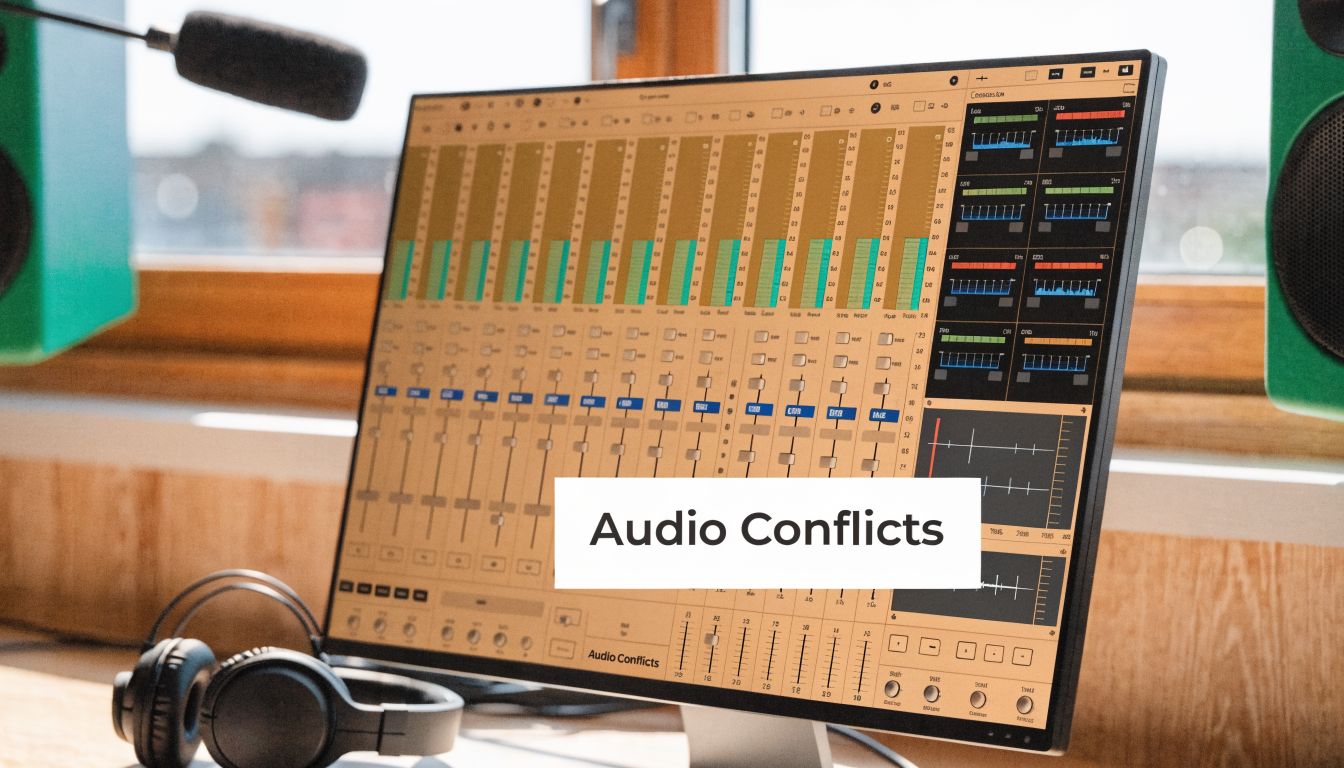
In macOS, audio routing conflicts are a common issue. According to Movavi’s troubleshooting reference, mismatched sample rates between the audio source and the recording application's project settings cause an estimated 70% of silent or corrupted audio recordings, and the problem can be diagnosed with Audio MIDI Setup.
Fix sample rate mismatches first
Open Audio MIDI Setup on your Mac and inspect every device involved in the chain. That includes your microphone, built-in output, any virtual audio device, and any aggregate or multi-output device you created.
You’re looking for one thing: compatibility.
If one device is set differently from the others, the recorder may produce silence, stuttering, or damaged audio. In practice, these conflicts often show up after installing a new interface, switching headsets, or using a virtual audio driver that didn’t inherit the setting you expected.
Use this checklist:
- Match the sample rate across related devices
- Rebuild the multi-output device if the routing looks messy
- Test with the simplest path possible before restoring the full setup
Don’t troubleshoot a complex aggregate device until you’ve proven each single device works on its own.
Remove Bluetooth from the chain
Bluetooth audio is convenient. It’s also one of the fastest ways to confuse a recording setup.
AirPods and Bluetooth headsets can switch profiles when the microphone becomes active. That changes how audio is routed and can degrade what you hear while recording. Even when the final failure isn’t caused by Bluetooth directly, removing it from the setup often makes the underlying issue visible.
Try a clean test:
- Disconnect AirPods and Bluetooth headsets
- Use Built-in Output or a wired device
- Use the Mac’s internal mic or one wired USB mic
- Record a short clip with one sound source
If that works, the Bluetooth path was either the cause or a major contributor.
Know when the app is blocking capture on purpose
Not every “silent” system audio file is a technical failure.
Some apps and services intentionally prevent audio capture. Streaming platforms and protected media apps can block recording as part of DRM policy. If your recorder works everywhere except one protected app, stop chasing settings. That limit is likely deliberate.
A quick diagnostic rule helps:
| Recording result | Likely cause |
|---|---|
| Silence in every app | Global routing or permission issue |
| Silence only in one protected app | Intentional capture block |
| Distorted or intermittent sound | Sample rate or device conflict |
| Works until headphones connect | Routing changed mid-session |
Once you reach this stage, the best move is simplification. Fewer devices, fewer apps open, one recorder, one known-good path.
Building a No-Fail Recording Workflow
The reliable fix for screen record no audio isn’t a clever setting. It’s a repeatable preflight routine.
Most silent recordings are preventable if you stop treating recording like a one-click action and start treating it like a production step. The habit that saves the most time is a short test before every real take. Speak a sentence, trigger a system sound, stop, and replay. That tiny check catches the failures people otherwise discover after the best version of the walkthrough is already finished.
The workflow worth keeping
Use a checklist that’s short enough to follow every time:
- Confirm the audio goal: Voice only, system audio only, or both.
- Check active devices: One microphone, one output path, no leftovers from yesterday’s session.
- Record a short proof clip: Don’t trust meters alone.
- Quit competing apps: Meeting apps, browser tabs, and audio utilities can interfere.
- Lock the setup before the main take: Once it works, stop changing devices.
For teams that also record interviews, support calls, or remote walkthroughs, a guide on how to record a video call effectively is worth keeping nearby because the same habits apply. Test first, verify routing, and avoid assumptions.
Tool choice matters more than people admit
Native tools are fine for occasional captures. They become fragile when you need polished recordings repeatedly, especially if your workflow includes narration, app sound, editing, subtitles, and multiple output formats.
That’s where a dedicated recorder earns its place. A good Mac tool should make audio sources obvious, give you visual confirmation before capture, and reduce the number of separate routing decisions you have to make. If you’re evaluating options, this roundup of the best screen recording software for Mac is a practical place to compare what fits team workflows.
A silent file wastes more time than a slightly slower setup. Build the setup once, test it every time, and protect the take before you press record.
If your team records demos, onboarding videos, launch assets, or client walkthroughs every week, Smooth Capture is worth a look. It’s a native macOS recorder and editor built for repeatable production workflows, with multi-track editing, device frames, cursor effects, subtitle support, and exports that are ready for product marketing and training teams. You can try it free and see if it gives you a cleaner, more dependable recording process.
Ready to create stunning app demos?
SmoothCapture makes it easy to record your screen with 3D device frames, cinematic cursor effects, and professional editing tools.