How to Record Discord Audio (Mac, PC & Mobile Guide 2026)
You finish a Discord call and realize the best part happened live. The guest finally gave the clean explanation. The client asked the exact question your sales team keeps hearing. Your teammate delivered the perfect product walkthrough. And none of it exists outside memory. That’s the moment when individuals typically begin searching for how to record Discord audio. Not for novelty. For reuse. A remote podcast episode, an internal training session, a product demo, a support handoff, a tutorial voiceover. In production work, Discord audio is rarely the final asset by itself. It’s usually one part of a larger edit that also includes screen capture, webcam, callouts, subtitles, and cut-downs for different formats. That bigger workflow matters, especially on Mac. A method that’s fine for saving a casual call can become a mess once you need clean tracks, easy editing, and a result you can publish.
Why You Need to Record Discord Audio
The main reason people need to record Discord audio is simple. Good conversations happen there, and Discord doesn’t save them for you. Discord does not natively record audio from voice channels or calls, and that privacy-first design has stayed consistent since launch in 2015. The same reporting notes that Discord had over 150 million monthly active users as of 2023, yet voice content still isn’t archived by default, and data exports omit voice and video audio according to this Discord audio recording overview. That has real production consequences. If you run a remote interview on Discord, there’s no built-in fallback. If your team does onboarding walkthroughs in a voice channel, the explanation disappears unless you capture it externally. If you’re building product education, a strong live explanation can become the basis for a polished asset, much like the workflow behind a good software demo video.
Production value comes after the call
For creators and teams, recording isn’t only about archiving. It’s about reuse. A single Discord call can turn into:
- A podcast segment with cleanup and music added later
- A client demo paired with screen footage and tighter edits
- An internal training clip cut into smaller lessons
- A support resource for onboarding or troubleshooting
Practical rule: If the conversation would be painful to recreate, record it the first time.
The missing record button changes your setup
Because Discord won’t capture voice natively, you have to decide how much control you need before the call starts. That’s the part many people skip. If the call is mostly visual, a screen recorder is usually enough. If the call is audio-first and you need separate tracks, a bot may be better. If you’re on Mac and care about routing, monitoring, and post-production, the capture method affects the entire edit, not just the recording step.
The Three Main Ways to Capture Discord Audio
Most workflows for record discord audio fall into three buckets. They look similar from the outside, but they solve different problems.
 Mac users feel this choice more sharply than Windows users. Existing guides lean heavily toward Windows, while macOS coverage is thinner. One summary of recording methods notes that 28% of Discord’s active users are on macOS/iOS and also points out common complaints around QuickTime missing remote audio and OBS setups on Mac becoming complicated or laggy in this Discord recording methods guide.
Screen recording works best for demos and tutorials
This is the most practical option when Discord is only one ingredient in the final deliverable. You record the app window, the full desktop, or a selected region, while also capturing system audio and optionally your mic. That makes sense for:
- Product walkthroughs
- Client handovers
- Training sessions
- Tutorials with on-screen steps The advantage is context. You don’t just keep the conversation. You keep the clicks, settings, UI changes, and visual flow. The downside is that audio usually ends up mixed into the same project capture unless your software supports better track handling.
Bots work best for podcasts and roundtables
A recording bot joins the Discord voice channel like another participant. Its job is to capture the conversation and save speaker files. That’s useful when editing is audio-first. If three people talk over each other, separate files give the editor more control than a single mixed track ever will. Podcast producers like this because they can trim one voice without damaging the others.
The cleanest post-production usually starts with separated speaker tracks, not heroic cleanup later.
The catch is permissions. Bot workflows depend on the server setup, and that immediately rules them out for many client or community situations.
Advanced routing works best when you need control
This is the technical path. Instead of asking one app to “just record audio,” you create a route for Discord output, system sound, and mic inputs so your recording software can capture exactly what you want. On macOS, this often means virtual audio tools and Audio MIDI Setup. On Windows, it may mean application-specific capture or virtual devices. Use this route when you need one of these outcomes:
| Need | Best fit |
| Record a full demo with voice and screen | Screen recorder |
| Edit each speaker separately | Bot |
| Control monitoring, routing, and selective capture | Advanced routing |
This third path gives the most flexibility, but it also creates the most points of failure. If you haven’t tested monitoring, input selection, and echo prevention before the session, it can collapse fast.
How to Record Discord on macOS
Mac is where a casual setup often turns into a production decision. The good news is that there are two workable paths. One is faster. The other gives you more control.
Method one using a native Mac screen recorder
If your end goal is a demo, tutorial, or walkthrough, use a native Mac screen recorder that can capture both screen and audio in one session. That’s the shortest path from live call to editable asset, especially if your work already includes cursor movement, app windows, webcam, or subtitles. If you’re comparing options, this roundup of a Mac screen recorder with audio is a useful place to start. The basic setup looks like this:
- Open Discord and join the call.
- Choose what you’re recording. Usually that’s a window, full screen, or a defined region.
- Enable system audio capture. This is what carries the remote participants.
- Enable microphone capture if you need your own voice.
- Do a short test. Speak, ask the other person to speak, then play it back before the main session starts. This method is best when the visual side matters as much as the conversation. That includes feature demos, QA reproductions, onboarding recordings, and customer education clips.
Why this is the easiest professional route
The main benefit isn’t convenience by itself. It’s editability after capture. If the call is tied to visual action, you don’t want to stitch together one audio file from Discord, another screen recording from another app, and a third webcam source from somewhere else. You want one capture session that stays in sync. A few working habits make this setup more reliable:
- Record with headphones on. This reduces feedback and keeps remote audio from bleeding back into your mic.
- Mute unused notifications. Slack pings and calendar alerts love to land during takes.
- Keep Discord output stable. Don’t switch audio devices mid-call unless you have to.
- Name the recording immediately. “final-final-client-demo” is how files get lost.
Method two using BlackHole and Audio MIDI Setup
When you need more precise routing on Mac, use a virtual audio device such as BlackHole and create a Multi-Output Device inside Audio MIDI Setup. The idea is straightforward. Discord sends audio to a virtual path instead of only to your speakers. Your recording app listens to that path as an input. You can still monitor the call through your headphones at the same time if you build the output correctly. A practical version looks like this:
- Install BlackHole or another virtual audio device.
- Open Audio MIDI Setup on macOS.
- Create a Multi-Output Device that includes your headphones or interface and the virtual device.
- Set Discord’s output to that multi-output path if needed, or set the Mac output path depending on your routing preference.
- Select the virtual device as the audio input inside your recording software.
- Monitor carefully to confirm you hear the call without doubling or echo. This method is useful when a recorder doesn’t handle system audio cleanly on its own, or when you want to separate what you hear from what gets captured. Here’s a walkthrough video if you prefer seeing a capture workflow in motion:
What usually goes wrong on Mac
Mac failures are usually routing failures, not recording failures. The recorder is open. The session runs. Then playback reveals silence, echo, or only one side of the conversation. The most common problems are:
- Wrong output target: Discord plays to your headphones, but not to the virtual path the recorder is listening to.
- Double monitoring: You hear the same signal twice with a slight delay.
- Mic bleed: Your speakers feed remote voices back into your own microphone.
- Mixed priorities: You’re trying to optimize for both pristine audio and a fast demo turnaround, and those goals sometimes need different tools.
If you can hear the call but your test file is silent, your monitoring path is working and your record path is not. Treat those as separate checks.
For most creators, the right Mac choice is simple. Use direct screen capture when the call is part of a larger visual production. Use virtual routing when you need fine-grained control or your current recorder can’t grab Discord audio cleanly.
Recording Discord Audio on Windows and Mobile
Windows is less fussy for app-level capture, but the workflow still matters if you want a clean edit instead of a salvage job.
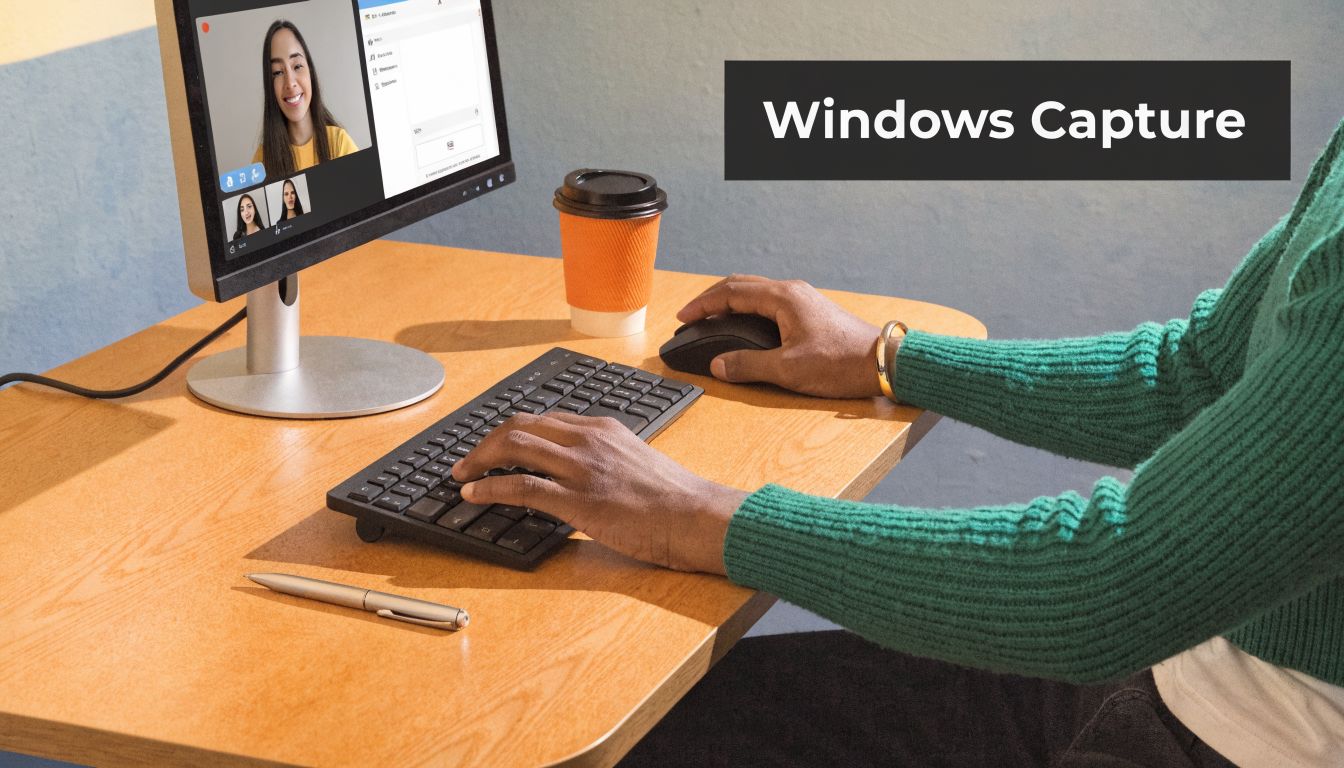
Windows with OBS
On Windows, OBS is the default answer for a lot of teams because it’s flexible and free. For Discord, the useful move is targeting the app directly instead of grabbing every system sound. A clean setup usually looks like this:
- Open OBS and create a new scene.
- Add your screen or window capture if you need visuals.
- Add an Application Audio Capture source and select Discord.
- Add your microphone as a separate source if you need commentary.
- Run a test recording and confirm both local and remote speech are present. This is a solid workflow for tutorials, streams, support reproductions, and internal documentation. The weakness is what happens after capture. OBS Studio records Discord audio as a video file with a black screen rather than an audio-only file like MP3 or WAV, which adds cleanup in post according to this AVS guide to recording Discord audio. That extra step isn’t fatal, but it matters if your editor just needs clean audio assets and not a video wrapper.
Mobile recording on iPhone and Android
Mobile is the simplest setup and the weakest production option. On iPhone or Android, you’ll usually rely on the built-in screen recorder. That can work for saving a live conversation or grabbing reference footage, but it’s limited for serious editing. You generally won’t get isolated speaker tracks, selective app capture, or much control over how Discord audio and your own mic combine. A few practical rules help:
- Use mobile for capture, not final production. It’s fine for quick saves and rough references.
- Wear headphones if possible. Speaker playback can create ugly echo fast.
- Move to desktop for polished edits. That’s where routing, track control, and better export options exist.
- If you also capture an iPhone or iPad screen for a tutorial, a desktop workflow is far easier to manage than editing everything on the device. For that kind of setup, this overview of iOS and iPad recording workflows is a useful reference.
Mobile recording is acceptable when convenience matters most. It’s rarely the best choice when quality matters most.
Using a Discord Bot to Record Audio
When the job is a remote podcast, panel discussion, or internal roundtable, bots deserve a serious look.
 The best-known example is Craig. Its big advantage is not convenience. It’s track separation. Craig uses multi-channel recording to deliver separate audio files for each speaker, which makes editing much easier, and this same overview notes that it only works on servers where you have the necessary administrative ownership rights in this Craig bot recording guide.
Where Craig is excellent
Craig fits best when audio quality and speaker isolation matter more than on-screen context. That includes:
- Podcast interviews where each person needs independent cleanup
- Roundtable discussions with several speakers
- Internal editorial sessions where an editor will shape the conversation later The basic workflow is simple. Invite the bot to the server, join the voice channel, and use the command to have it join and record. After the session, you download the files and bring them into your DAW or editor.
Where Craig is the wrong tool
Craig is a poor fit for many real-world business calls. If the Discord server belongs to a client, a partner, or a community you don’t administer, the permissions hurdle can end the plan before it starts. It’s also not the right tool when the output needs to preserve what happened on screen, because bots capture the conversation, not the visual workflow around it. That makes the trade-off clear:
| Workflow need | Bot result |
| Separate speaker files | Excellent |
| Screen activity and voice together | Weak |
| Use on client-owned server | Often restricted |
| Fast post-production for podcasts | Strong |
If you produce audio-led content, Craig can save a lot of repair work later. If you produce demos, tutorials, or support assets, screen-based capture is usually more practical.
Best Practices for Clear Audio and Legal Recording
A successful Discord recording isn’t just a file that exists. It’s a file you can publish, edit, and share without audio problems or consent problems.
Audio habits that prevent bad takes
Start with the basics. They still matter more than software tricks.
- Put everyone on headphones. This is the fastest way to reduce feedback and speaker bleed.
- Run a short test first. Check that remote voices, local mic, and system output are all present.
- Watch input levels. If someone is too quiet at capture, post can only do so much.
- Close noisy apps and mute alerts. Notifications ruin more recordings than codec settings do.
- Decide the purpose before the call starts. A podcast setup and a client demo setup are not the same recording job.
Clean source audio beats cleanup every time.
Consent is part of the workflow
This is the part a lot of recording tutorials treat as an afterthought, and that’s a mistake. Discord’s 2025 policy updates mandate explicit opt-in for recordings in servers with over 50 members, yet only 15% of online tutorials reference this, according to this discussion of Discord recording consent and policy updates. Even outside that specific server context, teams still have to think about privacy law, company policy, and participant expectations. The practical standard is simple:
- Tell people before recording starts.
- State what you’re recording. Audio only, or audio plus screen.
- Explain how the recording will be used.
- Get clear agreement before continuing. If you work across regions, don’t assume one set of rules covers every participant. Some places are stricter than others, and Discord’s own design history shows why the platform chose not to store voice content in the first place. A good producer treats consent as part of setup, just like checking the mic or choosing the output device. If Discord calls are part of your demo, onboarding, training, or client video workflow, Smooth Capture is worth a look. It’s a native macOS recorder and editor built for teams that need polished screen-based content fast, with timeline editing, multiple audio tracks, device capture, subtitles, and exports that fit real production work instead of forcing extra app-hopping later.
Ready to create stunning app demos?
SmoothCapture makes it easy to record your screen with 3D device frames, cinematic cursor effects, and professional editing tools.