iMobie HEIC Converter: A Pro's Guide to Batch Conversion
You’ve probably hit this exact problem already. A teammate sends over clean iPhone screenshots for a product demo, onboarding walkthrough, or App Store creative. The captures look great on the phone and fine in Finder, but the moment you move them into a broader production workflow, something breaks. The editor won’t import them cleanly, a web tool rejects them, or a collaborator on another system can’t use them without extra steps. That’s where imobie heic converter becomes useful. Not because HEIC conversion is exciting, but because it removes a small format problem that can subtly slow down an entire content pipeline. If your team works on macOS and deals with screenshots, thumbnails, still frames, or asset packs from iPhones and iPads, having a repeatable conversion workflow matters more than most basic tutorials admit.
Why Your Team Needs a HEIC Conversion Workflow
A common production snag starts with a simple handoff. Product marketing grabs screenshots on an iPhone for a launch video. Customer education adds annotated device images for a tutorial. Someone drops the files into the shared folder, and then the editor has to stop and convert everything before real work can continue. That delay sounds minor until it happens over and over. One person renames files manually. Another exports from Preview one by one. Someone else screenshots the screenshot just to get a JPG. By the time the assets are usable, the team has introduced version confusion and lost time that should’ve gone to editing.
Where the friction actually happens
HEIC isn’t a problem when you stay inside Apple’s world. It becomes a problem when your image assets need to move through a mixed toolchain, especially in production environments where screenshots have to feed video timelines, review tools, cloud storage, and handoff folders. According to the product listing on SourceForge for iMobie HEIC Converter, iMobie HEIC Converter supports conversion to JPG, JPEG, PNG, and GIF, which directly addresses HEIC compatibility issues in many enterprise video editing platforms and web-based collaboration tools. That same listing also notes EXIF data preservation, which matters when your team relies on metadata for organization or rights management.
Practical rule: If an image format makes one teammate stop editing and start troubleshooting, it’s no longer a minor format issue. It’s a workflow issue.
For teams building mobile creative, this hits early. App screenshots, feature callouts, and stills for App Store Preview production workflows often start on iOS devices, but they don’t finish there. The files have to move cleanly into a production pipeline that values consistency more than novelty.
Why a defined process beats ad hoc fixes
The biggest win isn’t the conversion itself. It’s the removal of guesswork. A defined HEIC workflow gives your team:
- Consistent outputs so editors always receive the same usable formats
- Cleaner handoffs because converted assets don’t need rescue work later
- Less rework when file naming and metadata stay intact
- Faster review cycles because nobody has to ask which version is the “real” export That’s the job of imobie heic converter in a production environment. It standardizes the boring part so the creative part can keep moving.
Getting Started with iMobie HEIC Converter
There are two ways to use imobie heic converter. You can use the web tool for quick jobs, or you can install the desktop app for repeated production use. If you’re working alone and converting a few images occasionally, the browser version is fine. If you’re managing folders of screenshots or preparing assets for post, the desktop app is the better fit.
The reason is simple. Professional work benefits from local control. You don’t want a browser tab deciding how comfortably you can handle a large batch.
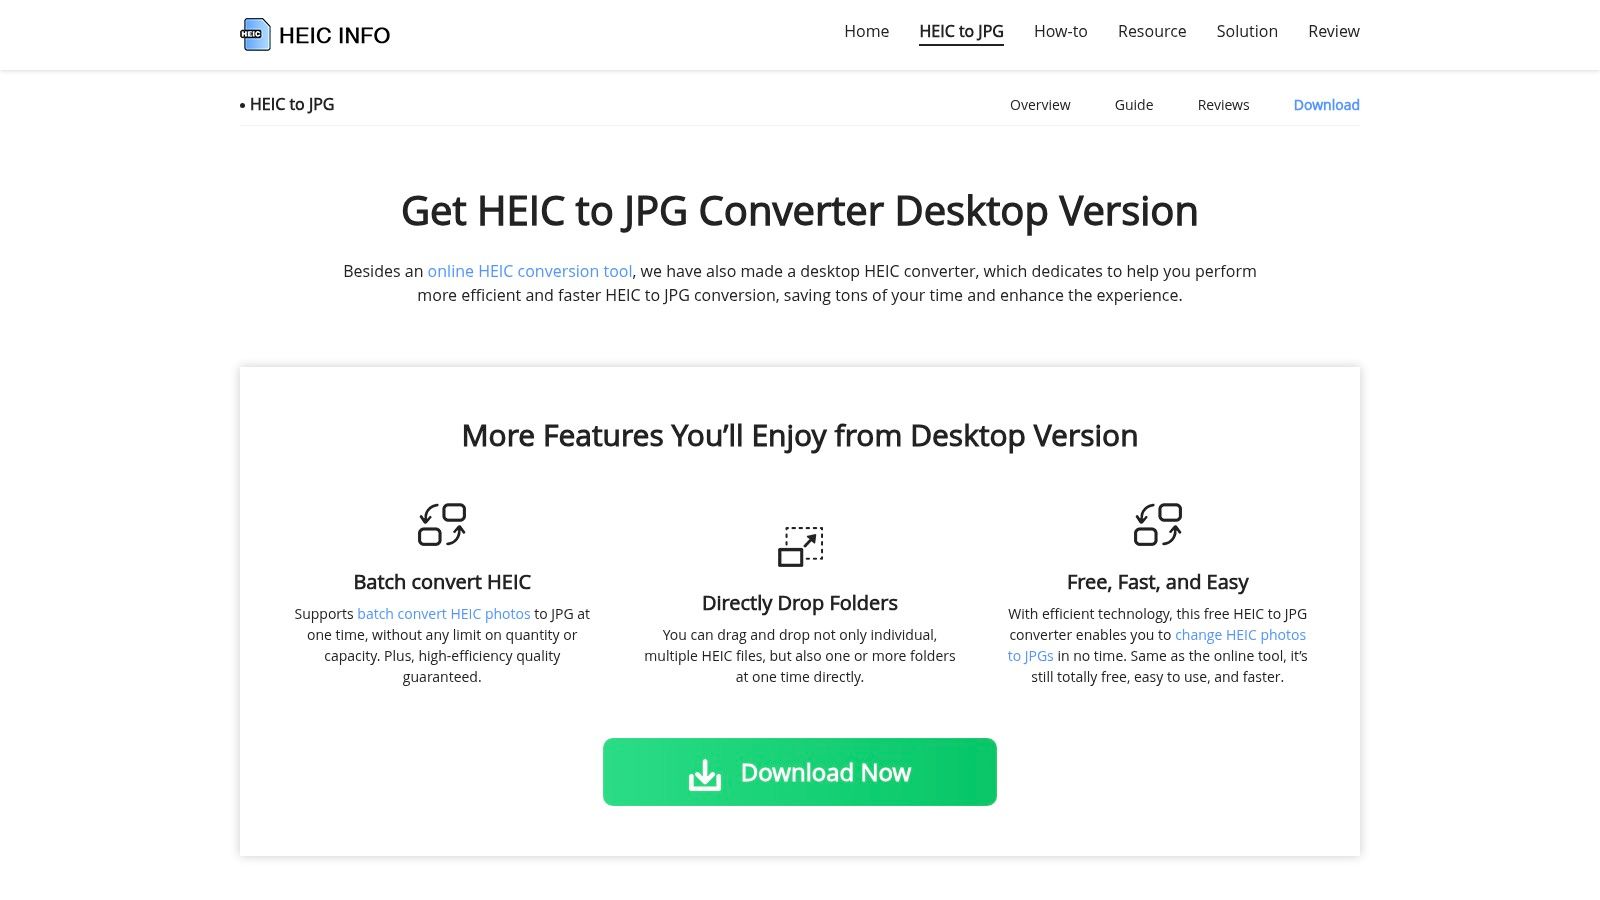
Here’s the download page view users start from:
Online tool or desktop app
The practical difference comes down to job size and reliability.
| Option | Best for | Trade-off |
| **Online converter** | Fast one-off conversions | Less ideal for heavier production batches |
| **Desktop app** | Repeated work, folder-based jobs, local processing | Requires installation |
| **Cross-platform install** | Mixed Mac and Windows teams | One more app to standardize internally |
The available product information describes the web version as free and browser-based, while the desktop application is positioned for faster processing in larger workflows. That lines up with real production habits. Casual users want convenience. Editors want predictable throughput and fewer browser limitations.
The fastest setup path
Getting up and running is straightforward:
- Go to the official iMobie HEIC Converter download page.
- Choose the desktop version if you expect to convert asset folders more than once.
- Install the app on your Mac and place it somewhere obvious, usually Applications.
- Open it once before a live project so macOS permissions or download prompts don’t interrupt you later.
- Create a test folder with a few HEIC screenshots and run a sample conversion before you need the output for a deadline. That last step matters. Teams usually wait until a deadline is already moving before they test a utility tool. Don’t do that. Run a tiny conversion job when there’s no pressure, then standardize your settings.
Why desktop is the safer production choice
In post-production, “works once” isn’t enough. You want the same result every time, especially when multiple teammates touch the same source folder. Use the desktop app when you need:
- Batch handling for a full folder of captures
- Offline access when you don’t want a browser in the loop
- Repeatable settings for output format and quality choices
- Cleaner operator behavior because the app is dedicated to one task
The best utility tools are the ones your team doesn’t have to think about twice.
If you’re setting this up for a team, document one standard output destination and one naming convention from day one. That small decision prevents a lot of “final-final-use-this-one” folder clutter later.
The Complete HEIC to JPG Conversion Walkthrough
Once the app is installed, the workflow is simple. The part that matters is choosing settings based on where the images are going next. A designer preparing stills for web might make a different choice than an editor preparing assets for motion graphics or timeline inserts.
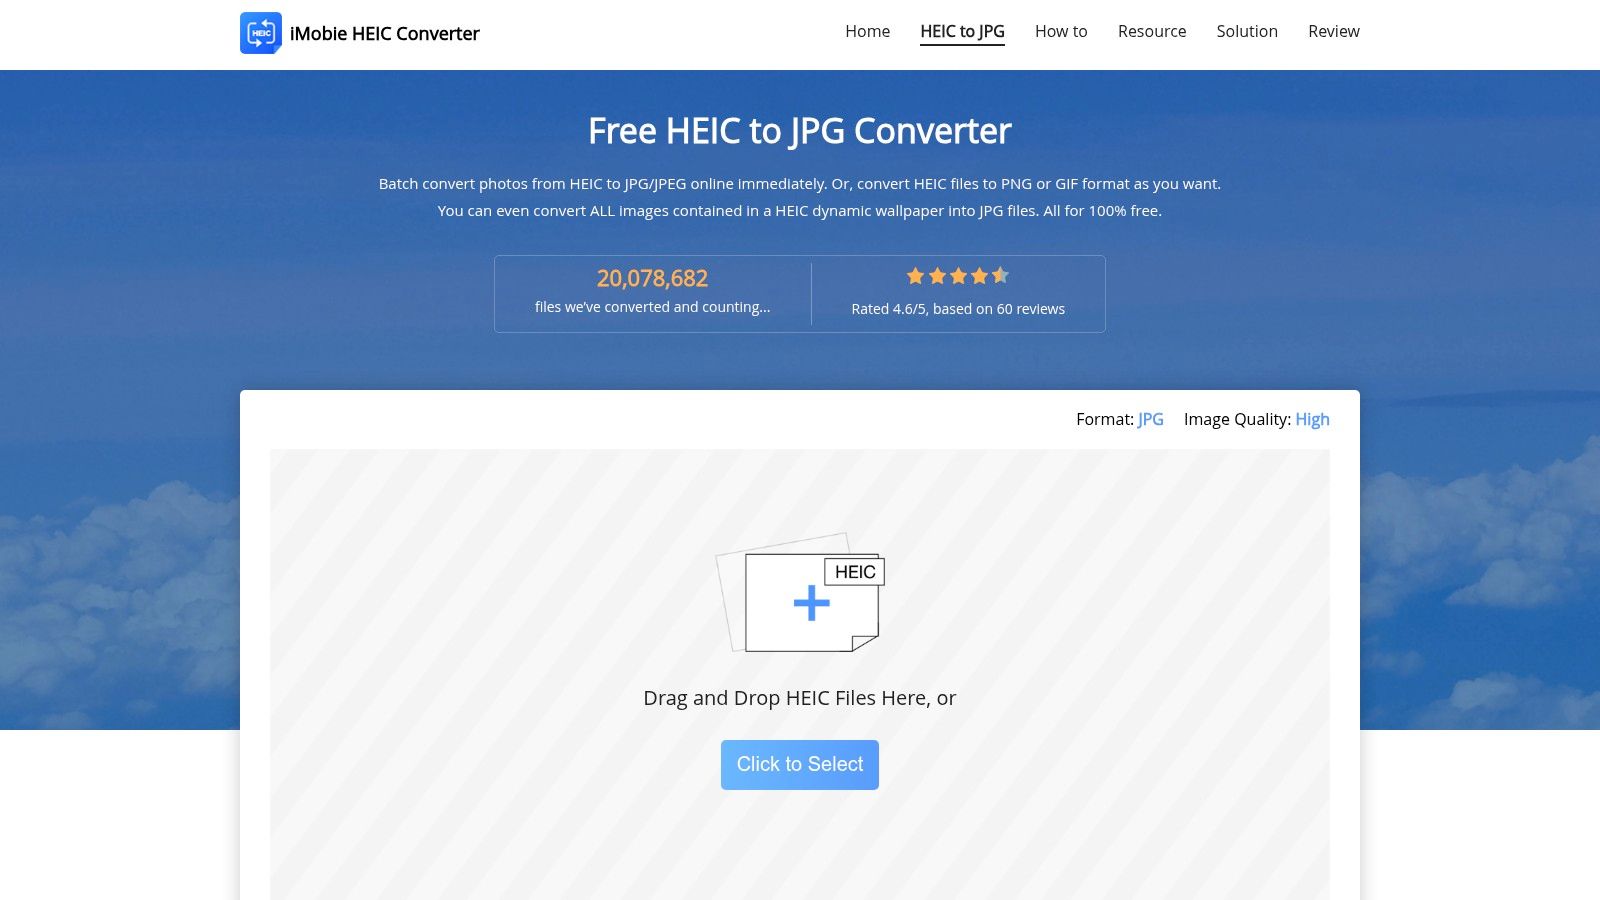
This is the web interface view many users first associate with the tool:
Single image conversion
For a one-off image, the flow is direct:
- Open imobie heic converter
- Drag in one HEIC file
- Choose your output format
- Select quality
- Pick an output location
- Run the conversion Use this path when someone needs a quick still for a slide deck, a support doc, or a review comment. It’s not the most important use case, but it’s the easiest one to learn on.
Batch conversion for real production work
The stronger use case is folder conversion. According to iMobie’s download page, the app’s batch technology processes multiple HEIC files simultaneously without quantity limits and supports entire folder structures, while offering Standard, Medium, and High quality options and preserving EXIF metadata through conversion on the official download page. That matters because production teams rarely receive one image. They receive a capture dump. A typical batch job looks like this:
- Collect the source files in one project folder
- Drag the whole folder into the app instead of selecting files one by one
- Choose JPG or PNG based on the destination use
- Set quality intentionally, not by habit
- Export into a sibling folder so originals remain untouched
If you convert into the same folder without a naming plan, you create confusion fast. Keep source and output separate.
Choosing the right output format
However, most generic guides stop too early. The output format changes how useful the files will be downstream.
| Format | Use it when | Skip it when |
| **JPG or JPEG** | You need broad compatibility and smaller files | You need transparency |
| **PNG** | You want cleaner graphic use, overlays, or interface elements | File weight matters more than flexibility |
| **GIF** | You have a specific lightweight motion or compatibility need | You need still-image quality as the priority |
For most video teams, JPG is the safe default for screenshots that will be placed full-frame or used in docs. PNG is the better choice for interface elements, overlays, or cases where you want a more editing-friendly still.
How to think about quality settings
Don’t treat quality as a cosmetic slider. Treat it as a destination decision. A simple operating rule works well:
- High for archive masters, premium assets, or anything that may be reused
- Medium for internal review packs and lighter collaboration needs
- Standard when speed and smaller outputs matter more than preserving every possible detail The right answer depends on the next handoff. If the files are headed into design, motion, or customer-facing video, I lean toward quality first and optimize later if needed. Rebuilding lost detail after a weak conversion is always harder than compressing a solid source.
A conversion checklist that prevents rework
Before you hit export, check these five things:
- Output folder is separate from source
- Format matches the next tool in the pipeline
- Quality matches the delivery purpose
- Metadata preservation is enabled if you need traceability
- File names remain understandable after export That’s enough to make imobie heic converter feel like part of a professional pipeline instead of a random utility app you only remember when something breaks.
Pro Tips for Preserving Quality and Metadata
Most conversion mistakes don’t show up immediately. The image opens, so everyone assumes the job is done. The problems appear later when someone needs to sort assets by capture date, verify origin, track rights, or match a screenshot back to a specific review round. That’s why metadata preservation matters. It’s not a technical detail for photographers only. It affects production operations.
Keep the file useful after conversion
The verified product information notes that EXIF data can be preserved during conversion. In practical terms, that means the converted file can retain useful embedded information instead of becoming a flattened orphan with no context. For production teams, that helps with:
- Asset traceability when screenshots move between folders and collaborators
- Documentation workflows where capture details support internal records
- Rights management if a team needs to know where an image came from
- Less manual cleanup because you’re not rebuilding context by hand If you want a plain-English refresher on what image metadata includes and how to inspect it, AI Image Detector's metadata insights are a practical reference. It’s a useful companion read for anyone setting asset-handling rules, not just editors.
Hidden cost: Losing metadata doesn’t break the image. It breaks the organizational system around the image.
File naming matters more than people expect
A batch conversion can solve one problem and create another. If your team starts with meaningful names and ends with a pile of vague exports, you’ve traded compatibility for chaos. Good production naming usually carries at least some of the original context. Product area, flow, platform, version, and sequence all help. Even if the converter preserves the base filename, the team still needs a rule for source folders and output folders. Here’s a clean structure that works well:
| Folder | Purpose |
| **/Screenshots_HEIC_Source** | Untouched originals from device capture |
| **/Screenshots_Converted_JPG** | Broad-use exports for editing and docs |
| **/Screenshots_Converted_PNG** | Graphics-friendly exports for overlays or design |
| **/Archive** | Locked versions you want to keep for reference |
That structure keeps the original capture set intact while making converted outputs easy to identify.
Watch for quality drift in repeated handoffs
One conversion is usually fine. Multiple rounds of export, markup, re-export, and upload are where assets start to degrade or drift from their original look. The safest habit is to convert once from the source, then make working copies only when needed. For teams preparing mobile creative, that discipline becomes more important when screenshots eventually feed into review decks, trailers, or App Store video production guidance. The more people touch the same asset, the more valuable a stable original and a well-labeled converted set become.
A practical standard for teams
If you’re writing a team SOP, keep it simple:
- Preserve EXIF when the project needs traceability
- Never overwrite the original HEIC folder
- Keep the original filename whenever possible
- Convert once, then edit copies
- Store JPG and PNG outputs separately That’s not glamorous. It is professional. Teams that follow those rules spend less time hunting for the “right” screenshot and more time shipping polished work.
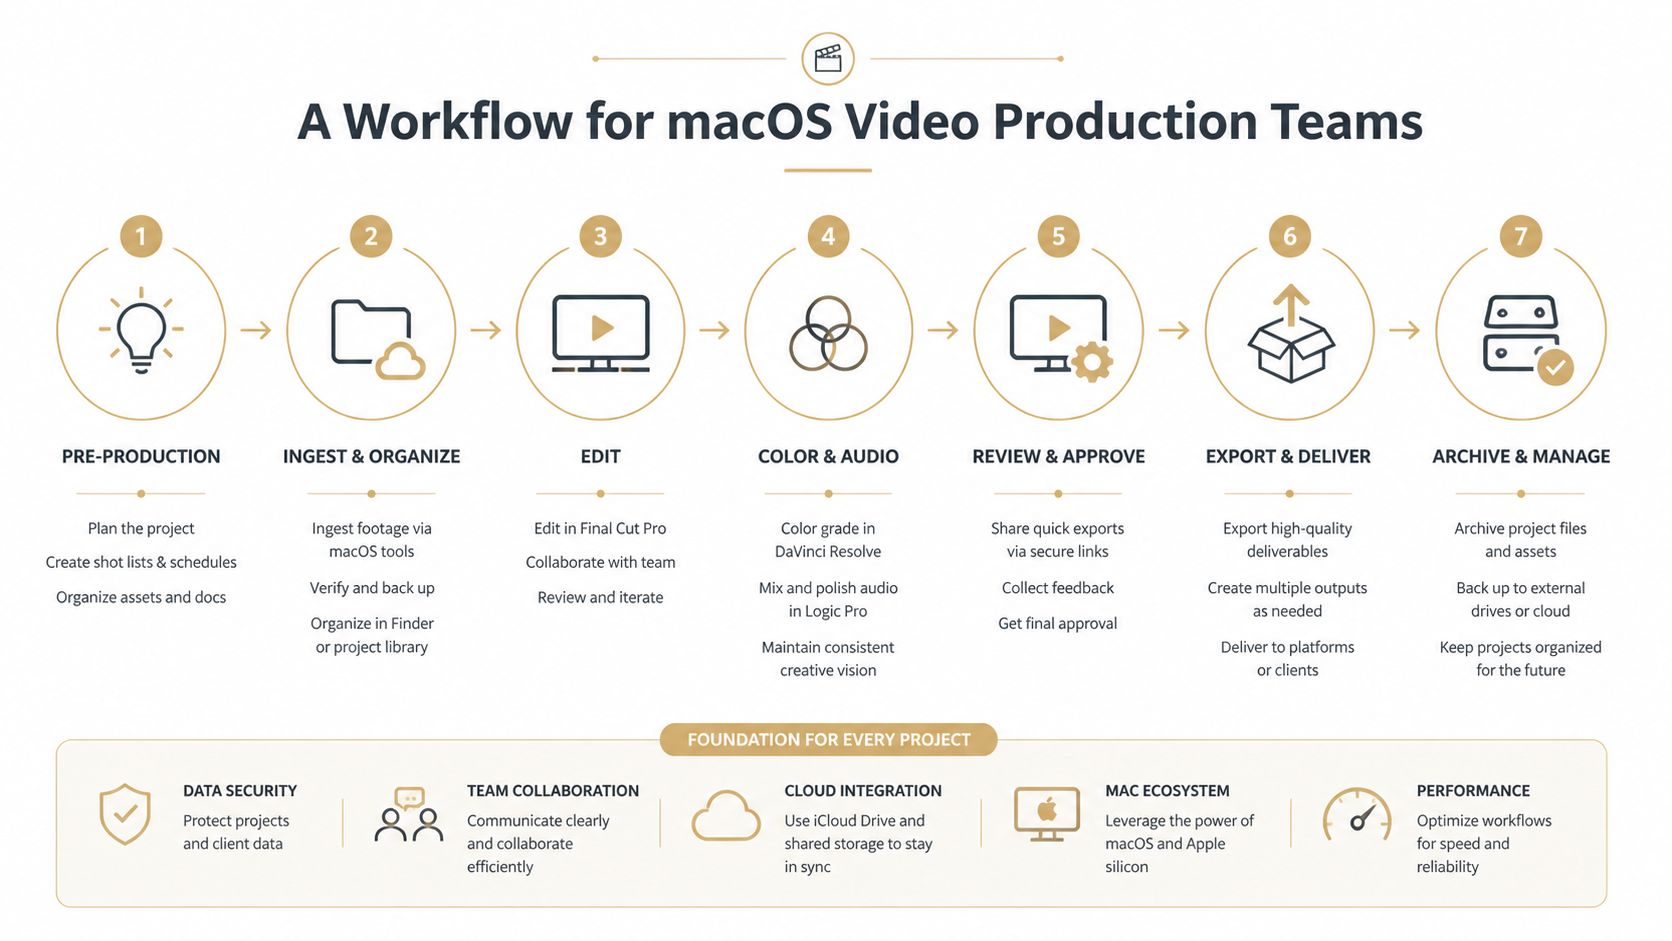
A Workflow for macOS Video Production Teams
This is the gap most HEIC guides ignore. They explain how to convert a file, but not how that conversion fits into a real macOS production flow where screenshots, device captures, still frames, and review assets all have to move cleanly into editing.
The missing piece is workflow design. A utility app only helps if it sits in the right place between capture and post.
Here’s a visual summary of a clean handoff pattern:
Where imobie heic converter fits
The product site highlights a real gap here. It supports batch conversion, but there’s little documented guidance for bridging HEIC conversion into video editing timelines for teams handling dozens of iOS screenshots at once, as noted on the iMobie HEIC Converter site. That’s exactly the gap most production teams feel during launch prep and tutorial creation. A practical workflow on macOS looks like this:
- Capture your source assets from iPhone or iPad sessions and organize them into a dated project folder.
- Separate stills from motion assets before conversion so editors don’t dig through mixed media later.
- Drop the still-image folder into imobie heic converter and run one controlled batch job.
- Export to the format that matches your next step, usually JPG for broad compatibility or PNG for graphics-oriented use.
- Move converted outputs into the edit-prep folder so timeline imports happen from a standardized location.
- Keep source HEIC files archived in case a new export is needed later.
The handoff habits that save time
The tool itself won’t fix a messy folder structure. The operator does that. Use these habits consistently:
- Create one intake folder per recording session so screenshots from different review rounds don’t mix
- Rename folders before conversion, not after
- Convert in batches tied to a single deliverable, such as onboarding, release notes, or launch creative
- Keep a graphics-ready variant if your team often needs both editorial and design use
- Archive the source folder untouched even after final delivery
Teams lose more time from poor handoffs than from slow software.
If your broader team is working on process maturity, this guide on how to streamline your content process is useful because it focuses on reducing friction between creation stages. The same logic applies here. HEIC conversion isn’t a standalone task. It’s an intake step inside a bigger content system.
Building a repeatable Mac-based asset pipeline
A strong macOS workflow keeps each tool in a narrow role. Capture first. Convert once. Edit from standardized outputs. Archive originals. That sequence prevents the format confusion that shows up when editors, marketers, and support teams all touch the same image set in different ways. If your assets also need polished presentation treatment later, keep mockup-ready stills separate from plain editorial stills. That makes it easier to prepare images for presentation layers such as a device mockup workflow without disturbing the versions destined for editing or documentation. A good HEIC pipeline is boring by design. The files arrive, convert, land in the right folder, and import without discussion. That’s the standard you want.
iMobie Alternatives and When to Use Them
imobie heic converter is a strong fit when non-developers need fast, repeated batch conversion with minimal fuss. It isn’t the only option, and that’s worth saying clearly. If you only convert a few files now and then, macOS already gives you workable paths. Preview can export a HEIC file to JPEG, and Photos can also handle basic conversion tasks. Those options are fine for occasional use when you’re already inside Apple’s built-in apps. Here’s the main trade-off:
| Tool | Best use case | Limitation |
| **Preview** | One-off Mac conversions | Not ideal for repeated production batches |
| **Photos** | Casual library-based exports | Less direct for folder-driven workflows |
| **sips** | Scripted macOS automation | Better suited to technical users |
| **imobie heic converter** | Batch conversion for content teams | Another app to install and standardize |
Developers and technically comfortable operators may prefer sips or other command-line approaches because they can script repeatable conversion jobs. That’s a valid choice if your workflow already lives in automation. Most marketing, education, and support teams don’t want to maintain shell scripts just to make screenshots usable.
Here’s where iMobie tends to win in practice:
- You need batch processing without training people on the command line
- Your team works across Mac and Windows
- You want a dedicated conversion utility instead of repurposing a photo app
- You care about preserving order and reducing handoff mistakes
This comparison image is part of iMobie’s broader product presentation:
 For high-volume creative operations, the best tool is usually the one that your least technical teammate can use correctly on the first try. That’s the practical case for imobie heic converter. It solves a narrow problem, but it solves it in a way that fits real content production.
If your team is turning iPhone and iPad captures into polished demos, tutorials, and launch assets on Mac, Smooth Capture gives you the rest of the pipeline after conversion. You can record devices over USB, edit on a fast timeline, add motion, framing, cursor effects, subtitles, and export clean deliverables without bouncing between a stack of disconnected tools.
For high-volume creative operations, the best tool is usually the one that your least technical teammate can use correctly on the first try. That’s the practical case for imobie heic converter. It solves a narrow problem, but it solves it in a way that fits real content production.
If your team is turning iPhone and iPad captures into polished demos, tutorials, and launch assets on Mac, Smooth Capture gives you the rest of the pipeline after conversion. You can record devices over USB, edit on a fast timeline, add motion, framing, cursor effects, subtitles, and export clean deliverables without bouncing between a stack of disconnected tools.
Ready to create stunning app demos?
SmoothCapture makes it easy to record your screen with 3D device frames, cinematic cursor effects, and professional editing tools.