How to Zoom in on Videos: Pro Techniques
You’ve probably done this already. You record a product demo, watch it back, and realize the viewer has no chance of following what matters. The cursor moves fast, the interface is dense, and the key click happens in a tiny corner of the screen.
That’s where zooming stops being a cosmetic effect and starts doing real work. In SaaS tutorials, onboarding videos, feature walkthroughs, and App Store previews, zoom is how you direct attention. Done well, it makes the video easier to follow and faster to edit. Done badly, it looks jumpy, blurry, or distracting.
The practical question isn’t just how to zoom in on videos. It’s which zoom method fits the job, how to keep the image sharp, and how to make the result repeatable when a team is producing videos every week.
Table of Contents
- Why Strategic Zooming Transforms Your Videos
- Method 1 Zooming In While You Record
- Method 2 Mastering Post-Production Zoom with Keyframes
- How to Preserve Quality When Zooming
- Advanced Zoom Workflows for Business Teams
- Frequently Asked Questions About Video Zoom
Why Strategic Zooming Transforms Your Videos
A static screen recording usually fails for one simple reason. It asks the viewer to decide where to look.
That’s a bad trade in product education. In educational content, 91% of people have watched an explainer video to learn about a product, and clear zooms on interface elements can drive conversions up to 3x higher for brands using advanced video tech, according to Idomoo’s video engagement statistics.
What zoom does
A good zoom effect does three things at once:
- Directs attention: It removes guesswork when a small menu, toggle, or input field matters.
- Improves comprehension: Viewers spend less energy scanning the whole frame.
- Builds confidence: Clean emphasis makes the product feel easier to use.
That last point is often underestimated. If a tutorial looks unclear, viewers often assume the workflow itself is unclear.
Practical rule: If the viewer has to hunt for the click, the edit is doing too little.
The common failure mode
Most weak demos share the same pattern. The recording is technically fine, but the editor leaves the frame wide the whole time. Then they try to fix clarity with callouts, subtitles, or extra narration.
Those help, but they don’t replace visual focus. A quick, deliberate zoom often explains more than another sentence of voiceover.
What works better
The strongest business videos usually rely on one of two approaches:
- Zoom during recording when speed matters and the workflow needs minimal cleanup.
- Zoom in post with keyframes when precision matters and the movement needs to feel polished.
If you want a broader foundation for pacing, cuts, and visual clarity beyond zoom alone, these detailed video editing tips are worth reviewing before you finalize your workflow.
Method 1 Zooming In While You Record
Live zooming is the fastest option when the goal is speed. You make the emphasis decision as you record, so the edit stays lighter afterward.
That’s useful for release notes, support walkthroughs, and internal training clips where turnaround matters more than frame-by-frame perfection.
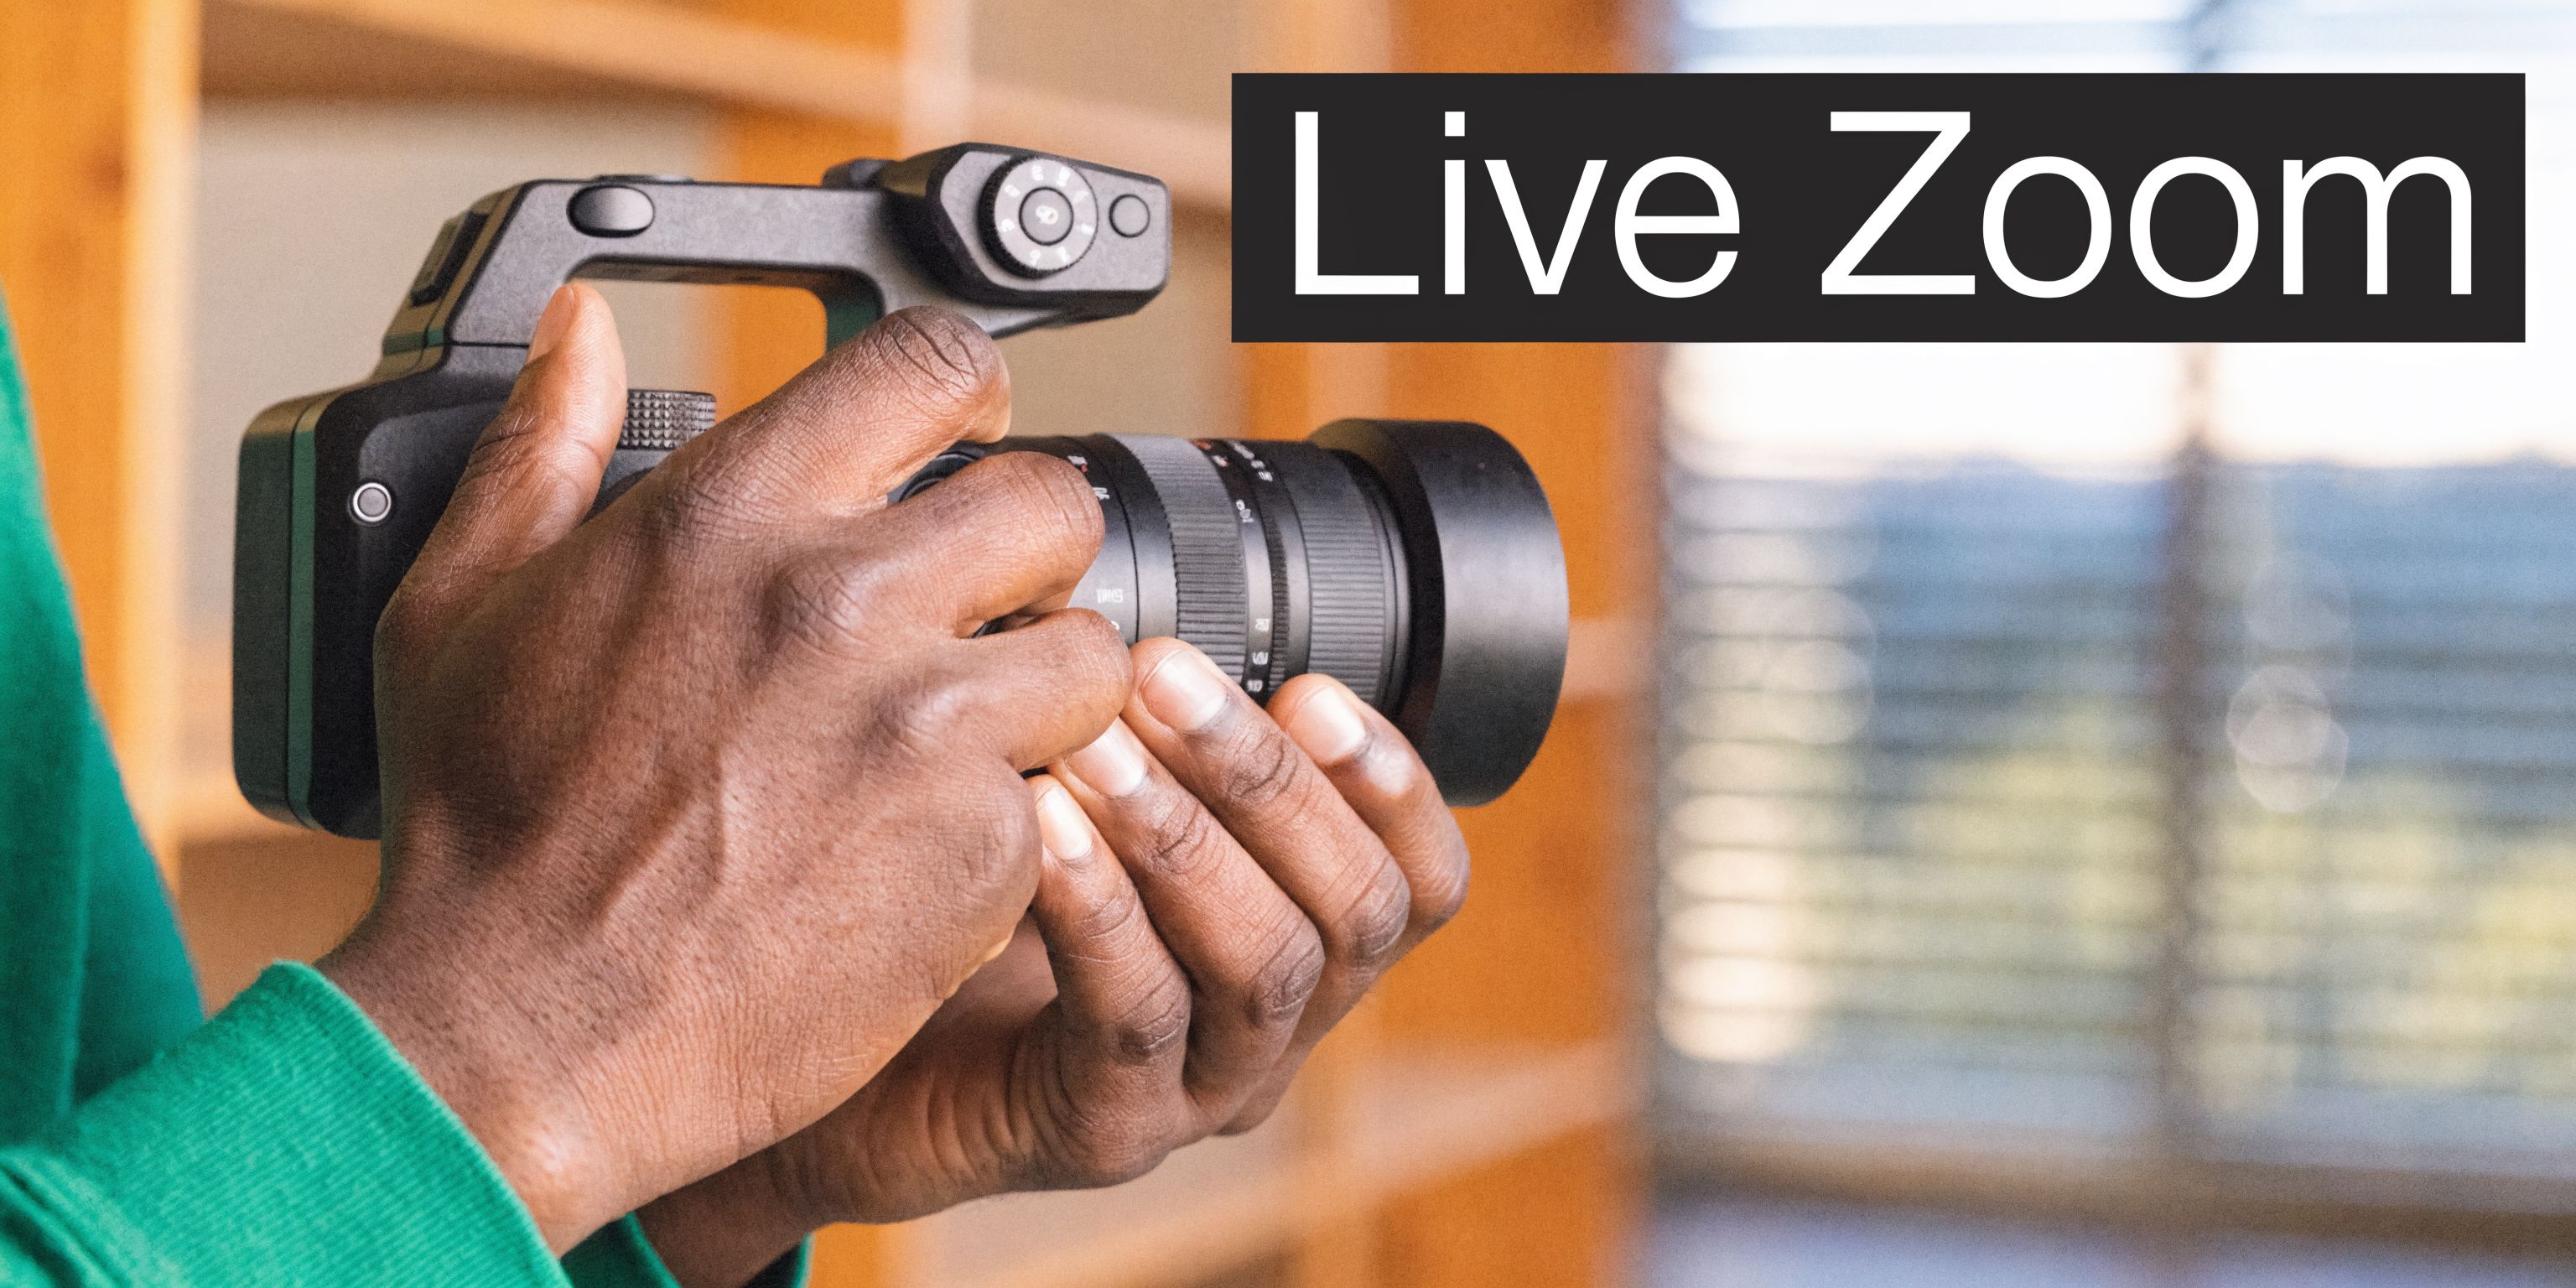
Camera zoom versus screen zoom
Physical camera zoom and software zoom solve different problems.
A camera lens changes framing in a filmed scene. That makes sense for interviews, office footage, or hands-on product shots. It’s the wrong tool for most software demos because the problem isn’t focal length. The problem is tiny interface details on a screen.
For screen recordings, software-based zoom is usually the better choice because it targets what the viewer needs to see without forcing you to re-stage the whole shot.
The live methods that help
There are a few practical ways to zoom while recording:
- Manual region framing: Record only part of the screen. This works if the workflow stays in one area, but it breaks as soon as the action jumps to a different panel.
- Live magnifier effects: A lens enlarges the area around the cursor or active element while leaving the rest of the frame intact.
- Automatic focus detection: The recorder detects the active window or area of interaction and applies zoom behavior for you.
The third option is where teams save the most time. Instead of animating every move later, the recording already contains most of the emphasis.
If your team is setting up a Mac workflow first, start with a clean capture process before worrying about effects. This guide on how to record screen on Mac is a solid reference for getting the raw footage right.
When live zoom is the right call
Use live zoom when:
- Speed matters more than revision flexibility
- The workflow is predictable
- You’re recording frequent updates with the same visual pattern
- You want less timeline work later
The trade-offs
Live zoom is efficient, but it’s less forgiving.
If you zoom at the wrong moment, miss the area, or change your narration later, you can’t fine-tune it with the same freedom you’d have in post. That’s why live zoom works best for short, well-rehearsed demos and less well for complex onboarding sequences with multiple branches.
Recording with zoom baked in saves time only when the presenter knows exactly where the viewer should look before they hit record.
A simple rule helps. If the demo is short and repeatable, zoom live. If the flow is still changing, record clean and handle the zoom later.
Method 2 Mastering Post-Production Zoom with Keyframes
Keyframed zoom is the method to use when you need control. It gives you exact timing, exact framing, and a cleaner finish than most real-time zoom effects.
For tutorials and demos, this is usually the most dependable way to create deliberate motion. It’s also the method people mean when they refer to the Ken Burns effect in editing software.
According to Tutorial.ai’s guide to zooming in on videos, 85% of tutorial viewers report improved comprehension with guided zooms. The same source recommends starting with 4K footage, which maintains 95% sharpness up to a 300% zoom, and limiting zooms to 3 to 5 key points per video.
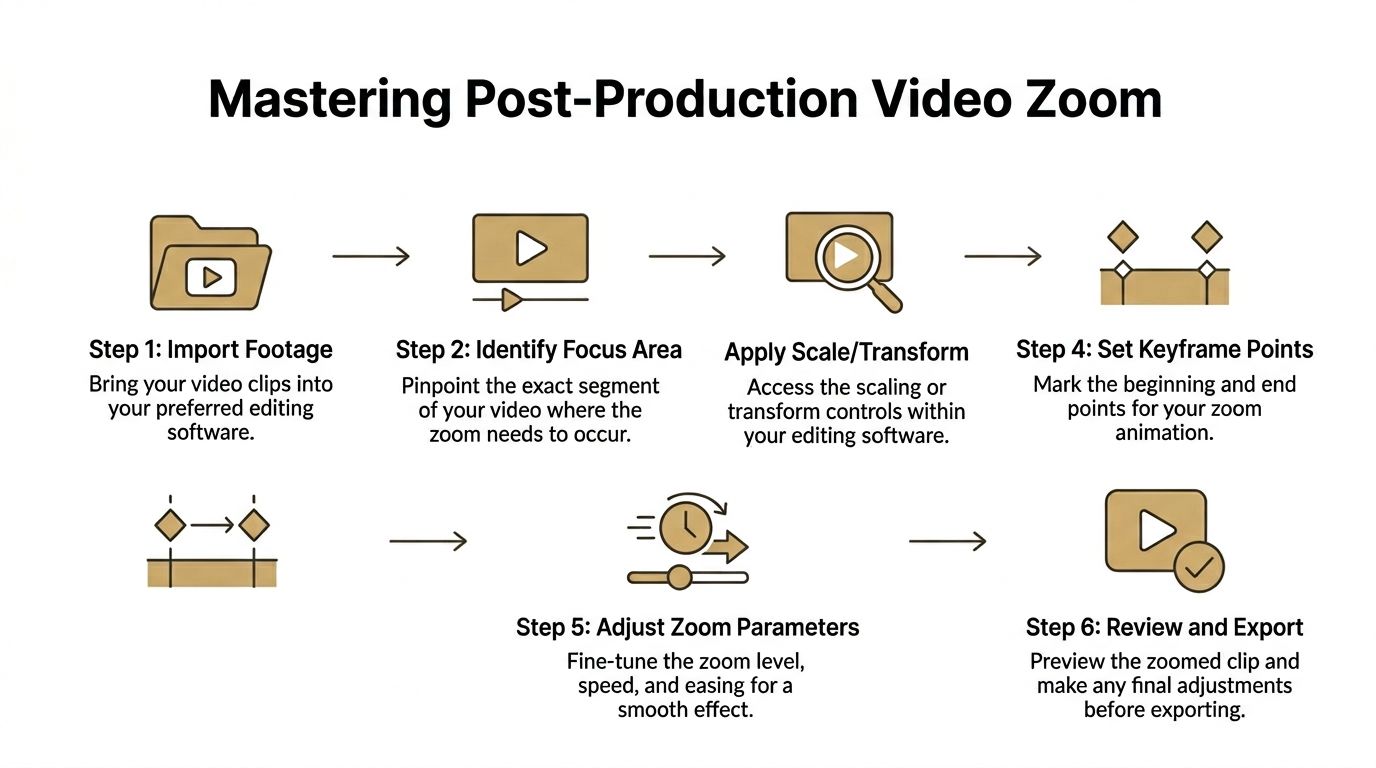
The basic keyframe setup
The mechanics are simple. The discipline is what makes it look professional.
Import high-resolution footage into your editor. 4K source gives you much more room to scale without the image falling apart.
Move the playhead to where the zoom should begin. Set the first keyframe at the default framing.
Set your starting values. Use scale at 100% and your baseline position.
Move to the point where the zoom should end. This is often a short move, not a dramatic push.
Change scale and position. A common range is 150% to 300% depending on the source and how small the target UI element is.
Adjust easing. Ease-in-out usually looks more natural than linear motion.
Preview at full speed. If the zoom calls attention to itself, it’s probably too aggressive.
Here’s the workflow visually.
What makes a zoom feel polished
Most bad zooms fail in one of three ways:
- They start too late. The click happens before the viewer reaches the target area.
- They move too fast. The edit feels reactive instead of intentional.
- They hold too long. The viewer gets trapped in a close crop after the important action is over.
A better sequence is simple. Start the move slightly before the key action, arrive on target just as the interaction happens, then return or reframe once the viewer has enough context.
Small zooms with clean timing usually outperform dramatic zooms with sloppy timing.
Choosing the software
Almost any editor with transform controls can do this well. Camtasia, Final Cut Pro, Premiere Pro, DaVinci Resolve, and similar apps all support keyframes. If you’re comparing editors before standardizing a team setup, this roundup of the best software for editing videos is useful for narrowing the field.
For teams that specifically care about screen recordings and tutorial production, it also helps to review a focused Camtasia comparison before you lock in a workflow.
The editing choices that save time
A few habits make keyframed zoom faster to manage across many videos:
- Reuse timing patterns: Keep similar zoom durations across the whole library.
- Reserve zoom for key actions: Don’t animate every click.
- Plan the emphasis during scripting: Editing gets easier when the key moments are already defined.
The biggest win is consistency. When every demo zooms differently, the library feels stitched together by different people. When the motion language stays stable, the brand feels tighter and the viewer learns the pattern quickly.
How to Preserve Quality When Zooming
Zoom quality starts falling apart the moment you ask too much from the source. That’s why some edits look clean and others turn soft, blocky, or noisy even when the zoom idea itself is correct.
The main issue is simple. A crop-zoom enlarges pixels that were already recorded. If the source doesn’t have enough resolution, the editor can’t invent detail.
Start with better source footage
For screen recordings, the safest move is to capture at the highest practical resolution. That gives the editor room to scale without making the output look stressed.
This matters even more for product demos with small interface text. Tiny labels, icons, and dropdowns degrade quickly when you enlarge them from a limited source.
Use the right zoom method for the format
For vertical content, standard crop-zooms are often the worst option. On platforms like TikTok and Shorts, keyframed lens effects can preserve 4K clarity 2x better than a simple crop-zoom.
That matters for social cut-downs, App Store previews, and client deliverables where the same recording may need to work in both horizontal and vertical.
Zoom methods and quality impact
| Method | How It Works | Best For | Quality Risk |
|---|---|---|---|
| Standard crop-zoom | Enlarges a section of the full frame | Basic edits in general-purpose editors | Higher risk when the source is limited or the crop is aggressive |
| Keyframed transform zoom | Animates scale and position over time | Tutorials, demos, controlled emphasis | Moderate risk, depends heavily on source resolution |
| Magnifier or lens effect | Enlarges only a local area while preserving the wider frame | Dense UI, cursor-led workflows, vertical outputs | Lower risk because you aren’t scaling the whole image as aggressively |
| Re-recorded tighter framing | Capture again with better composition | High-stakes deliverables where clarity is critical | Lowest post-quality risk, but slower operationally |
What usually goes wrong
Editors often assume high resolution alone solves everything. It doesn’t.
If the zoom is too deep, the movement is too abrupt, or the aspect ratio keeps changing between outputs, even a strong source can look awkward. Lens-style emphasis often works better because it preserves context while enlarging only the part that matters.
If your workflow includes frequent screen captures for tutorials, review your recording setup first. The best editing fix still depends on good source material, which is why a guide to best screen recording software for Mac is worth checking before you commit to an editor-only solution.
The cleanest zoom is usually the one that solves the visibility problem with the least amount of scaling.
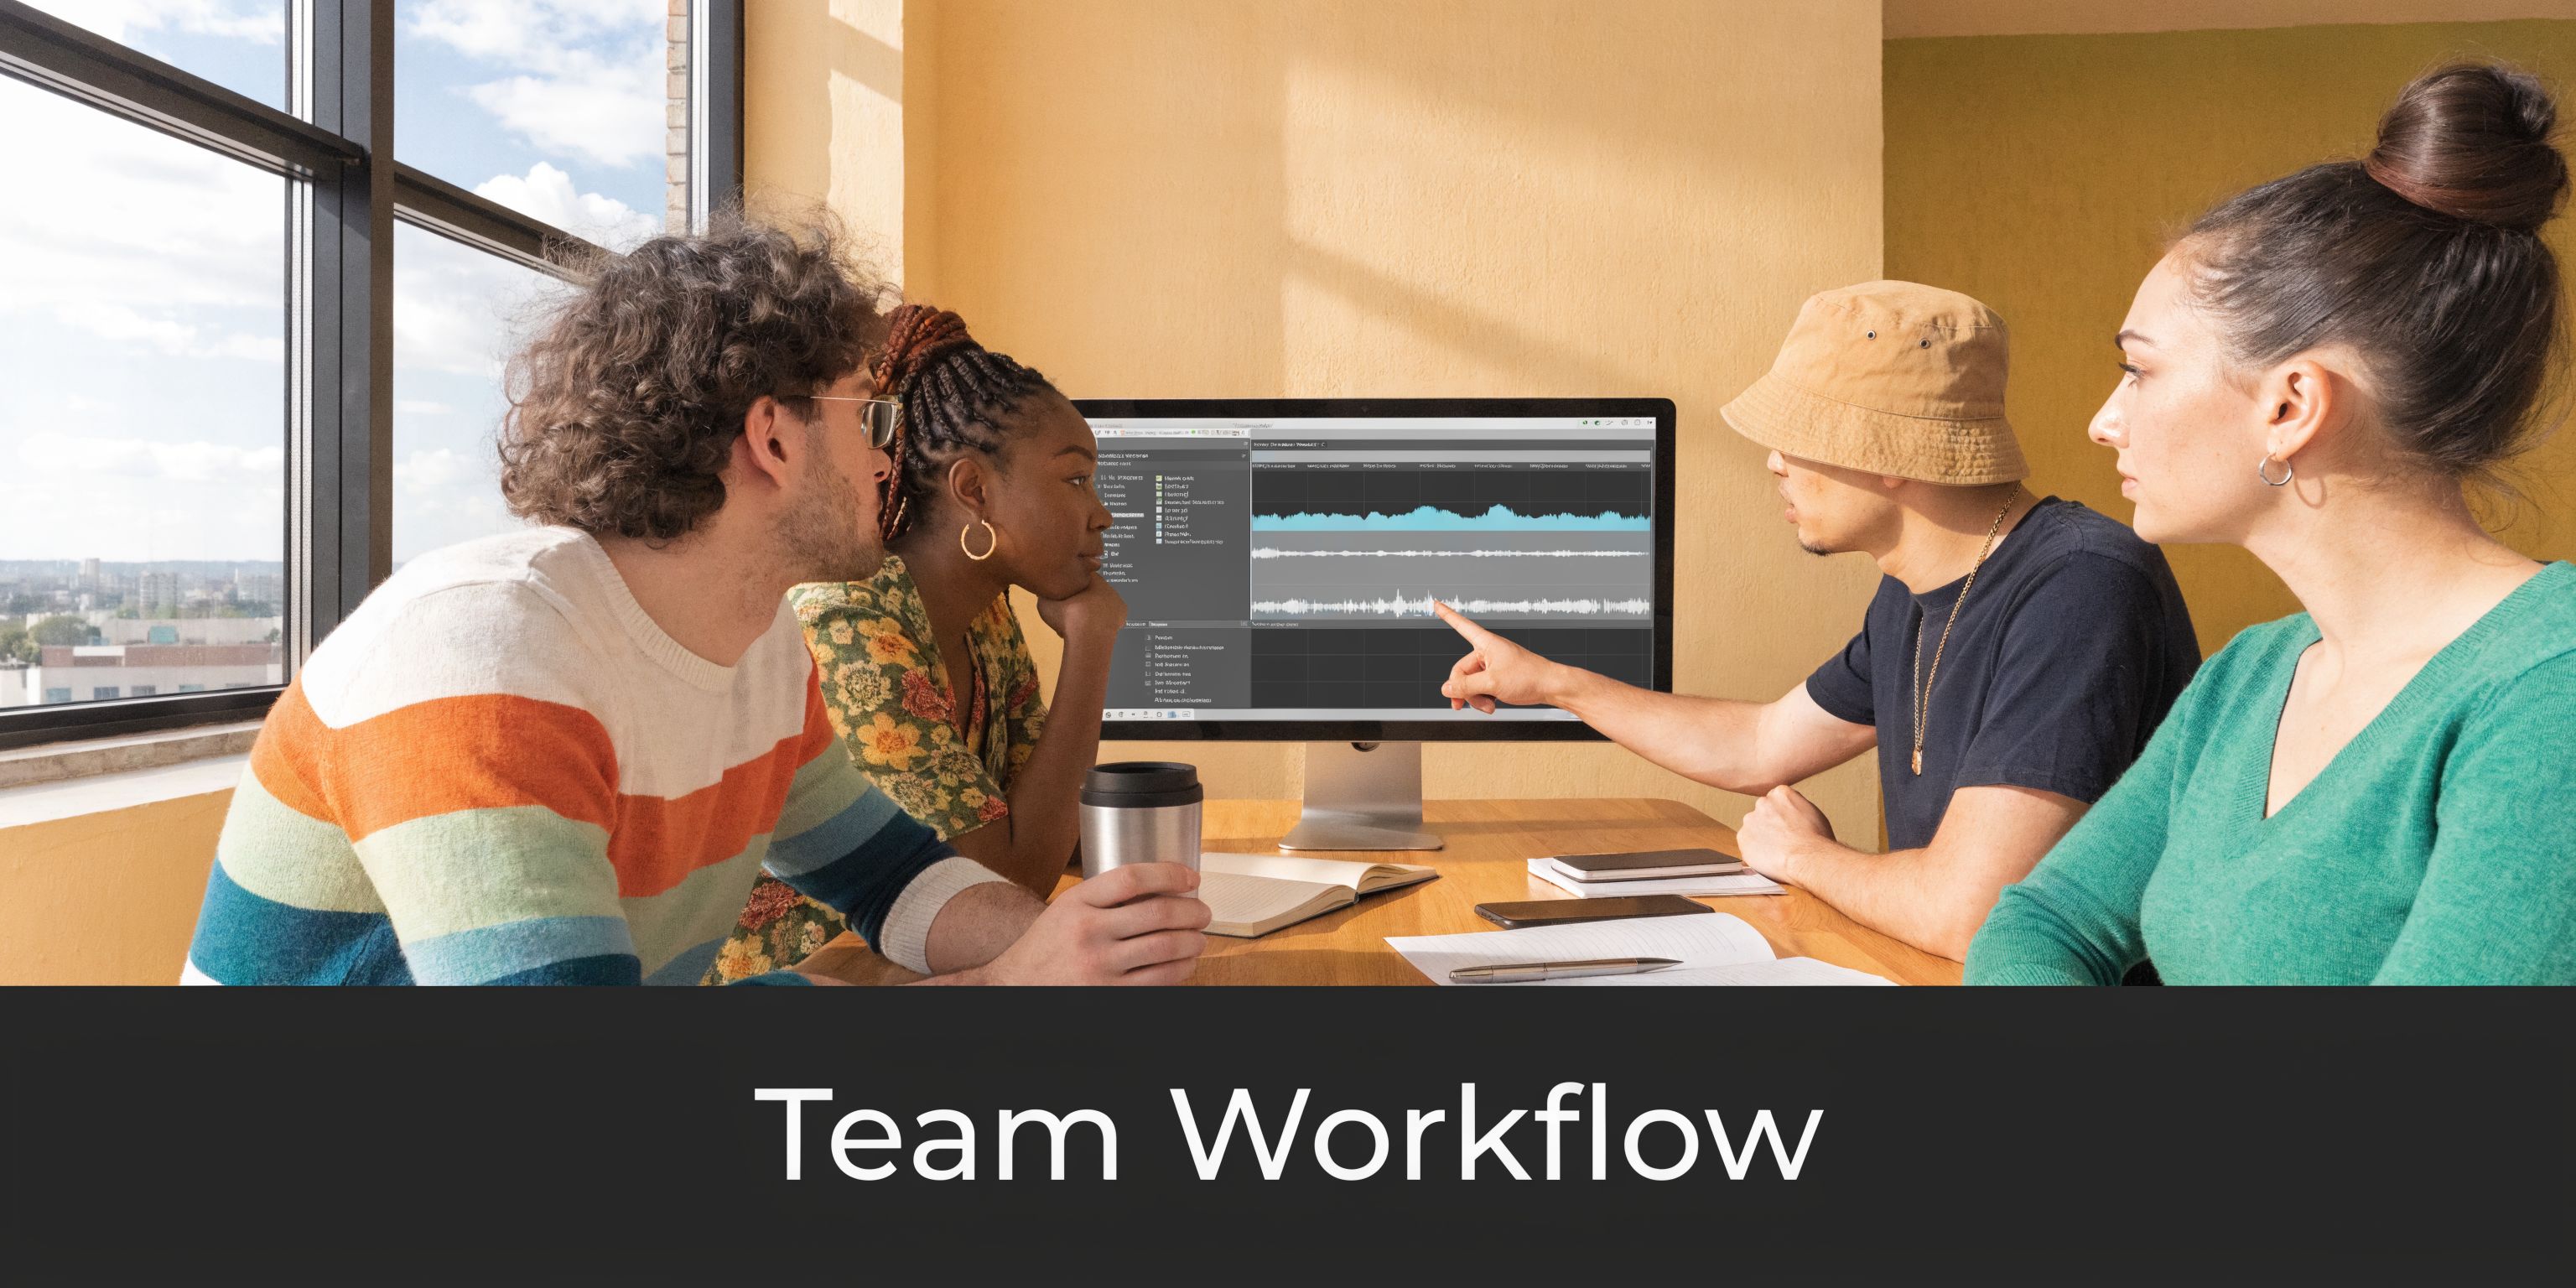
Advanced Zoom Workflows for Business Teams
Most advice about zooming assumes one person is recording one video. That’s not how SaaS teams usually work.
Product marketing records launch clips. Customer education builds onboarding assets. Support teams document fixes. Agencies produce variations for clients. The core problem isn’t just making one zoom look good. It’s making dozens of videos feel consistent without wasting editing time.
Where teams lose time
The friction usually shows up in familiar places:
- Different editors use different zoom styles
- Cursor emphasis is inconsistent across videos
- One person manually aligns every zoom
- Exports for horizontal and vertical formats require separate fixes
That overhead adds up quickly. For business teams, workflow friction is a major issue, with 70% of SaaS video creators reporting problems, and tools with native automatic zoom detection can reduce post-production time by up to 50%, according to CapCut’s zoom guide.
What a repeatable workflow looks like
The best team workflows aren’t built around individual editing heroics. They’re built around defaults.
A practical system usually includes:
Preset zoom behavior Decide how close the frame should get for common actions such as menu clicks, form entries, and settings changes.
Shared motion standards Keep speed and easing consistent so videos from different contributors still feel related.
Template-based editing Reuse intro framing, cursor treatment, and transition behavior across the whole library.
Automatic detection where possible Native focus detection removes a lot of repetitive keyframing, especially in routine product demos.
What works versus what doesn’t
What works is boring in the best way. Teams get faster when they standardize on a narrow set of zoom patterns and stop improvising every time.
What doesn’t work is a fully manual process for every clip. It may look fine for one launch video, but it breaks down when the team needs ten onboarding videos, four support walkthroughs, and a set of social cut-downs in the same week.
A team scale problem rarely gets solved by telling editors to “just be more careful.”
The operational trade-off
There’s always a balance between flexibility and speed.
A highly manual timeline gives you the most control, but it also introduces inconsistency when multiple people touch the work. A workflow with presets and automatic emphasis gives up some fine-grain control, but the output becomes easier to maintain across a growing video library.
For most business use cases, that’s the smarter trade. Viewers notice clarity and consistency. They rarely care whether every zoom was hand-animated from scratch.
Frequently Asked Questions About Video Zoom
Can you zoom in on a video without losing quality
Not completely, in most cases.
If you’re enlarging part of an existing frame, you’re asking the source to reveal detail that may not be there. The closest thing to a safe zoom is starting with higher-resolution footage or using a lens-style effect that enlarges only a limited area instead of scaling the entire frame.
What’s the best zoom method for product demos
For fast turnaround, live zoom during recording works well. For polished tutorials, keyframed zoom in post is usually the better choice because you can control timing, framing, and motion with much more precision.
For teams, the best choice is often the one that can be repeated consistently by more than one person.
How much zoom is too much
If the viewer loses context, the zoom is too strong.
In practice, the trouble starts when the edit turns into a constant punch-in and pull-out sequence. A few well-placed zooms are easier to follow than repeated motion on every interaction.
Should you zoom the whole frame or use a magnifier effect
Use a magnifier when the surrounding context still matters.
That’s common in software demos where the viewer needs to see the broader interface but also needs help spotting one control. Full-frame zoom is better when you want a more cinematic move or when the rest of the screen isn’t doing useful work.
What should you look for in software that offers automatic zooming
Look for software that handles three things well:
- Reliable focus behavior: It should zoom to the element that matters, not jump unpredictably.
- Editable results: Automatic zoom should still be adjustable afterward.
- Output flexibility: You should be able to adapt the same recording for different aspect ratios without rebuilding the whole edit.
Is zooming always necessary in tutorials
No.
If the interface is already large, the pacing is slow, and the framing is tight enough, a static shot can work. Zoom becomes useful when the viewer might miss a critical action or when the product has dense UI that doesn’t read clearly at full-screen scale.
If your team ships demos, onboarding videos, client walkthroughs, or App Store previews regularly, Smooth Capture is worth a look. It’s built for macOS teams that need clean screen recording, fast editing, cursor effects, magnifying lenses, automatic zoom with focus detection, and flexible horizontal or vertical exports without dragging every project through a heavy post-production process.
Created with Outrank app
Ready to create stunning app demos?
SmoothCapture makes it easy to record your screen with 3D device frames, cinematic cursor effects, and professional editing tools.